Create an API key for Zapier
- Go to Settings → Custom applications in your Memberful dashboard and click Add a new Custom Application.
- Enter a name and click Add a new custom application. We’ll be using this key in a later step.
Create a Zap
- Go to Zapier and click the create Zap button.
- Type “Memberful” in the main search box to add it as a trigger.
- Choose the event you’d like to trigger and click continue.
Connect to Memberful
If you don’t already have Zapier connected to Memberful, now is the time to do that. Click connect a new account and Zapier will ask for:- The Memberful API key we created earlier. Copy the key from your Memberful dashboard and paste it into the field.
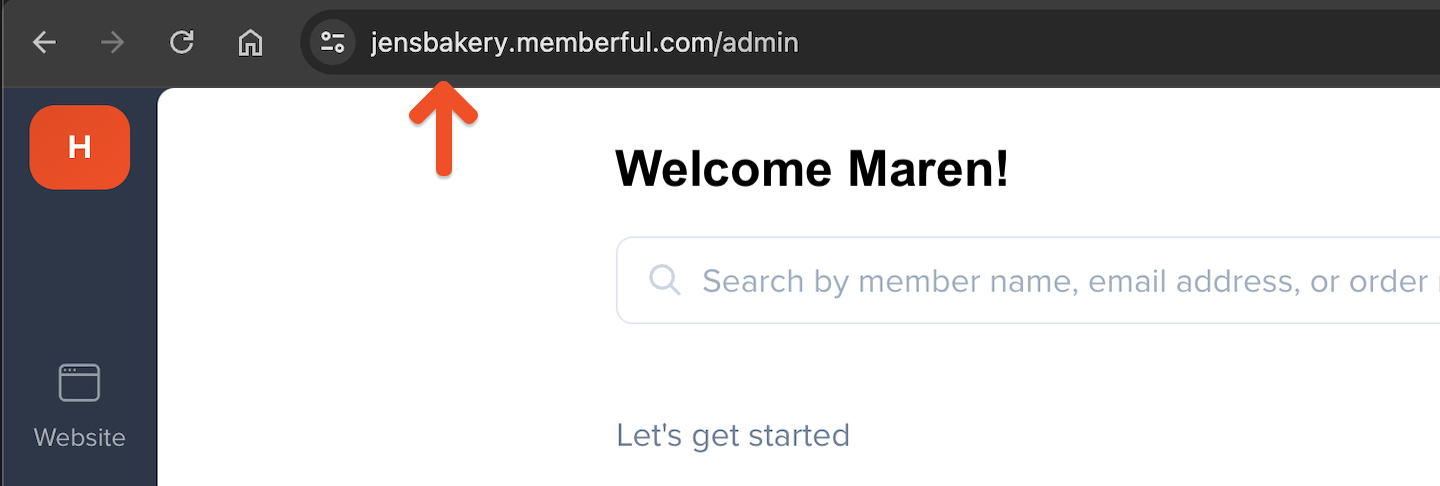
- Your Memberful account URL subdomain (see below).
https:// and memberful.com. For example, if your Memberful URL was https://jensbakery.memberful.com, your account URL subdomain would be jensbakery.
We send test data, not real data, during Zapier’s test stage. Once you enable your Zap it will start receiving real data.
Learn about the available triggers
These are the Memberful events that can trigger a Zap:Triggers when a new member account is created. Use this trigger to add new members to your app or to a third-party service.
Triggers when a member’s profile information is updated. This will not be triggered when a member updates their answers to custom fields; there is a separate trigger for custom field updates. Use this trigger to update a member’s profile information in your app.
Triggers when a member is deleted from your Memberful account. Use this trigger to remove a member from your app if they were deleted from Memberful. It’s not common for a member account to be deleted — in most cases, you’ll want to react to Subscription Deactivated instead.
Triggers when a new subscription is added to a member’s account. This includes when a member purchases a subscription or activates a gifted subscription, when a member is added to a group subscription, and when a staff account manually creates a subscription. Use this trigger to let your app know when a member has subscribed.
Triggers when a member’s subscription is renewed, or when a returning member reactivates an old subscription. Use this trigger to renew the member’s access to your app. At this time there’s no way to differentiate between a renewal and a reactivation.
Triggers when a member’s subscription is updated. To detect price changes (upgrades, downgrades, or crossgrades), look for changes to
plan_id in the changed section of the data. The first value is the old price and the second is the new one. The same applies to other changed fields, like autorenew. Note that plan_id refers to the price, not the plan—you can check the pass object in the payload to see which plan the subscription belongs to.Triggers when a member’s subscription fails to renew, expires, or becomes inactive. Also triggered when a staff account suspends an order, making the subscription inactive. Use this trigger to remove the member’s access to your app or to update their status if they stop paying.
Triggers when a member’s suspended order is marked as complete and the subscription becomes active again. Although this trigger uses the term “reactivated”, this does not refer to when a member renews their subscription after it has expired — use the Subscription Renewed trigger for that.
Triggered when a staff account deletes a member’s subscription from the Memberful dashboard. Use this trigger to remove the member’s access to your app or to update their status.
Triggers when a member places an order or when a staff account manually adds an order to a member’s account. This is not triggered for renewal payments. A member purchasing a gift subscription for someone else will trigger this event, but no subscription will be created until the recipient activates their gift. Use this trigger to notify your app when a member makes a purchase.
Triggers when a staff account refunds an order. Use this trigger to update your app when a refund has been processed.
Triggers when a member answers or updates their custom fields. Use this trigger to update your app when a member updates their answers to custom fields, either during checkout or by visiting their member profile.
Triggers when a member adds, changes, or removes their tax ID. Use this trigger to update your app when a member updates their tax ID.
Distinguishing group manager sign-ups from member sign-ups
Sign-ups from group managers and members both trigger the Subscription Created event. To differentiate between the two, you can check the two member IDs in the data that was returned. If both IDs are the same, the sign-up is from a group manager (or it’s for a plan that doesn’t support groups). If the IDs are different, the sign-up is from a member who is joining a group. The group manager’s ID is the one at the top, while the group member’s ID appears further down (nested within the member object).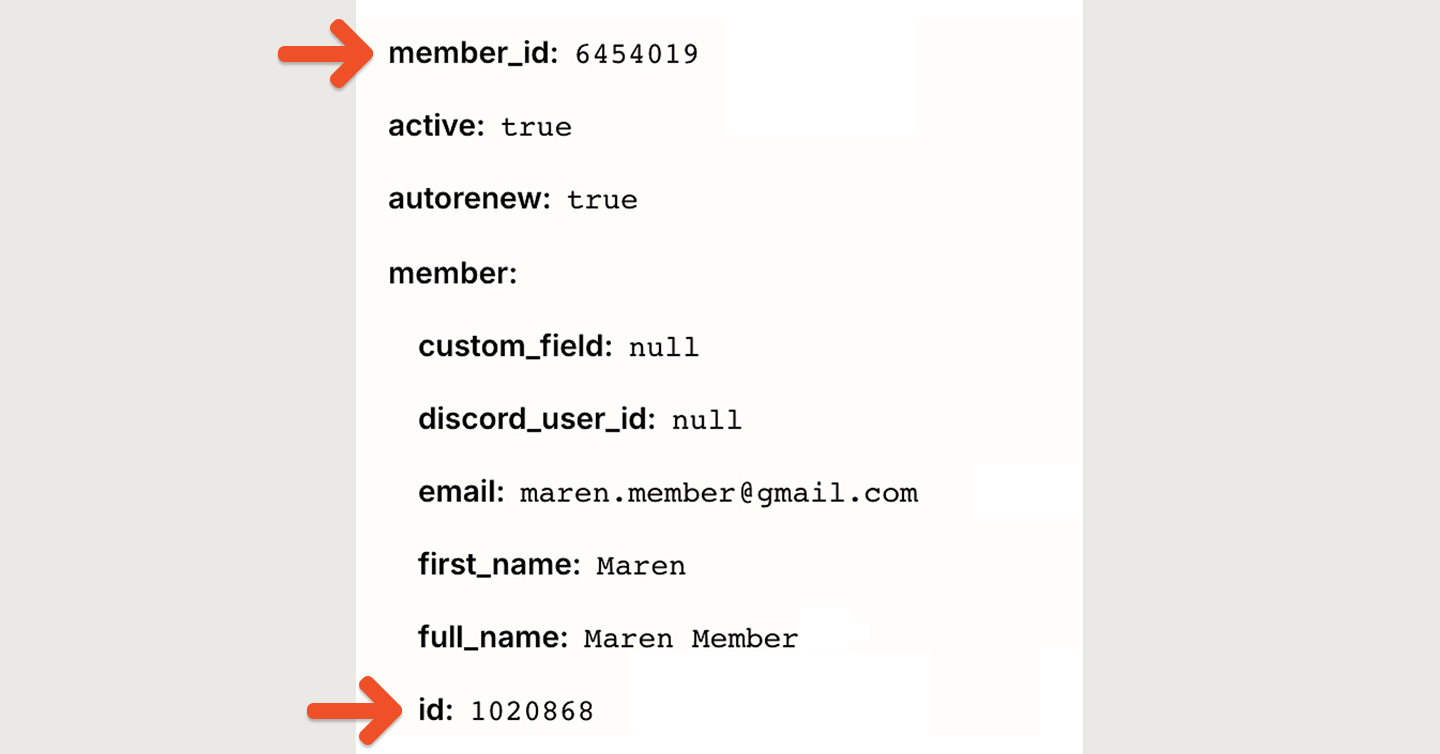
How to navigate custom fields
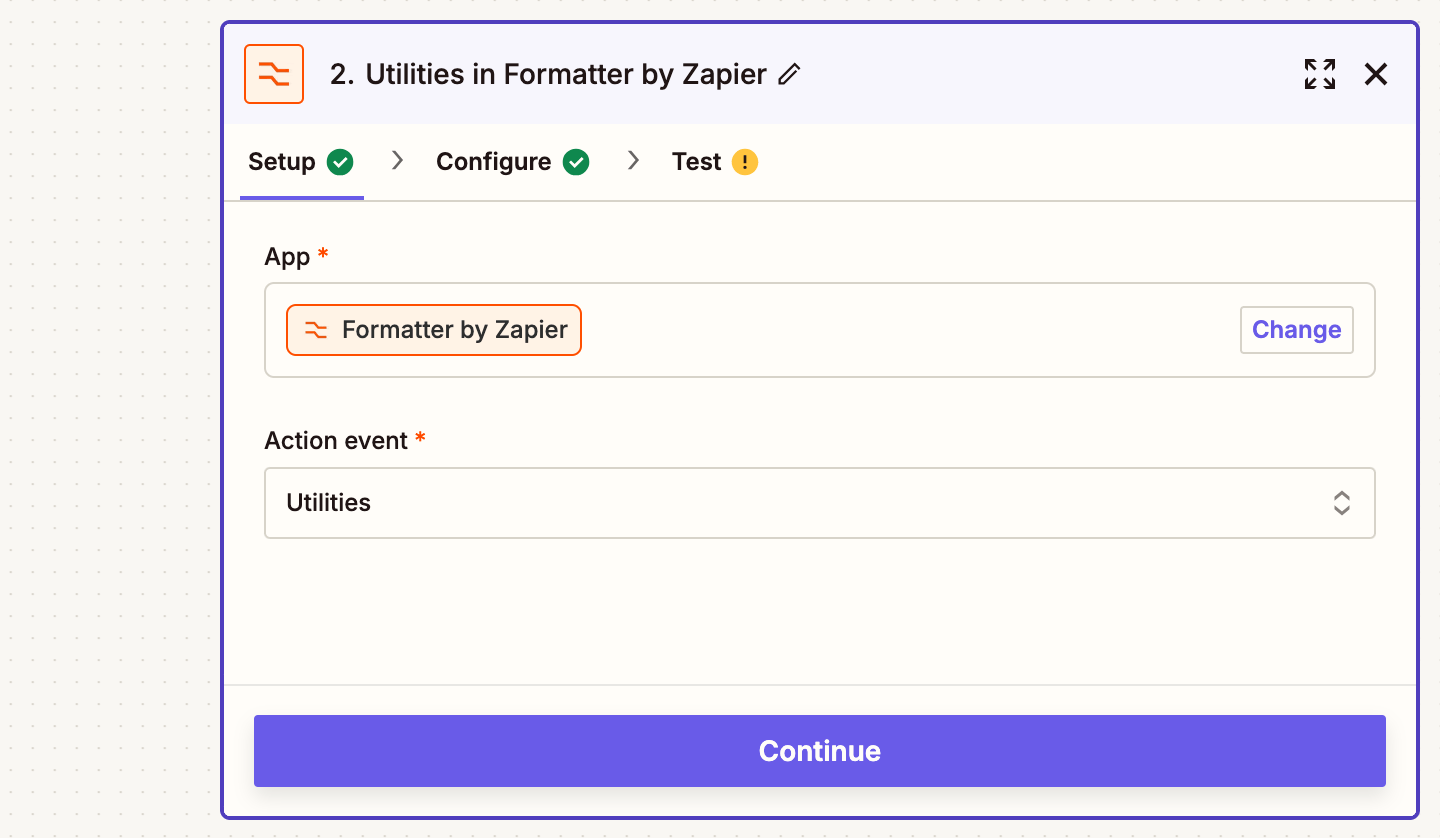
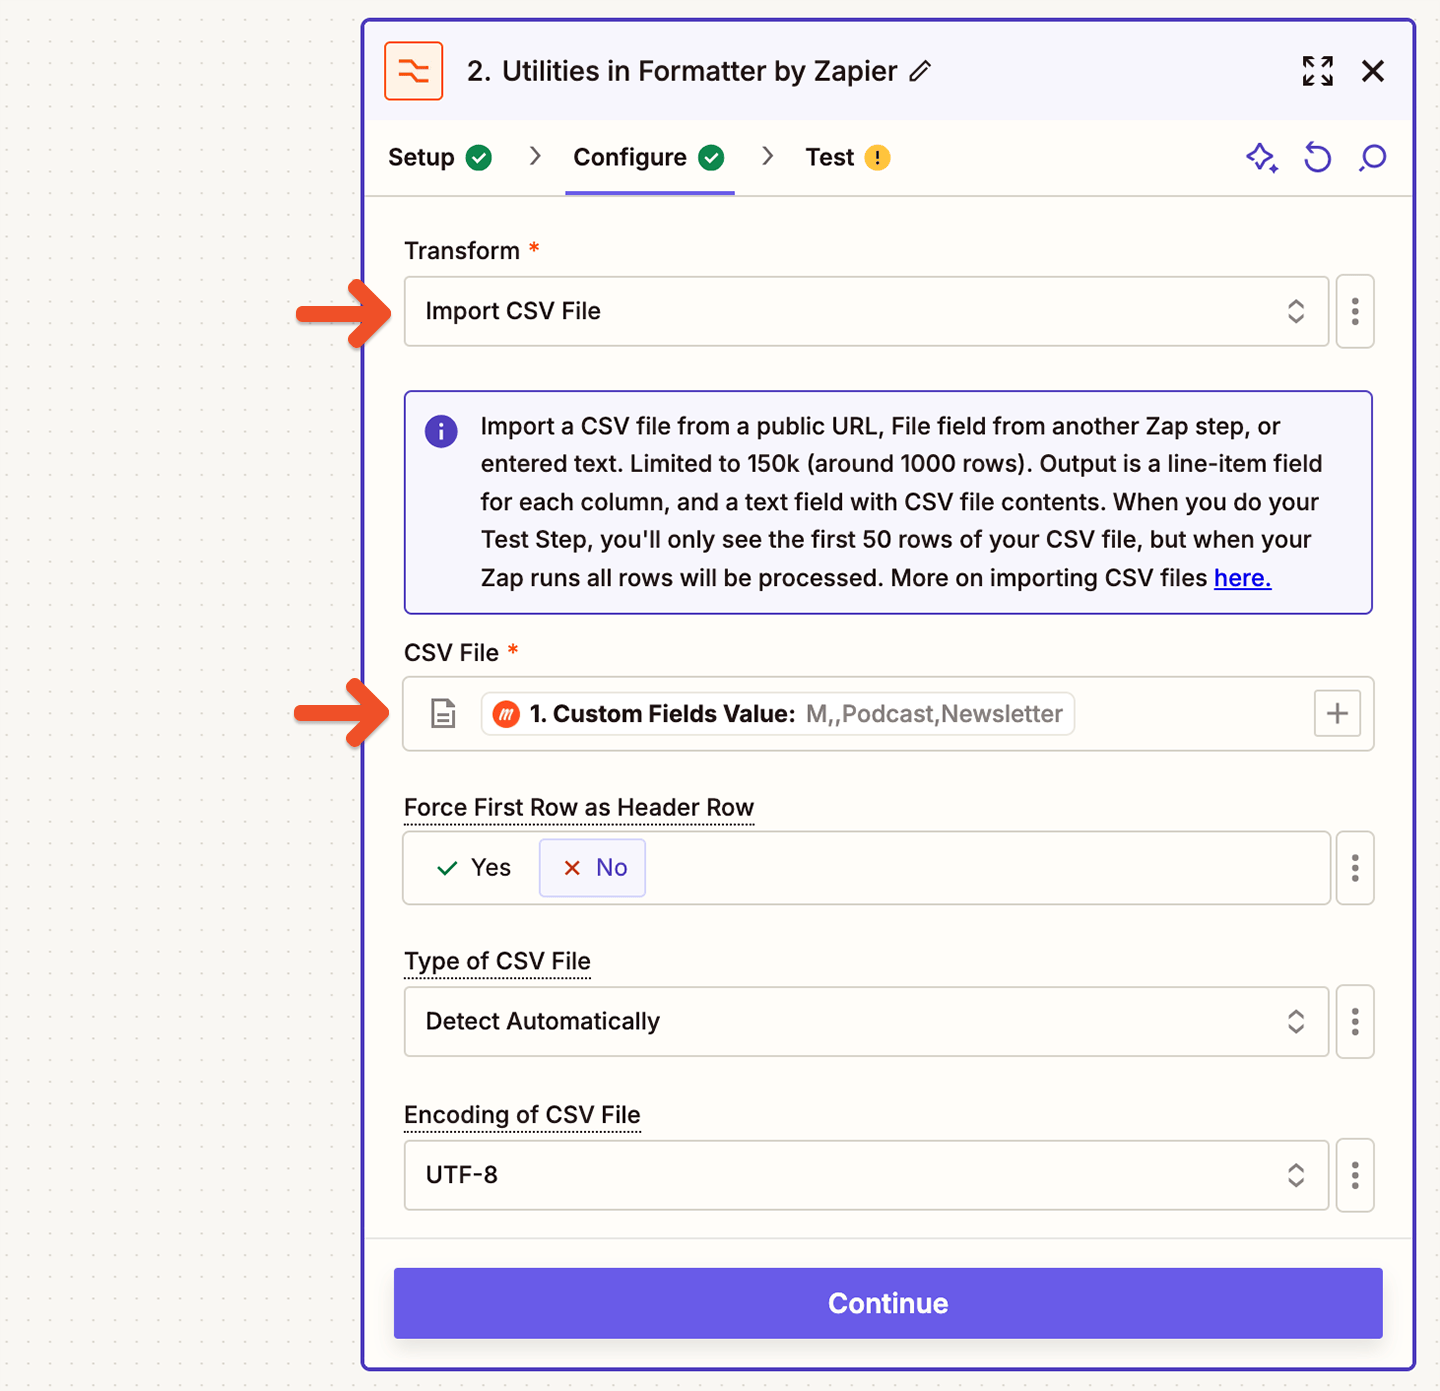
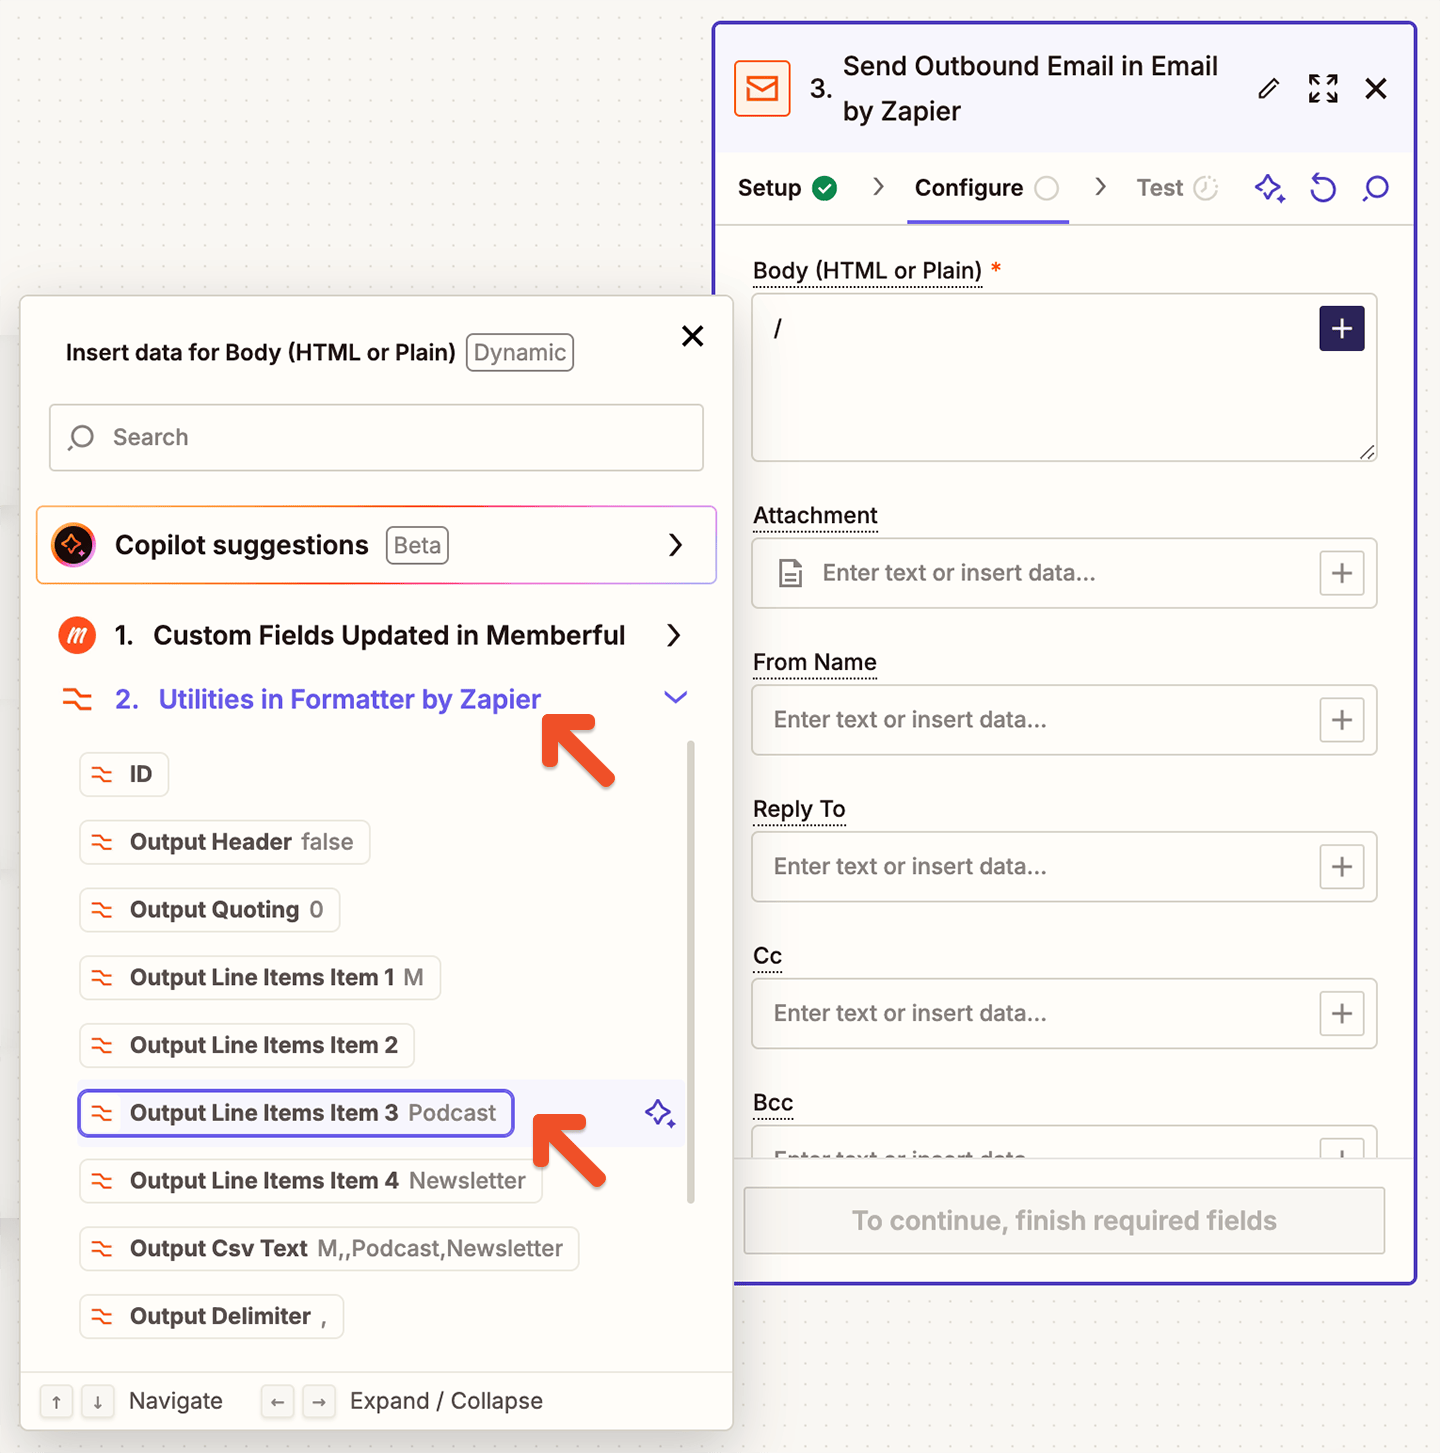
Custom fields are collected after checkout, which means the value is not yet set when Zaps using the New Member, Subscription Created, or Order Purchased events are triggered. To access custom field values, Zaps must use the Custom Fields Updated trigger instead. Custom field values currently show up in Zapier as a single field called “custom fields values,” with each of the values separated by a comma. If you’d like to access the values individually, you can use Zapier’s built-in formatter to split the values into separate fields. First, add a Formatter step and choose the Utilities event.