Decide where to host your community
One of the questions we receive all the time is centered on finding the best platform for building private communities. Memberful has two fully managed integrations with Discord and Discourse. This means we’ll keep your paid members in sync and automatically remove their access from the communities once their subscription expires. Where should you host your private community? Here is some info to help you decide. Discord Discord is a dynamic chat room, and it’s optimized for real-time interaction, whether voice, text, or video. It’s harder to have detailed conversations but better for quick engagements.
Discourse
Discourse is more of a traditional discussion forum that is centered around threads. Discussions will be scoped to whatever the thread’s subject is, and it’s suited for asynchronous, well-thought-out communication.
Other options
bbPress
If you have a WordPress website and are looking for a very basic discussion forum plugin to test the waters, check out our bbPress integration. It’s not a sophisticated solution, but it’s free and easy to set up.
Circle and Bettermode
Circle is an all-in-one community platform. Bettermode allows you to build a customized online community space. Both Bettermode and Circle built their own integrations with Memberful, meaning they’re not managed by us. You’ll learn more about what this means later on in this guide.
Slack
Slack is a communication hub with workspaces and is separated into channels for topics or user groups. Like Discord, you can join multiple Slack workspaces. Memberful doesn’t have an integration with Slack (yet), so if you’re set on using Slack for your paid community, you’ll need to manually invite and remove members during the lifecycle of their membership.
Create your plans in Memberful
After you open your Memberful account, you’ll want to set up some membership plans that people can subscribe to. Log in to the Memberful dashboard, go to Revenue → Plans, and click Create plan. Enter a plan name, then add a price, billing interval, and click Create Plan.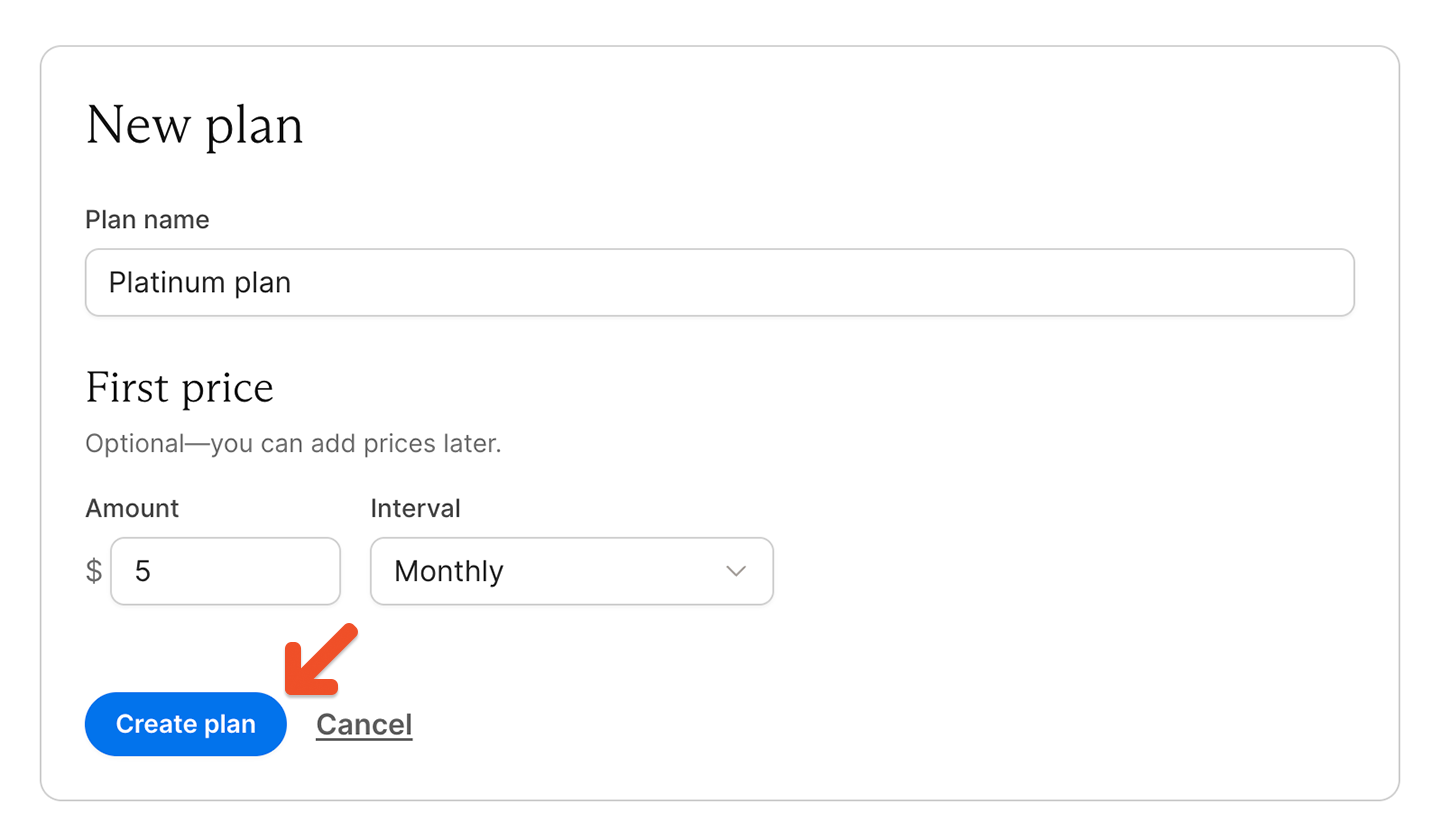
Integrate your community platform
Choose the setup instructions that are right for you. Memberful-managed integrations:- Integrate Memberful with Discord
- Integrate Memberful with Discourse
- Integrate Memberful with bbPress
Add Memberful links to your website
In your Memberful dashboard, go to Revenue → Plans. Select the plan you want, then click Links. From there, copy the purchase link and add it to your website, or use your site builder’s built-in button options.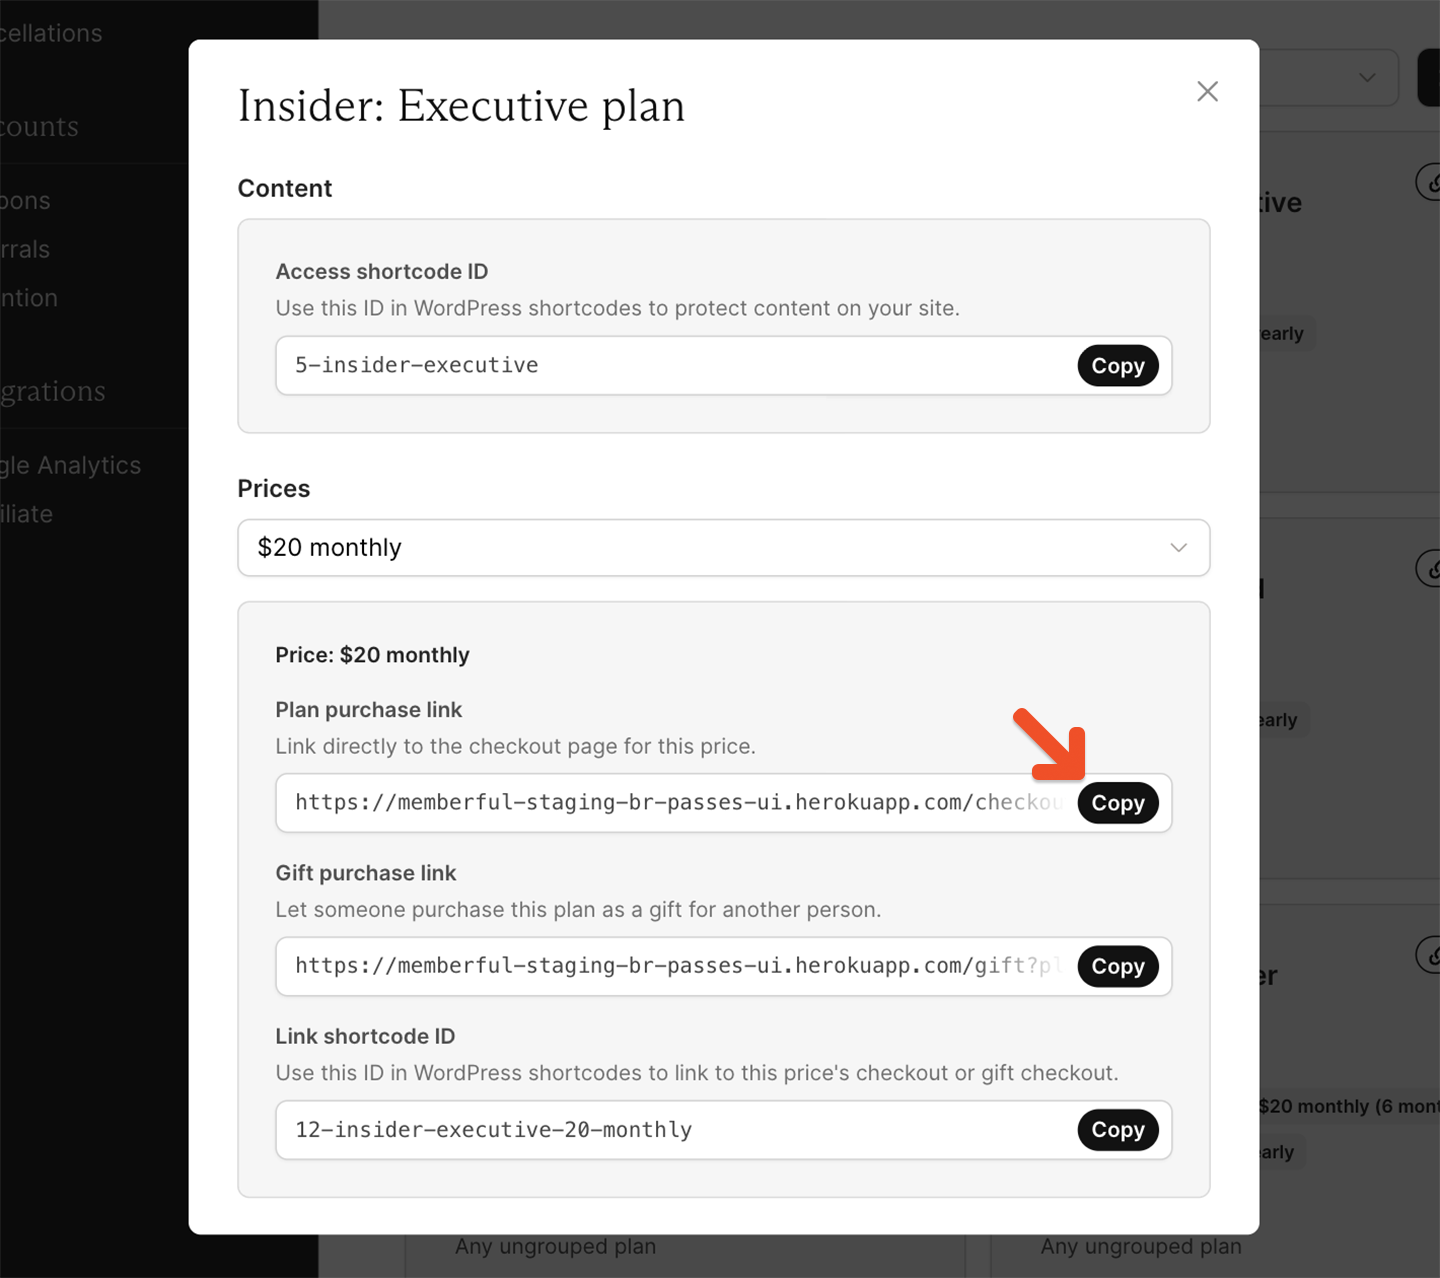
Add member account links
Give members an easy way to manage their personal information and subscriptions by sharing this link on your site and in your community:(Optional) Create a custom subscribe page
To sell memberships to your audience without a website, you can create a subscribe page hosted by Memberful by going to Website → Subscribe. Use our website editor to add a title and description to the page, select which plans and downloads will appear on the page, customize their name and description, and add additional content like FAQs or testimonials. Your custom branding will be applied as well. Create a custom subscribe page.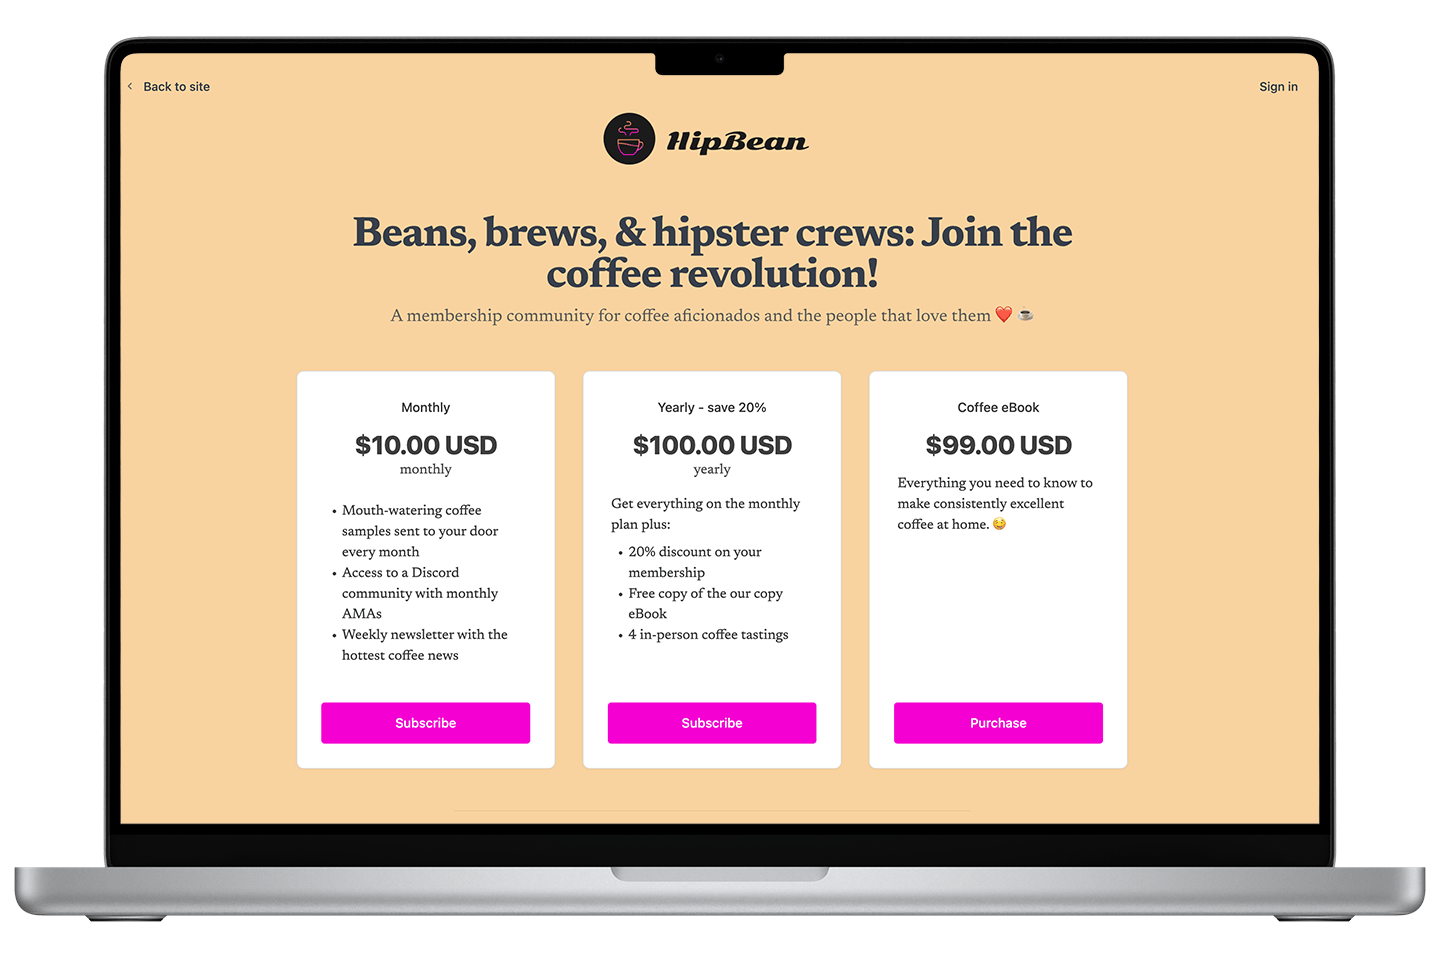
Test the member experience
While your Memberful account is in test mode, you can use Stripe’s test credit cards to complete example member purchases and recreate their onboarding experience. Make sure to log out of your WordPress admin dashboard (if you’ve integrated Memberful with WordPress) and sign up with a different email address than the one associated with your website and Memberful account, as using the same email address can produce unexpected errors. Additionally, you can use our website editor via the Website tab to see which features are customizable, how they interact, and what they’ll look like to your members across different views and devices.Make a lasting first impression with an onboarding program that highlights your best content and gets new members excited from the start. Set the tone for success and engagement right from day one. Check out Operator for tips on designing an onboarding experience that wows.
Go live
When you’re ready to start processing orders, choose your currency and connect to Stripe. We will automatically delete all your test orders and member accounts when you switch to live payments. Nice work connecting to Stripe. Now you’re ready to start selling memberships to your audience. Here are a few ideas to make your launch a success:- Announce the membership on your social media pages.
- Link to the membership sign-up page in your social media profiles and upload special banners for the launch month.
- Send a membership-specific email blast and add a link to the membership signup page in your email signature.
- Host a livestream or post a video to announce the membership.