Hosted member website guide
With Memberful’s member website, you can seamlessly integrate members-only emails, exclusive content, and enticing teasers for visitors — all in one place while elevating your unique voice and messaging.
In this guide, we’ll walk you through the steps to create a member website that represents your brand and showcases your membership offering. You’ll learn how to configure the website, create dynamic posts, promote your membership plans, and customize the website's branding.
Try a member website hosted by Memberful
Want to test out the member experience? We have set up a demo site so you can see a live member website that puts your brand first and pulls together the pieces of your membership offering in a cohesive way.✔️ Browse a real member site created and hosted by Memberful
✔️ Go through the signup process with a test credit card
✔️ See what the “logged in” experience could look like for your members
Access the demo site >
How to build a member website
- Sign up for Memberful.
- (Optional) Allow free registration.
- Create your plans.
- Create your subscribe page.
- Enable the member website.
- Customize your site settings.
- Customize your branding.
- Create evergreen pages.
- Create dynamic posts.
- Customize your site menu.
- Test the member experience.
- Go live.
Sign up for Memberful
To get started, sign up for Memberful, which is free while you're in test mode.
(Optional) Allow free registration
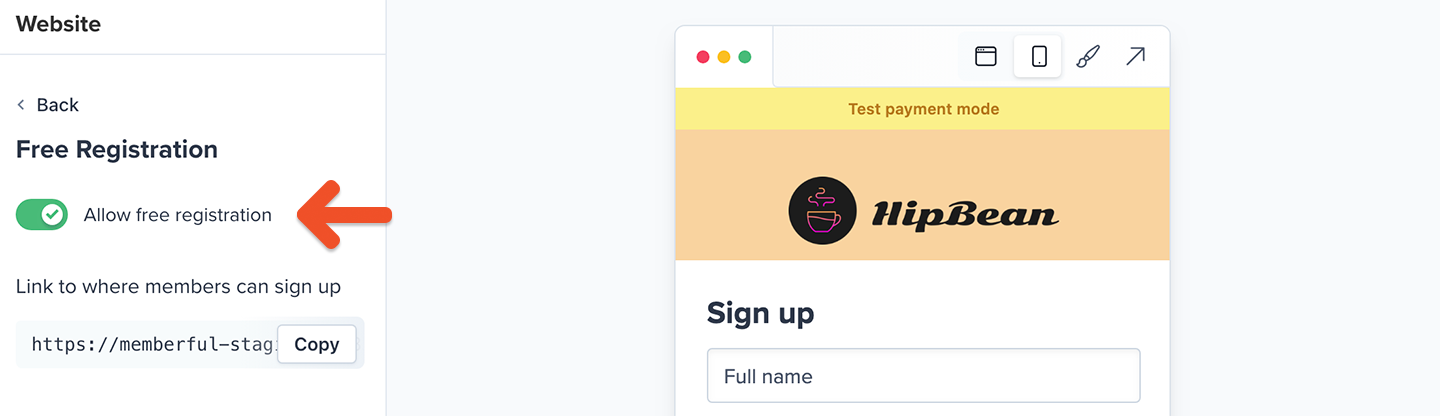
Want to offer free registration to your hosted site? Our free registration feature enables your members to sign up without any cost or obligation for a paid subscription.
To enable this feature, navigate to Website → Free registration, and toggle on Allow free registration. From there you can edit the title, subtitle, or the button text of the form and click Save.
Learn more about allowing free registration.
Create your plans
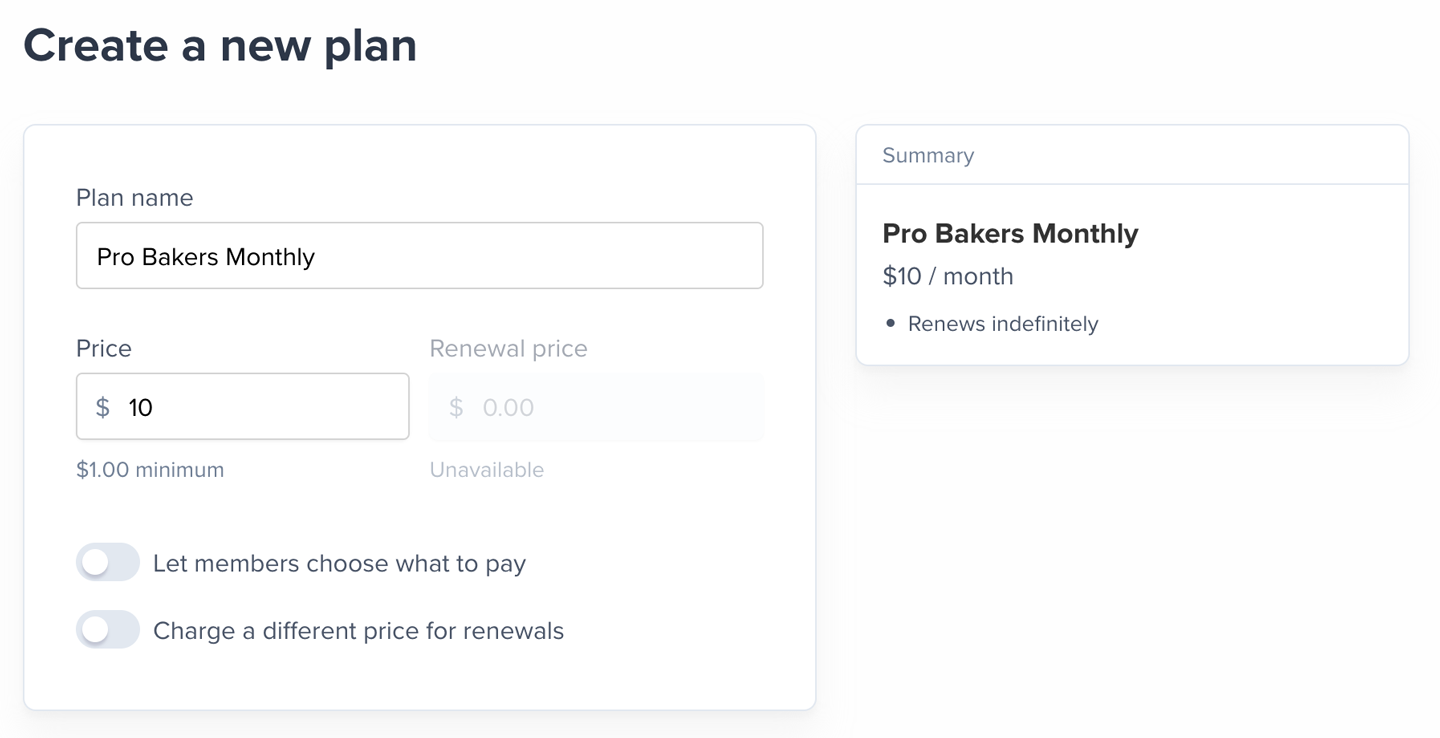
You'll want to set up some membership plans that people can subscribe to.
Navigate to Revenue → All Plans and click New plan. Fill in the details and settings for your plan and click Create Plan.
Learn more about creating membership plans.
Thinking of selling multiple plans that members can move between? Enable our upgrade/downgrade settings.
Create your subscribe page
To sell memberships to your audience, you can create a customized subscription page hosted by Memberful: Navigate to Website → Subscribe, click the gear icon, and toggle on Enable your subscribe page.
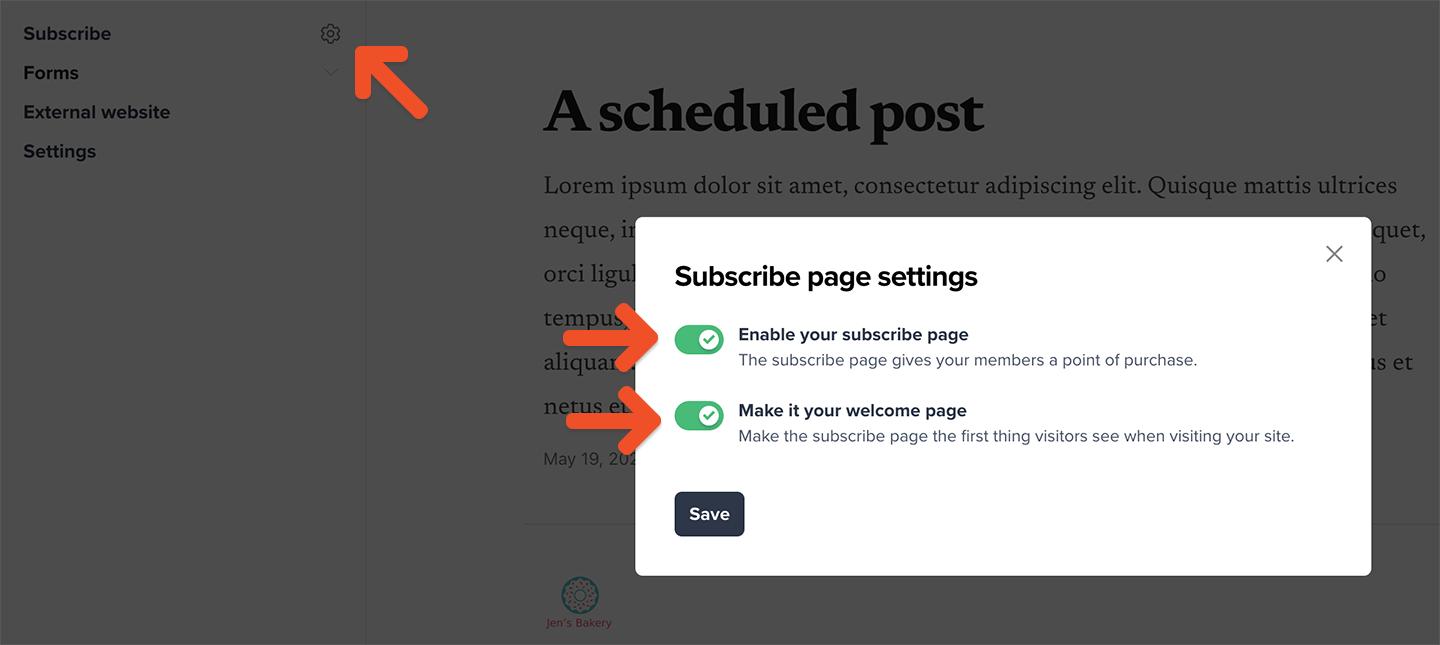
You can also turn on the Make it your welcome page toggle to make it the first page visitors are directed to. If a visitor chooses to skip it, and your site is public, we'll remember their choice for the next 30 days.
If the Welcome page setting is toggled off, then your homepage will be the first page visitors see when they land on your site.
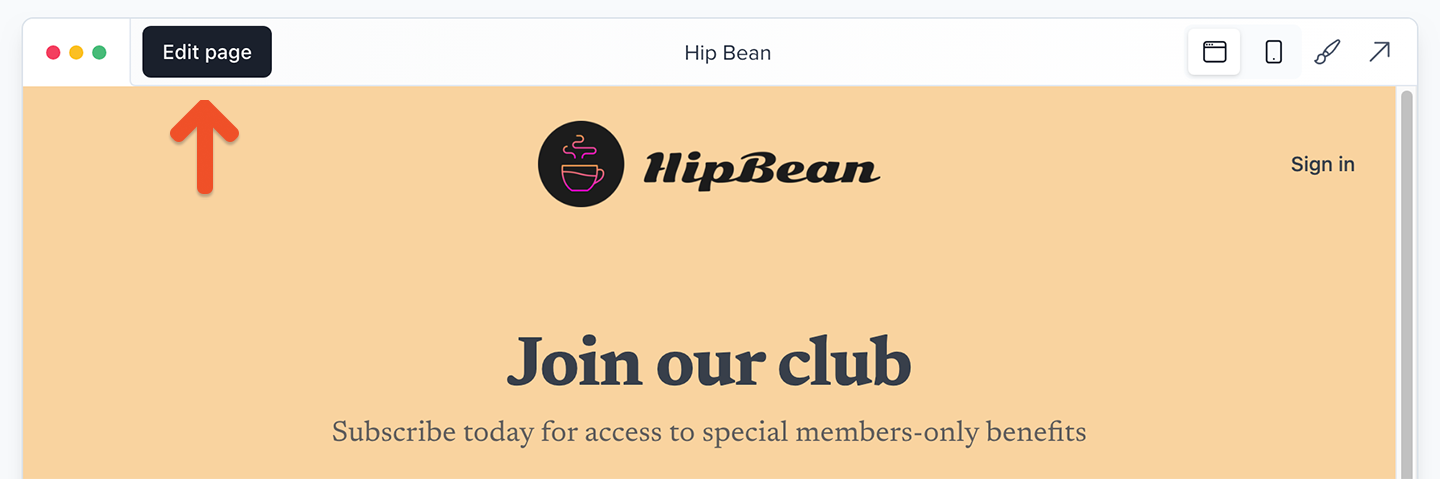
You can customize your subscribe page by navigating to Website → Subscribe → Edit page. Check out this example for inspiration.
Learn more about creating a custom subscribe page.
Customize your branding
Click the paintbrush icon in the Website tab to customize the background and button colors, and upload your logo or favicon image.
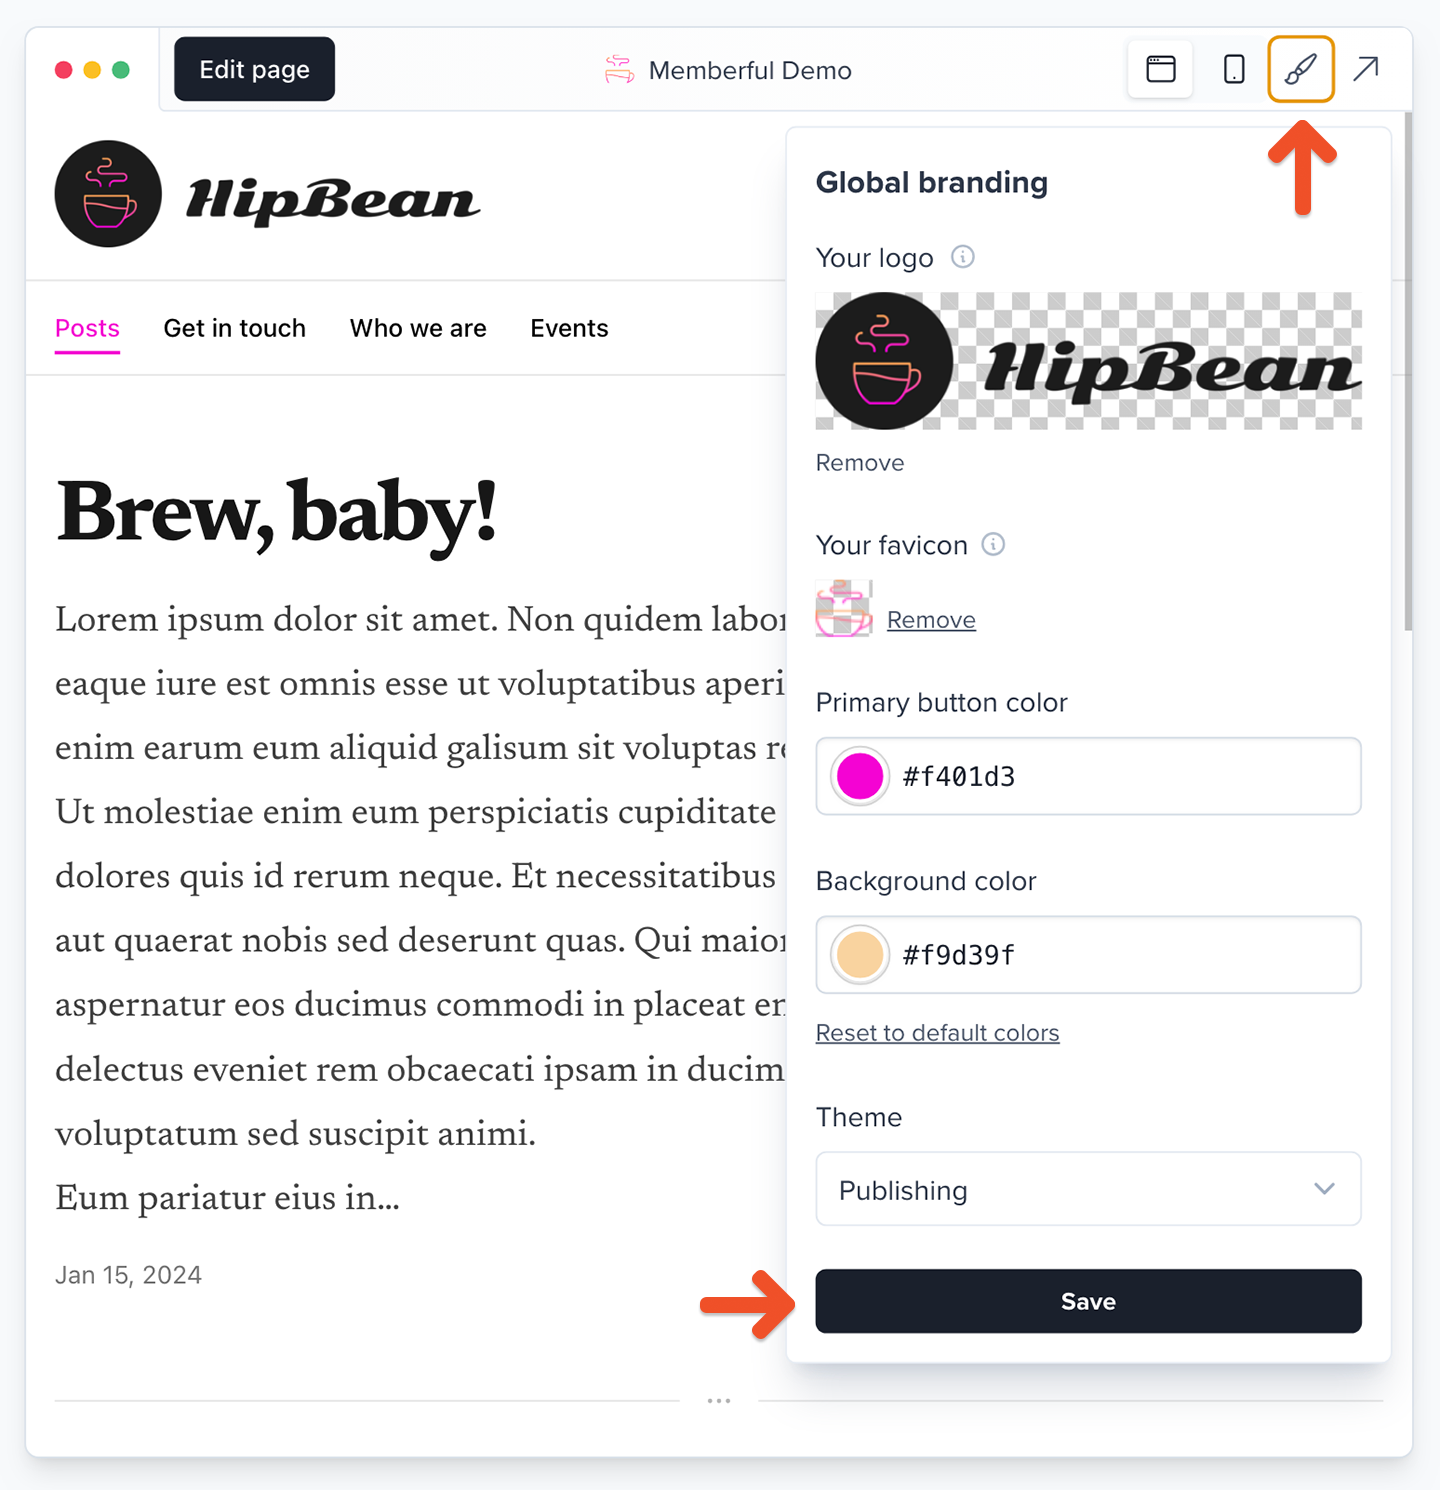
Additionally, you can see which features are customizable, how they interact, and what they’ll look like to your members across different views and devices.
These customizations will be applied to your published posts.

Learn more about customizing your branding.
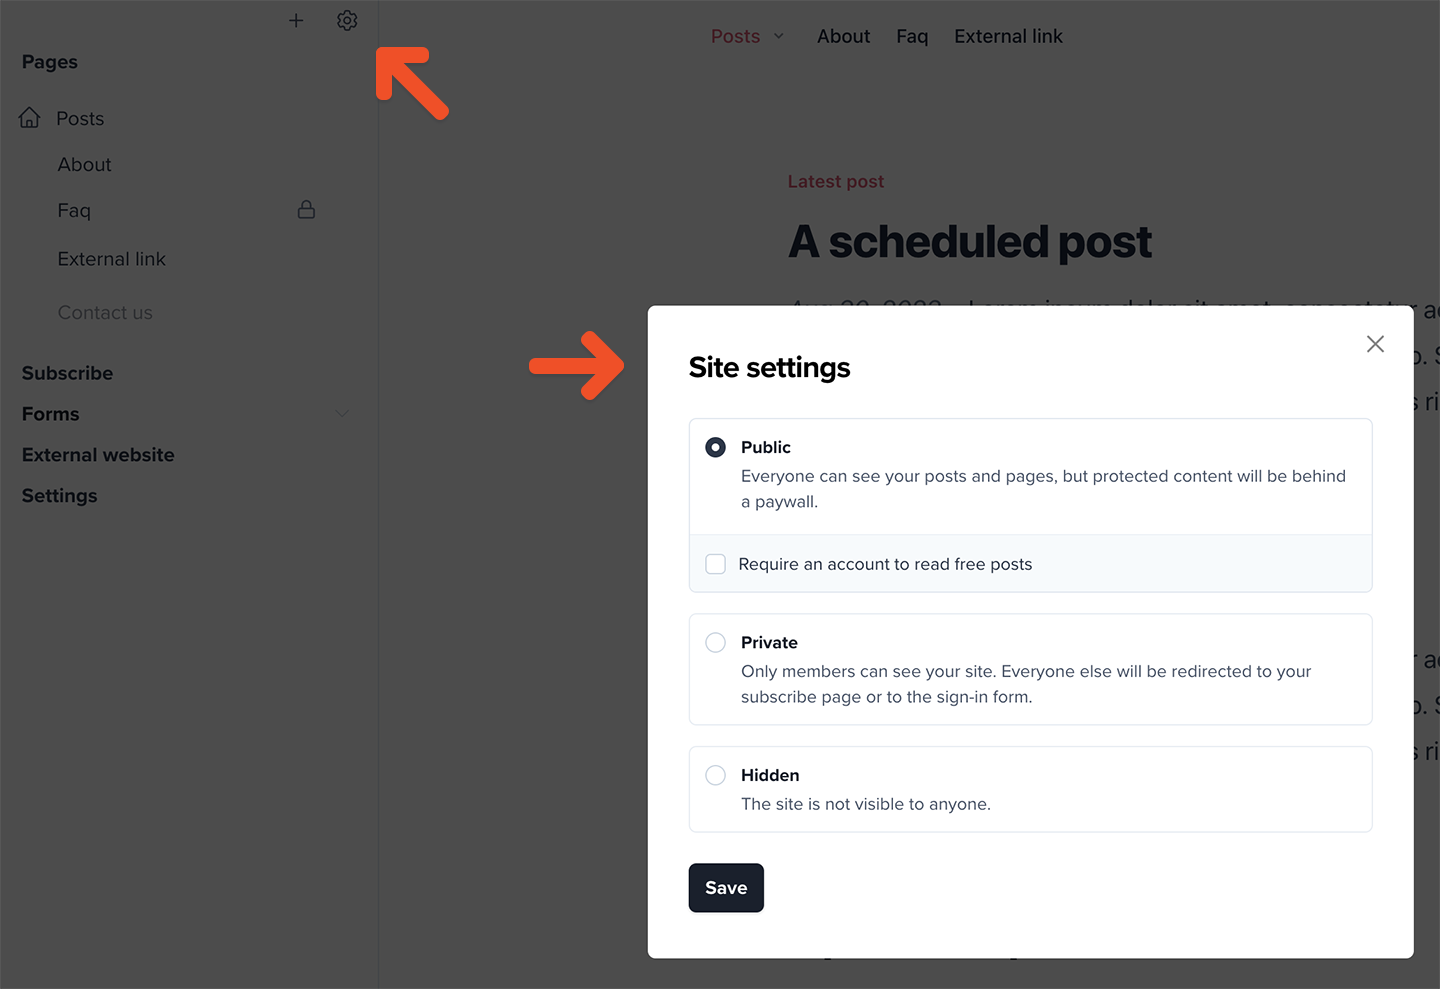
Enable the member website
Memberful's hosted website feature is enabled by default. You can configure your site as public, members-only, or hidden, by navigating to Website → Pages, clicking the gear icon, and selecting your preference.
Customize your site settings
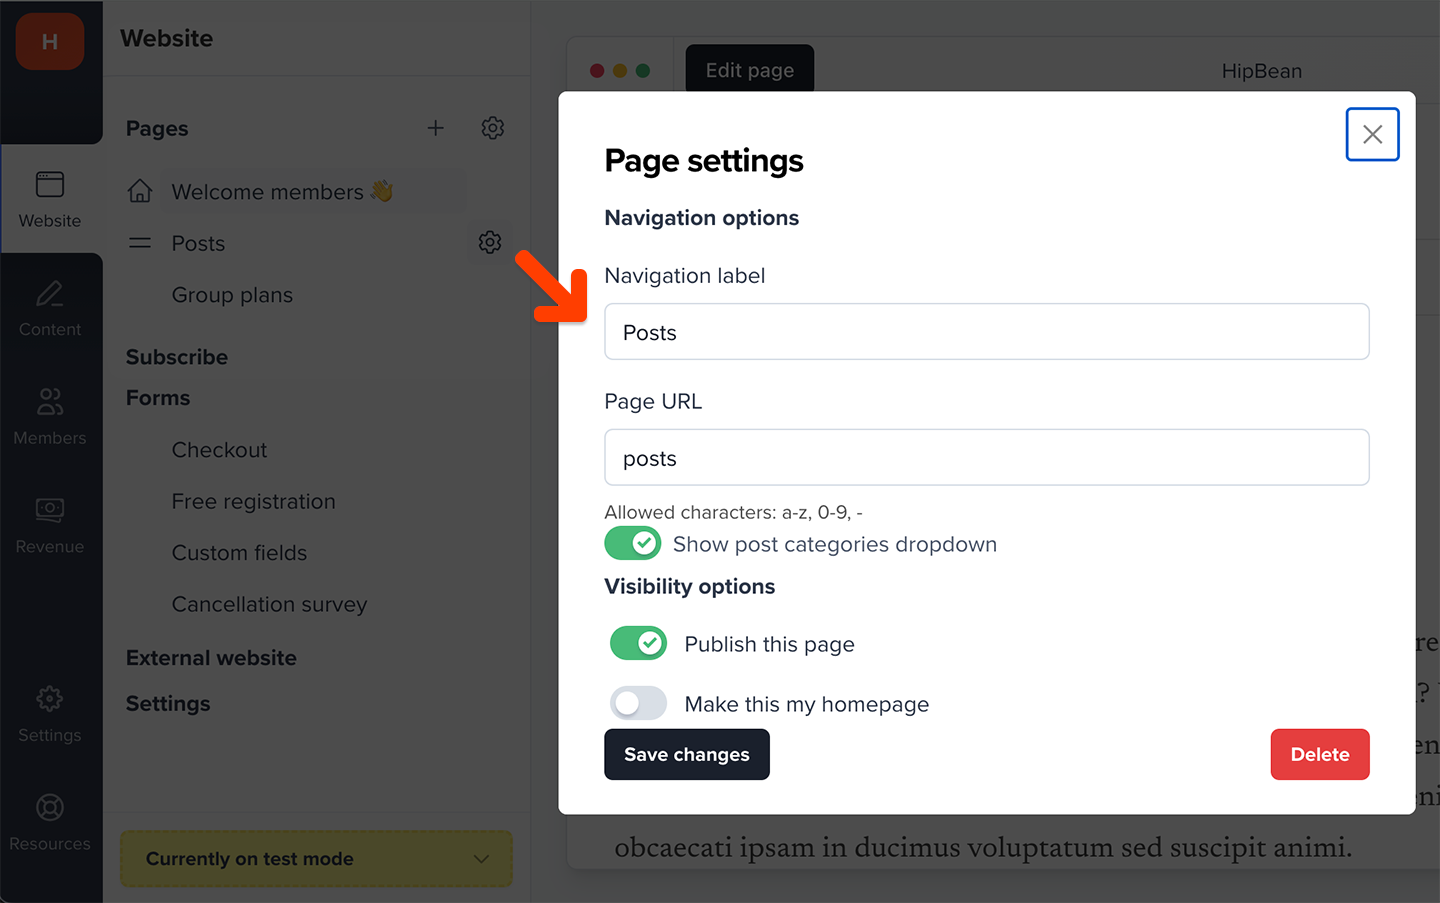
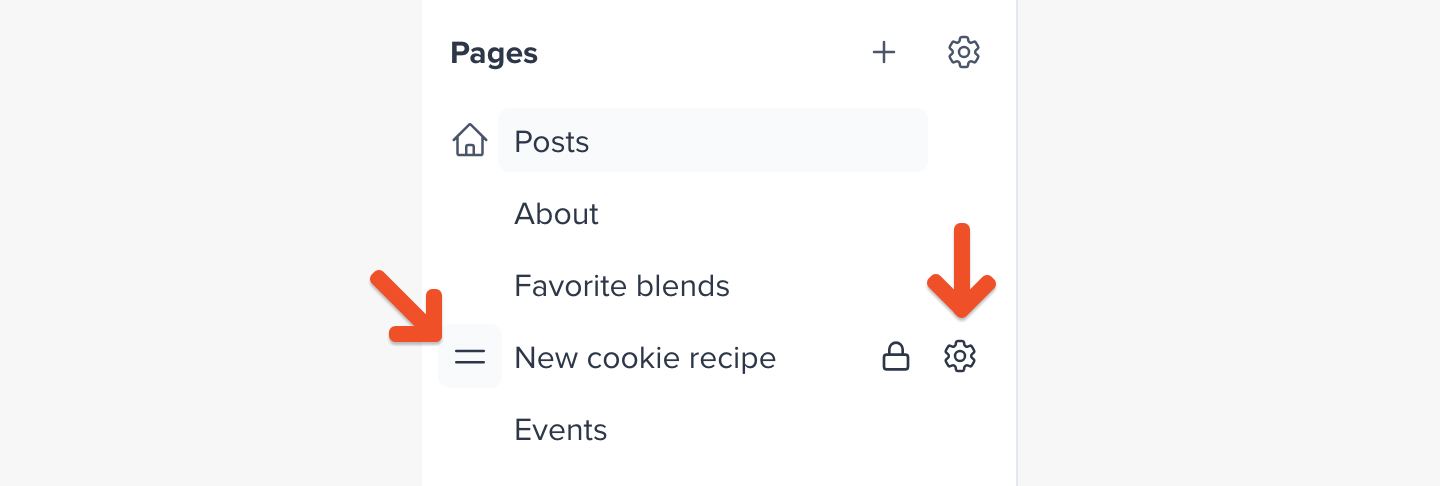
Hover your cursor over any page or menu item and click the gear icon to customize it.
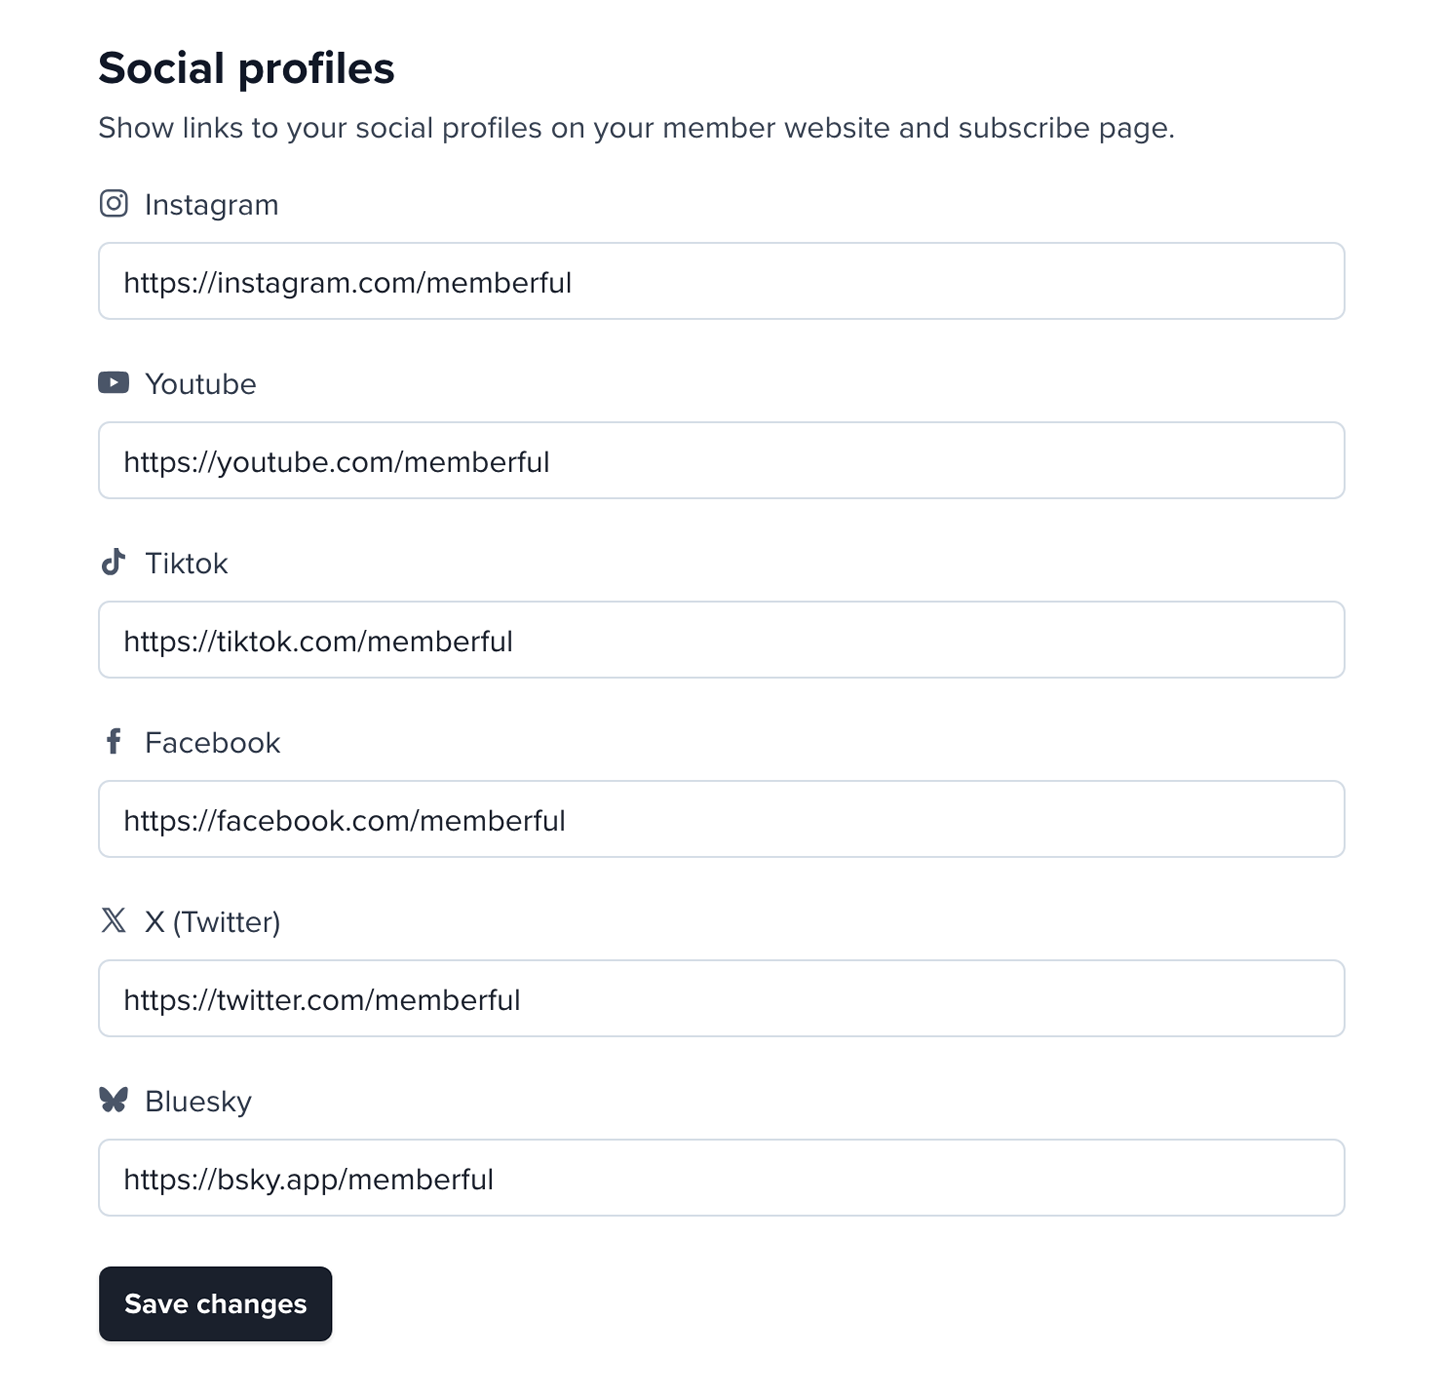
You can also navigate to Website → Settings to add your social media profiles.
Learn more about customizing your site settings.
Create evergreen pages
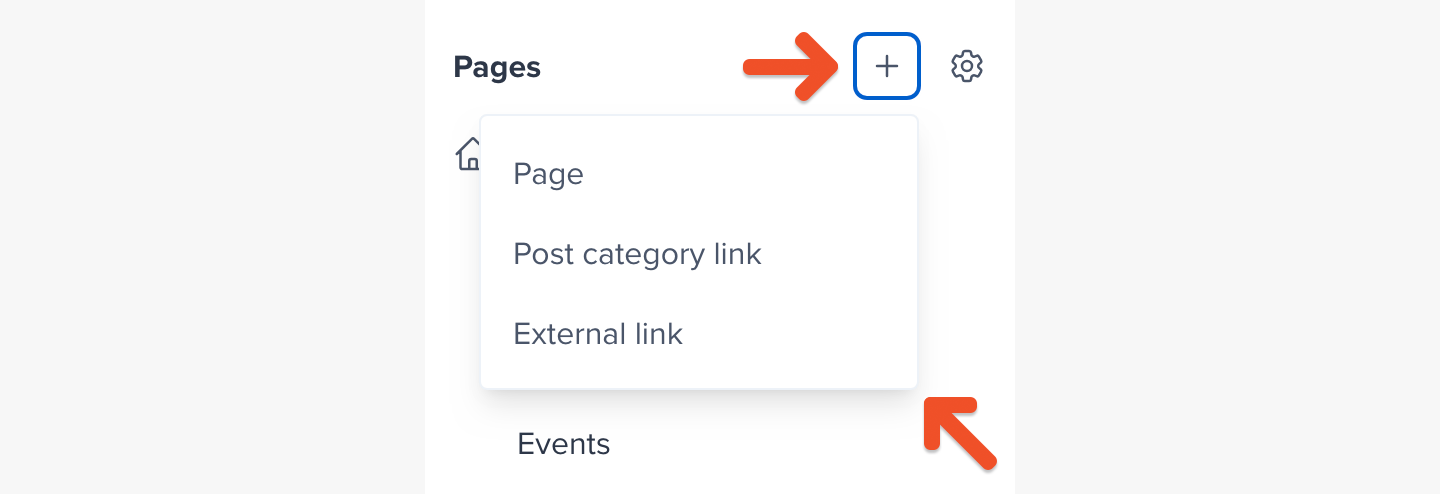
You can create pages (or external links) for your member site via Website → Pages. Pages are great for evergreen content like an “About Us” page or “FAQ” page. Check out this example of an evergreen page.
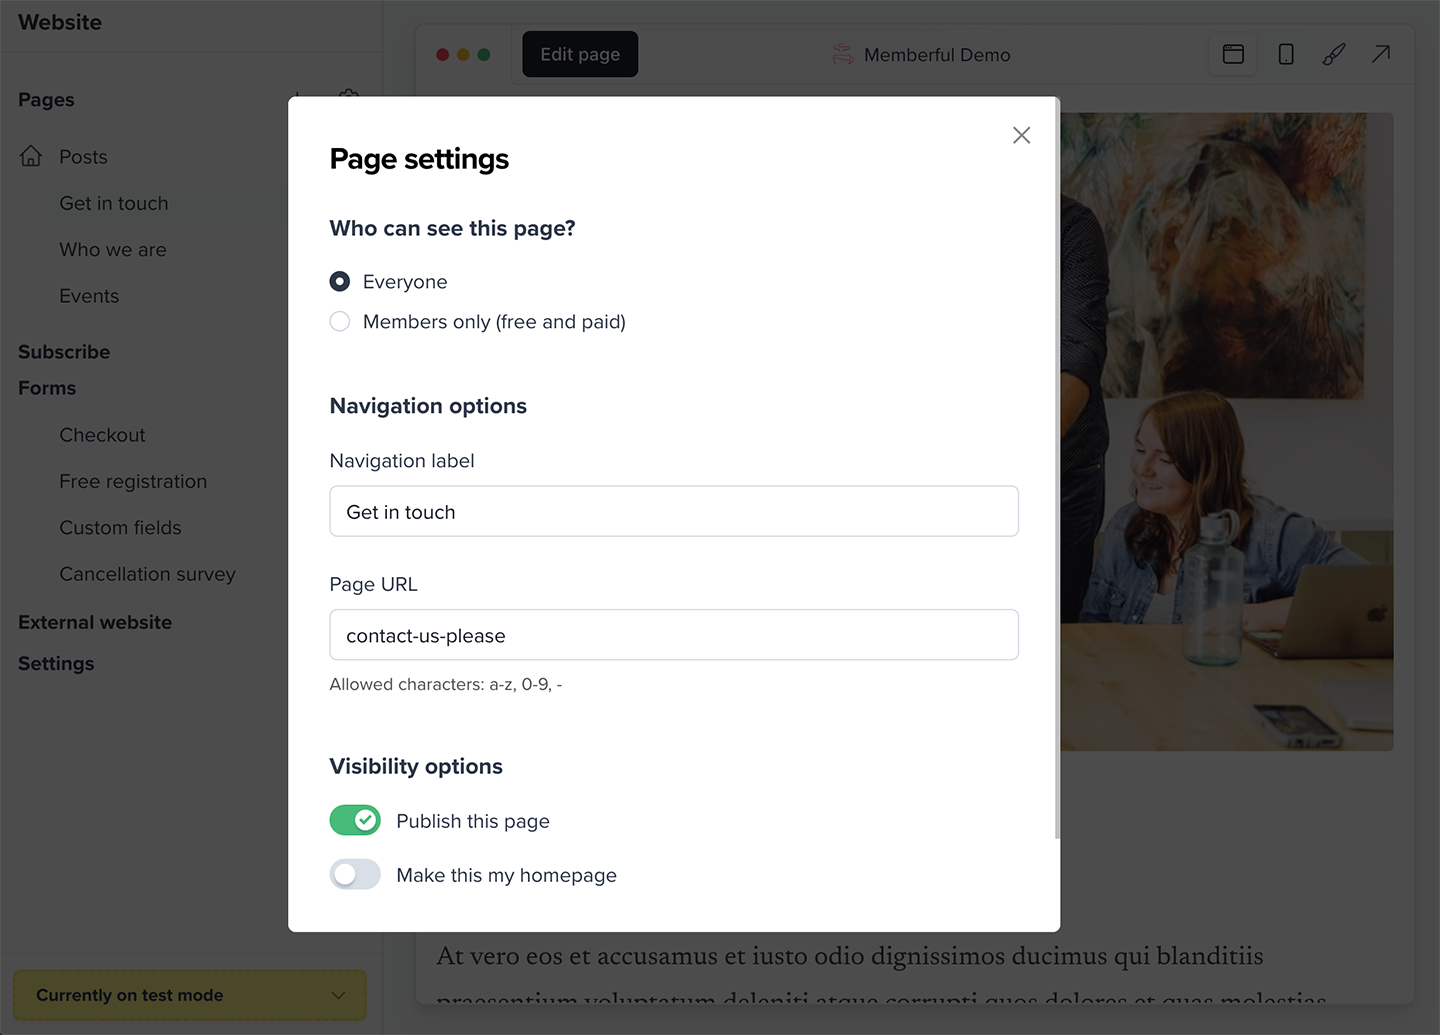
Depending on whether you made your site private or public, you'll be able to decide if the page should be visible to all members (including free and inactive), all active members, or all active members subscribed to specific plans. You can also edit the navigation label and page URL. Add dynamic flair to your pages by uploading photos or videos!
Once the page has been created, you'll also be able to control the visibility of specific content blocks within the page.
Learn more about creating and publishing pages.
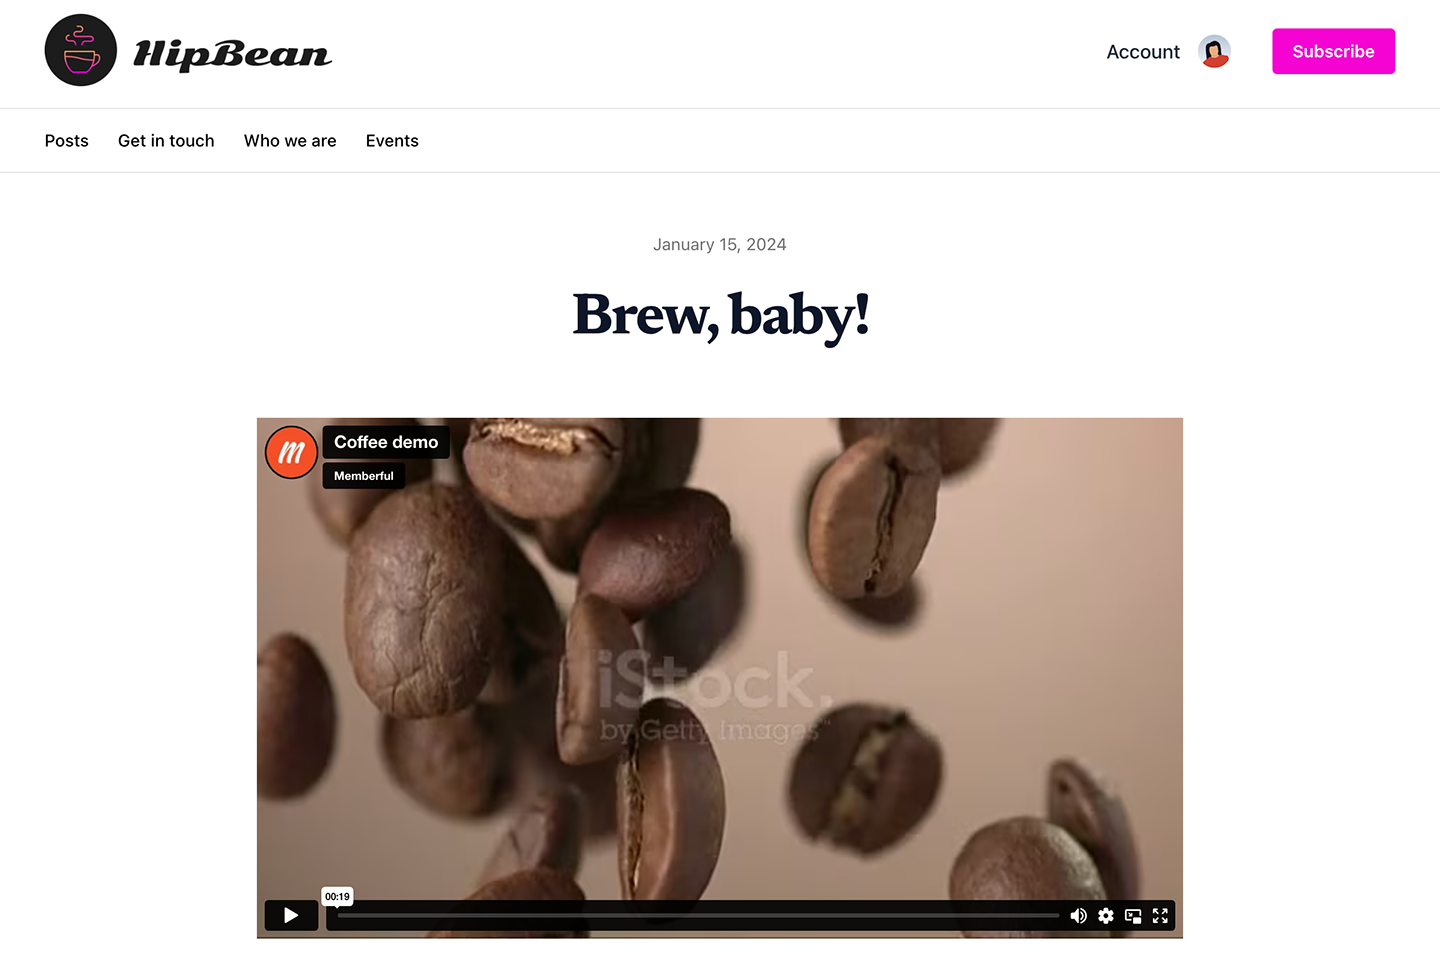
Create dynamic posts
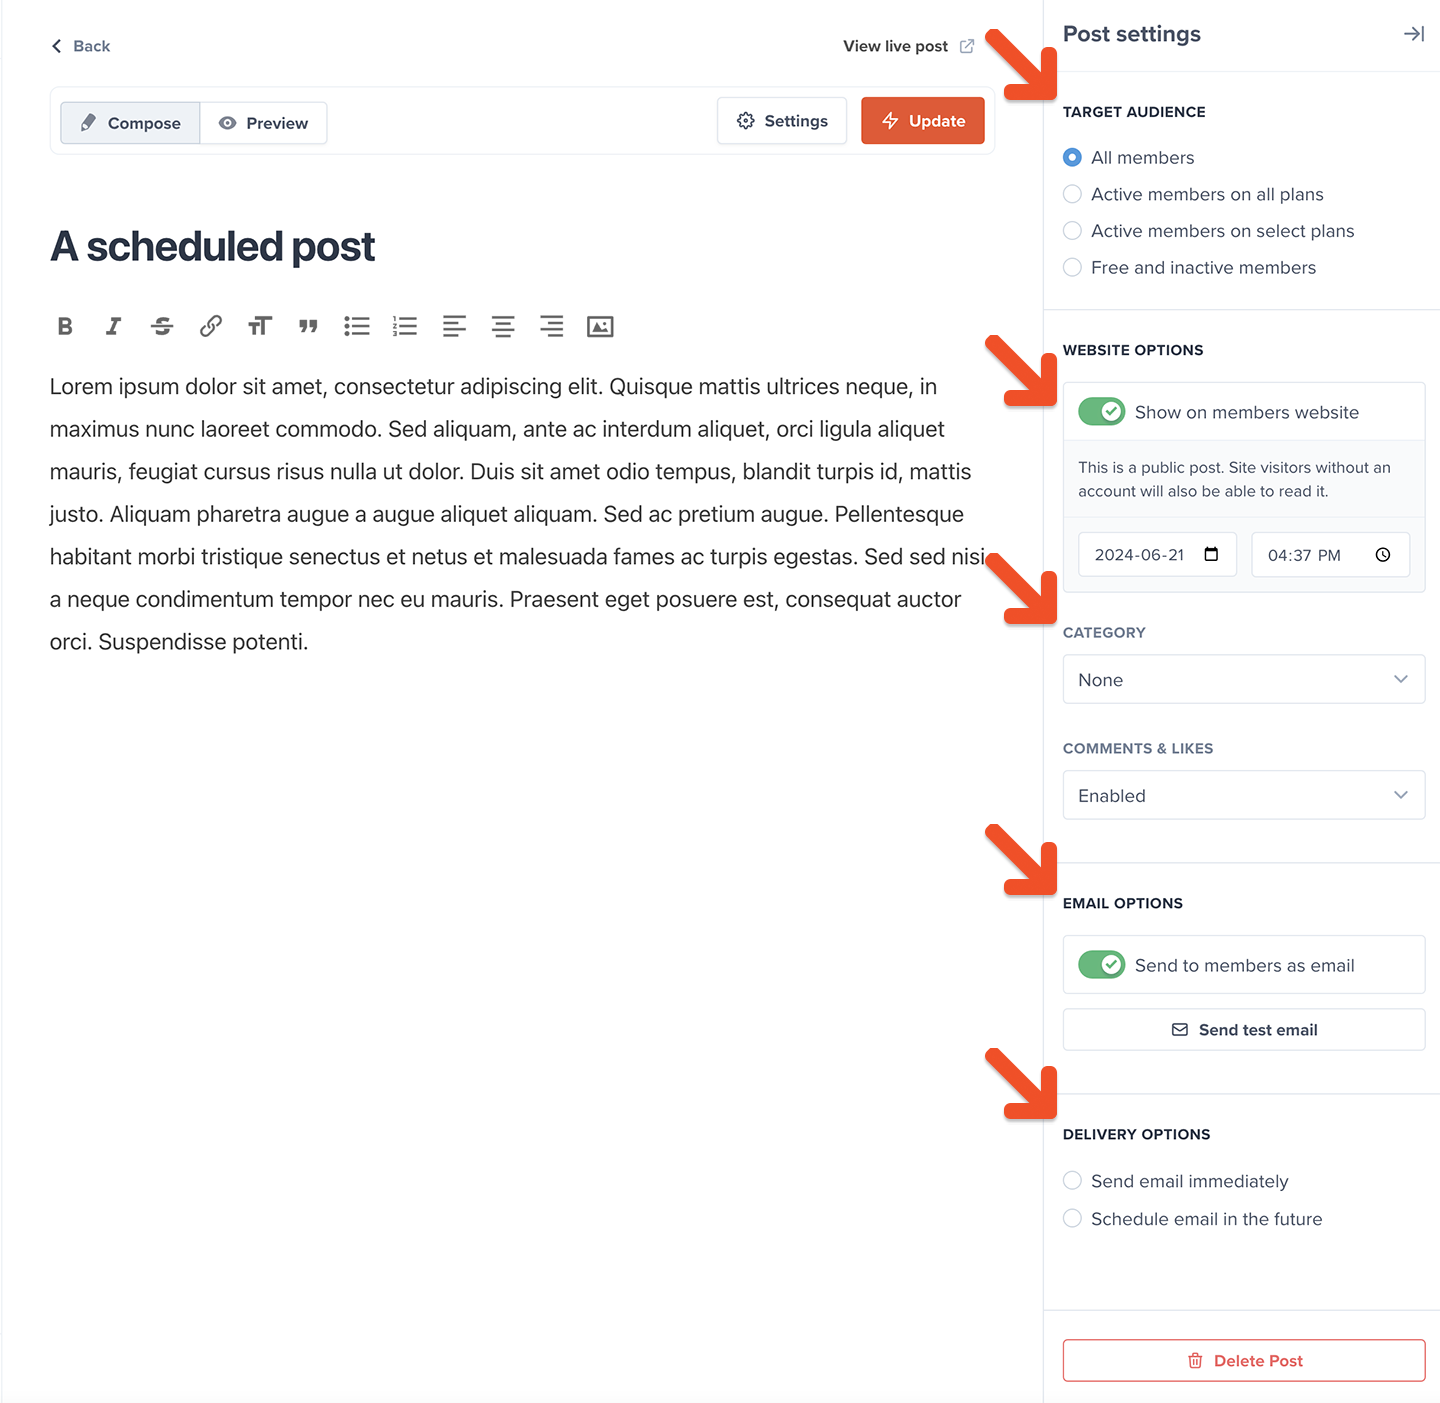
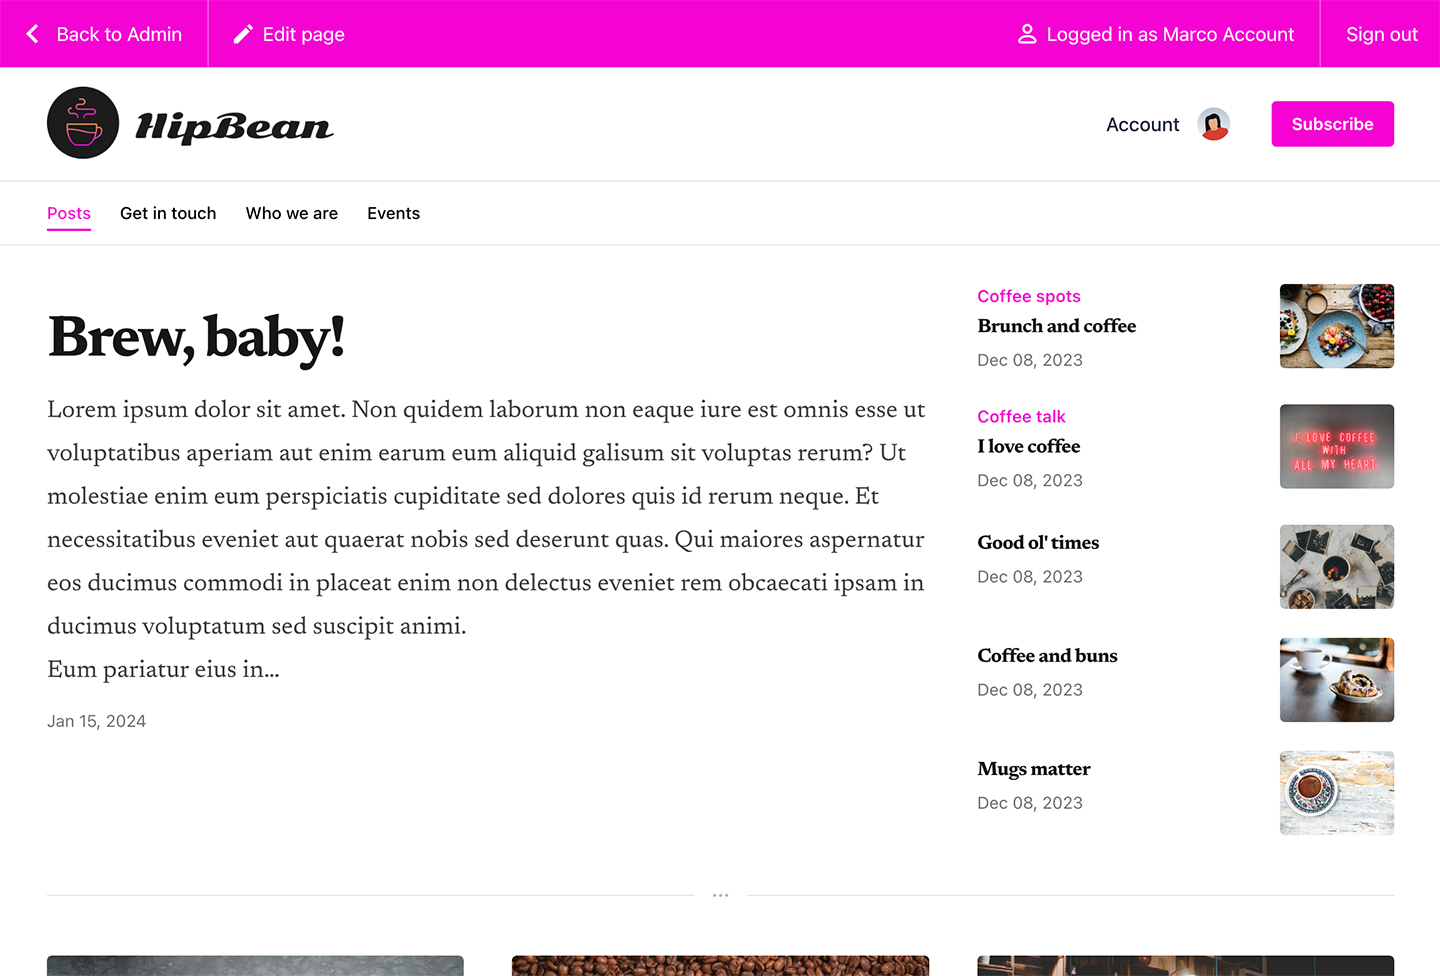
You can create posts for your member site via Website → Posts. Posts can be used to share exclusive, dynamic content with your paid and free members. Think blog posts with embedded videos and beautiful visuals. Check out this example of a published post.
For each post, you can decide if it should be visible to all members (including free and inactive), all active members, or all active members subscribed to specific plans, and whether or not members can leave comments and likes. Also, in addition to publishing your post on the member website, you can also choose to email the post to members. You can also enhance your posts with engaging photos or videos.
Learn more about creating and publishing posts.
Customize your site menu
Navigate to Website → Pages to customize your site menu. You can:
- Edit your navigation labels
- Re-order the navigation menu
- Set a specific page as your homepage (after you create your first post, the default homepage would be the posts index unless you select a different page here)
Learn more about customizing your site menu.
Test the member experience
Nice job — your member site is complete!
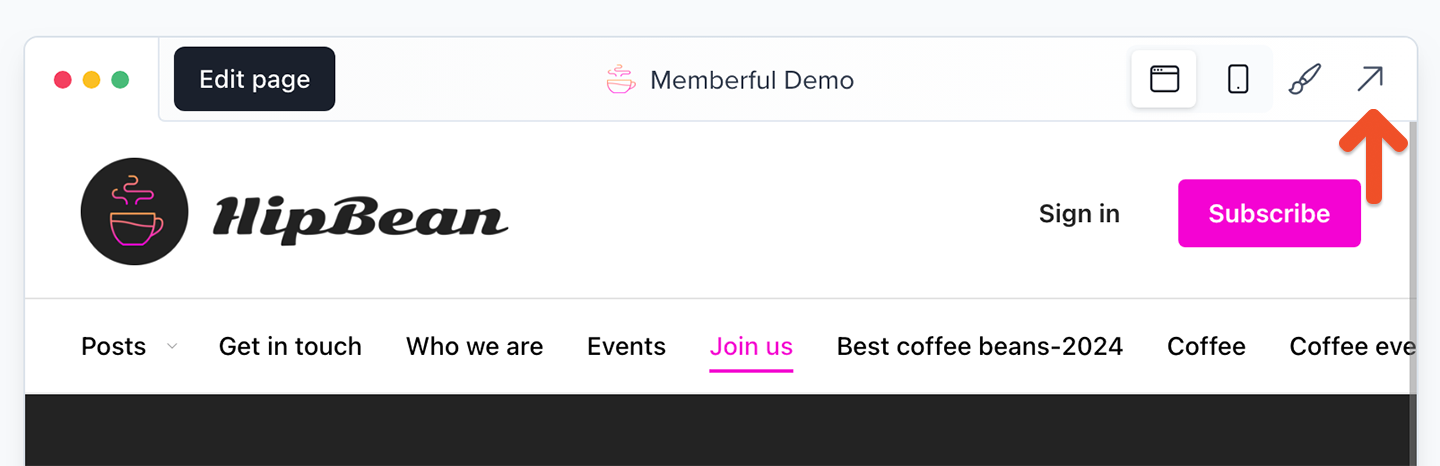
You can view your site anytime, by clicking Website in the menu on the left sidebar of your dashboard and clicking the arrow icon on any page or form.
Also, while your Memberful account is in test mode, you can use Stripe’s test credit cards to go through the signup and onboarding experience as a test member. Just make sure to visit your site in a different browser than the one where you're signed in to your Memberful dashboard.
Make a lasting first impression with an onboarding program that highlights your best content and gets new members excited from the start. Set the tone for success and engagement right from day one. Check out Operator for tips on designing an onboarding experience that wows!
Go live
When you’re ready to start processing orders, choose your currency and connect to your Stripe account via Settings → Stripe. Please note that we will automatically delete all your test orders and member accounts when you switch to live payments.
Nice work connecting to Stripe! 🚀
Now you’re ready to start selling memberships to your audience. Here are a few ideas to make your launch a success:
- Announce the membership on your social media pages.
- Link to your member site in your social media profiles and upload special banners for launch month.
- Send a membership-specific email blast and add a link to the membership subscribe page in your email signature.
- Host a livestream or post a video to announce the membership.