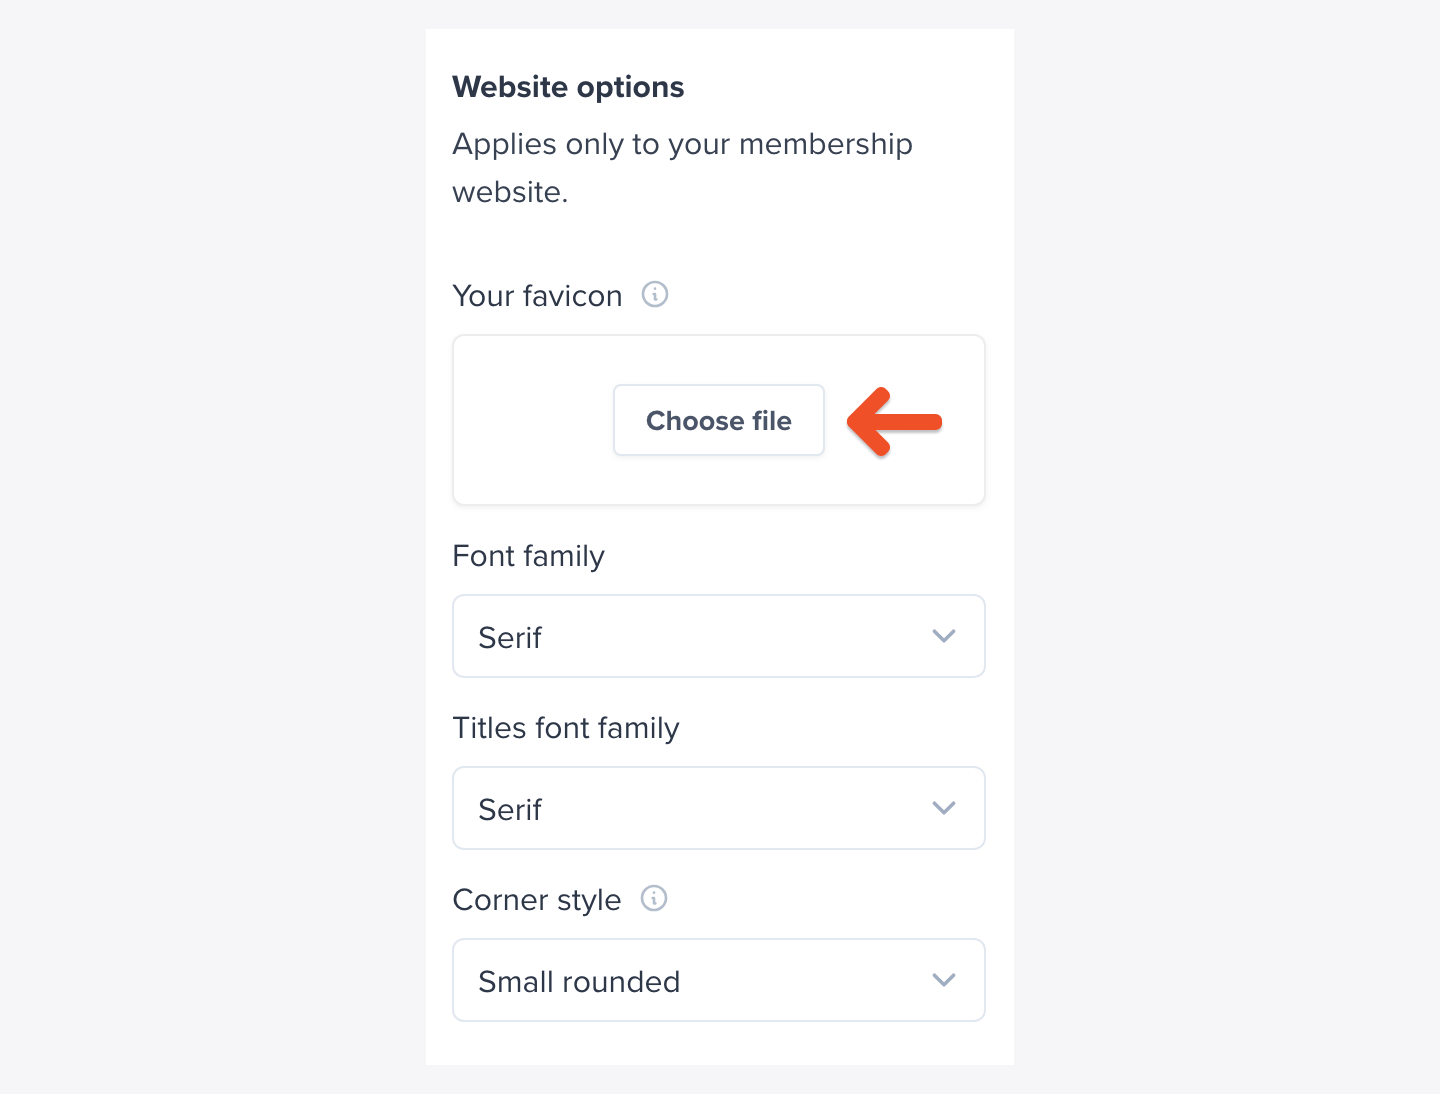
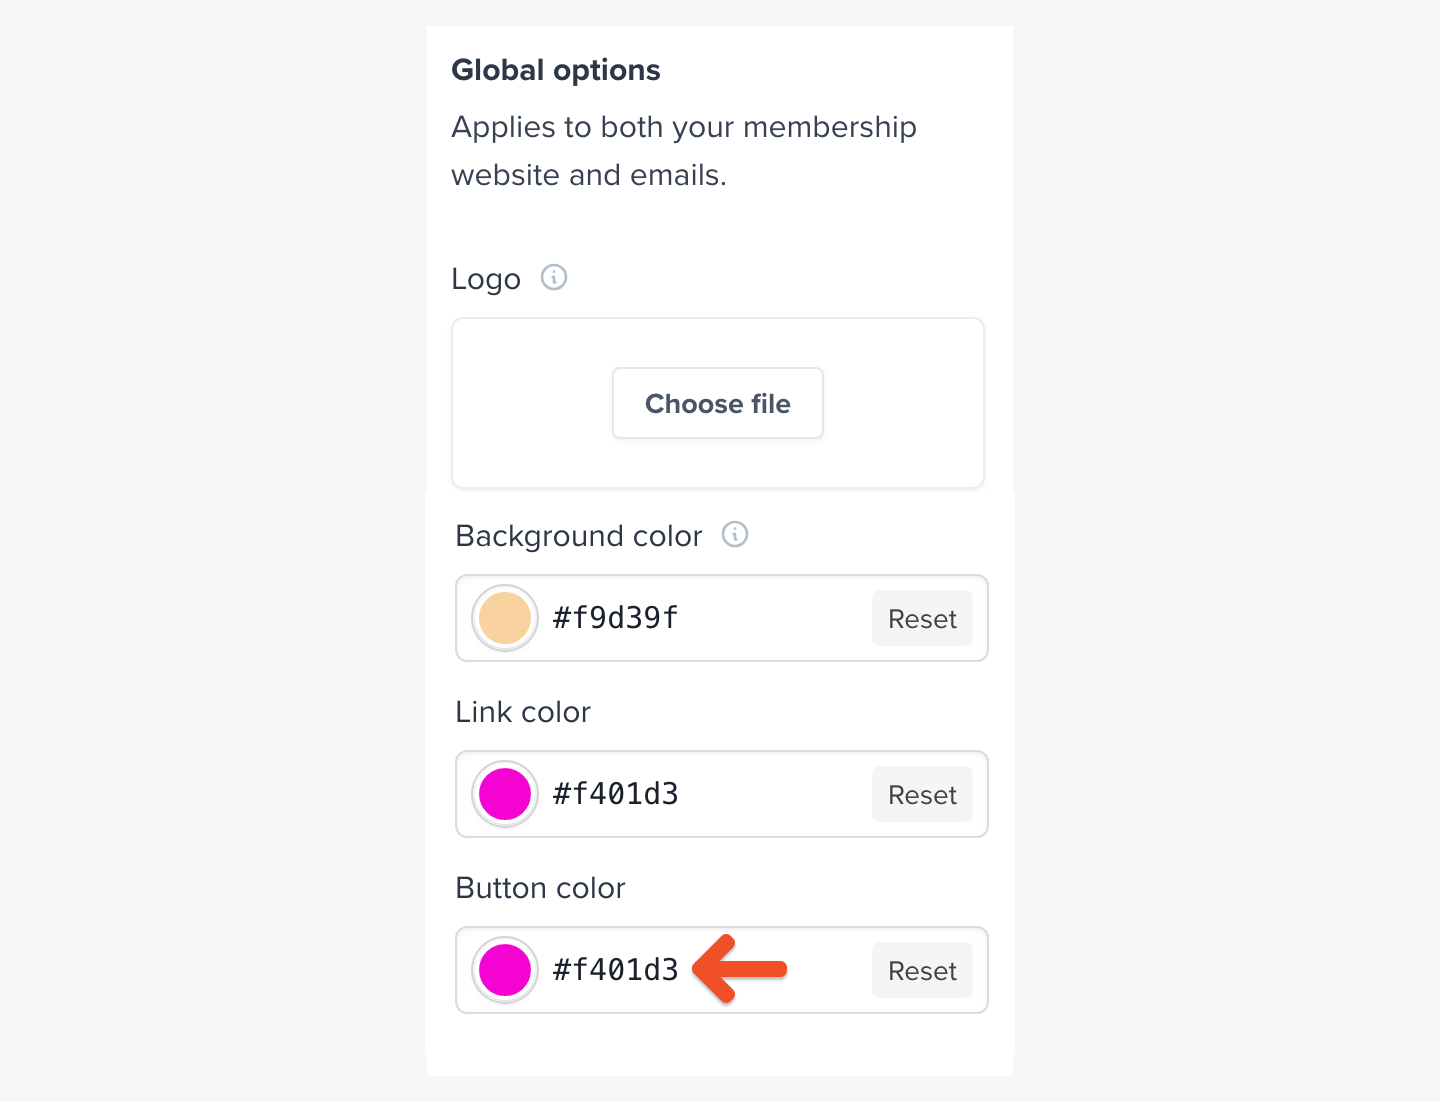
Upload a logo image
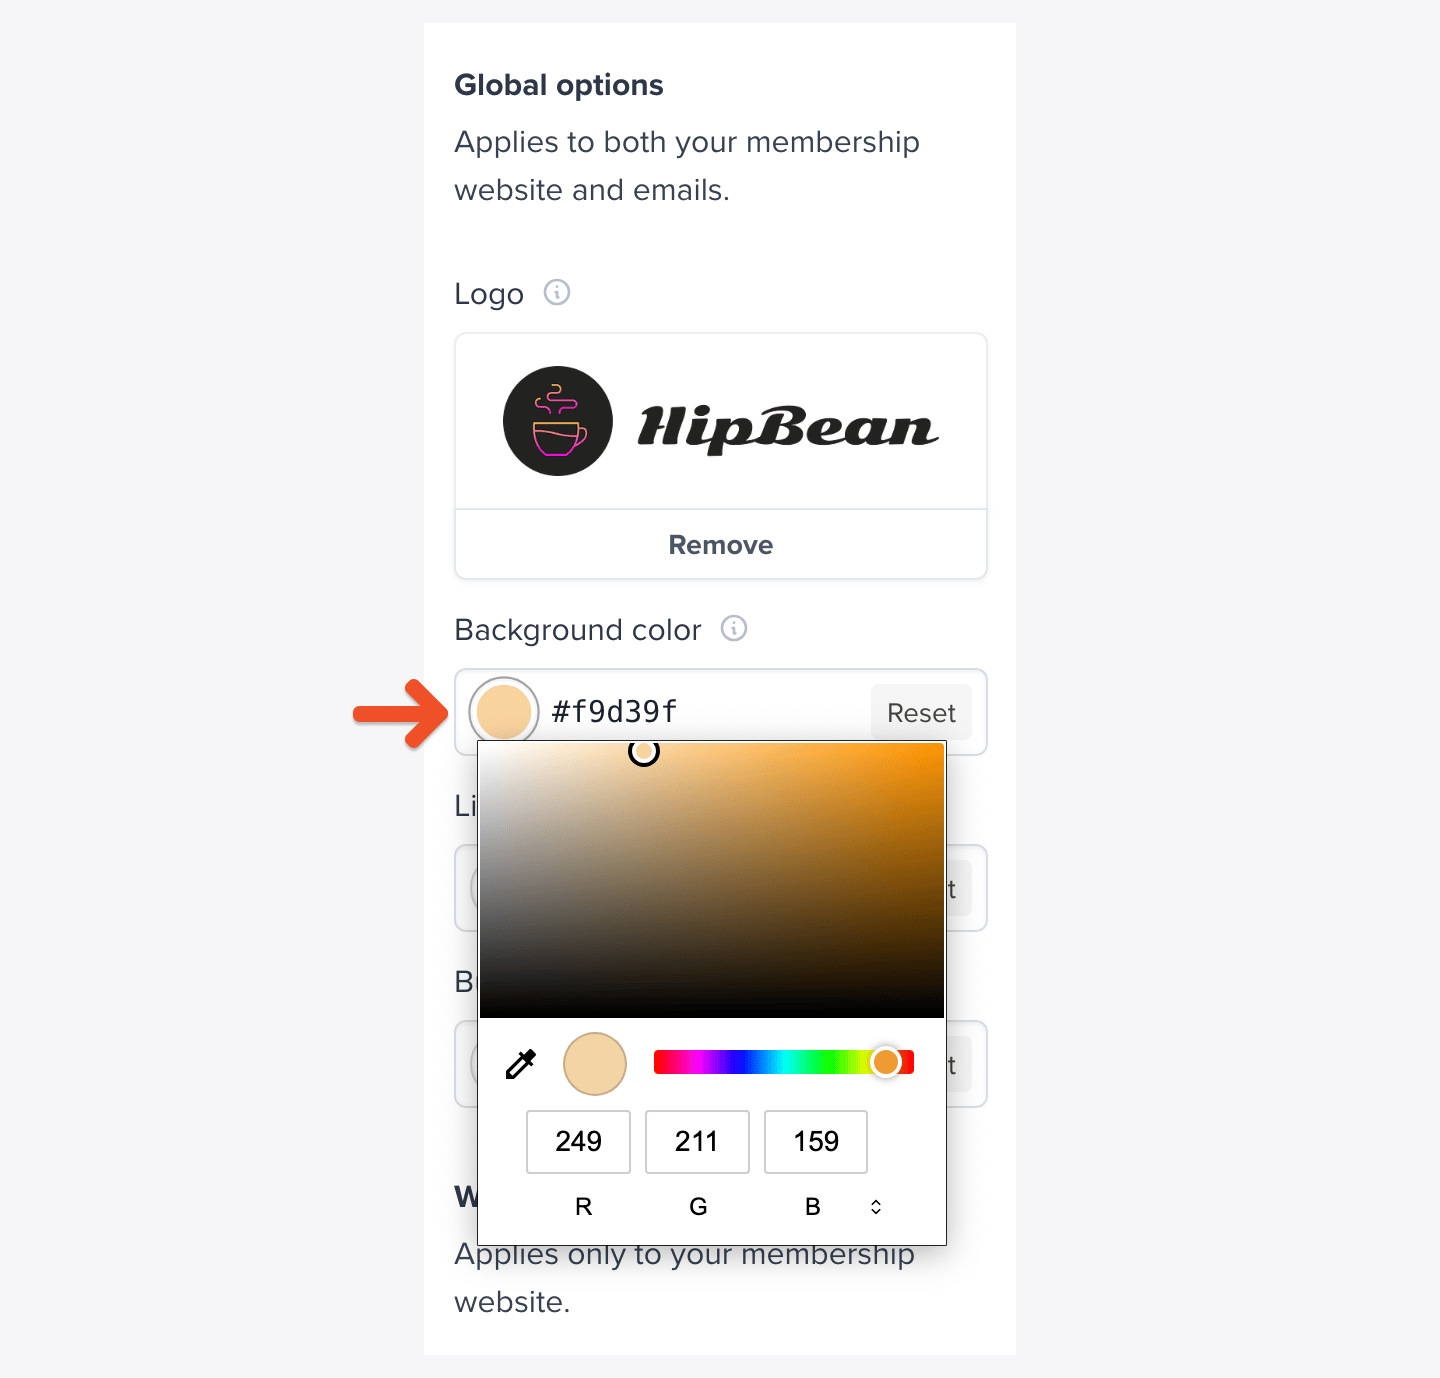
Memberful allows you to upload and display your logo across all Memberful pages, including checkout forms, transactional emails, your Memberful-hosted subscription page, Memberful paid newsletters, and your member website. Go to the Website tab in your Memberful dashboard, and click Branding. From there, you can upload your logo image.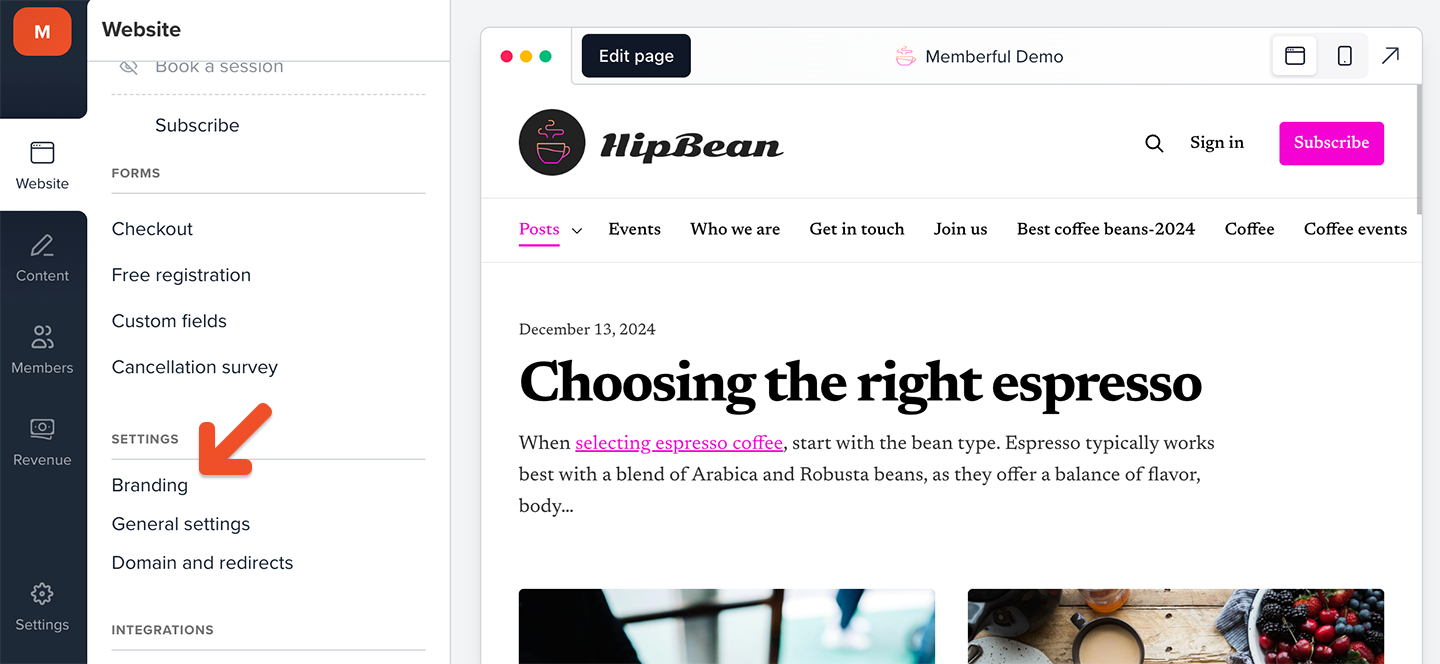
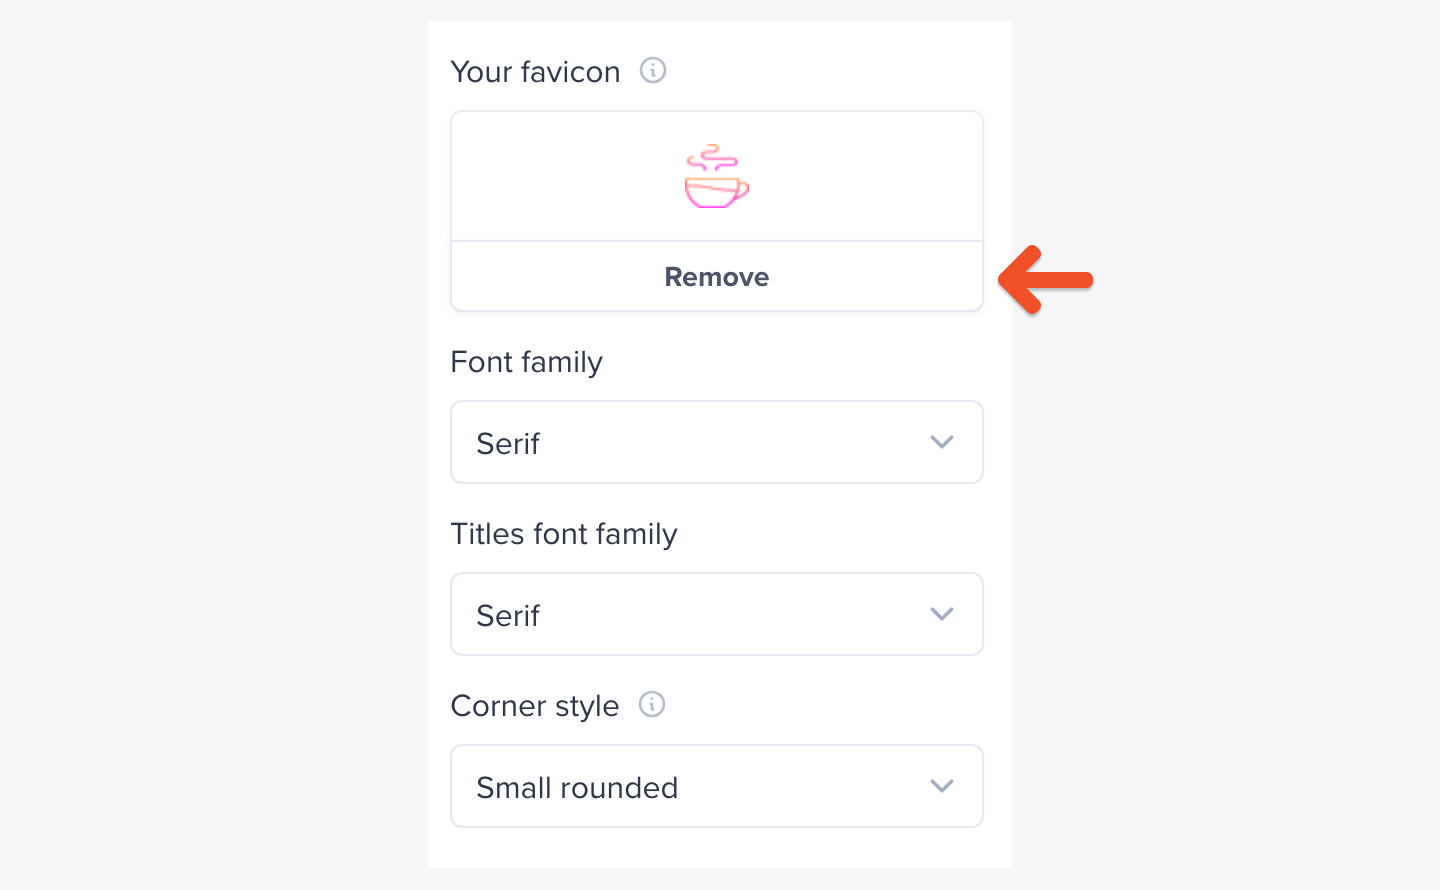
Upload a favicon image
Memberful allows you to upload and display your logo as a favicon icon that shows up in the browser tab instead of Memberful’s icon.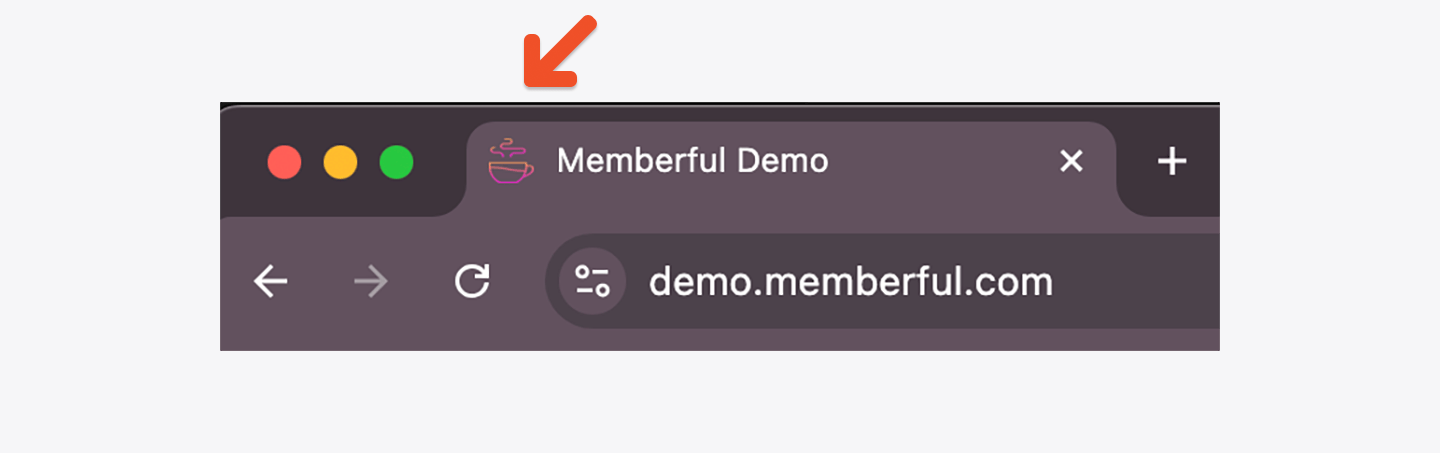
Choose a background color
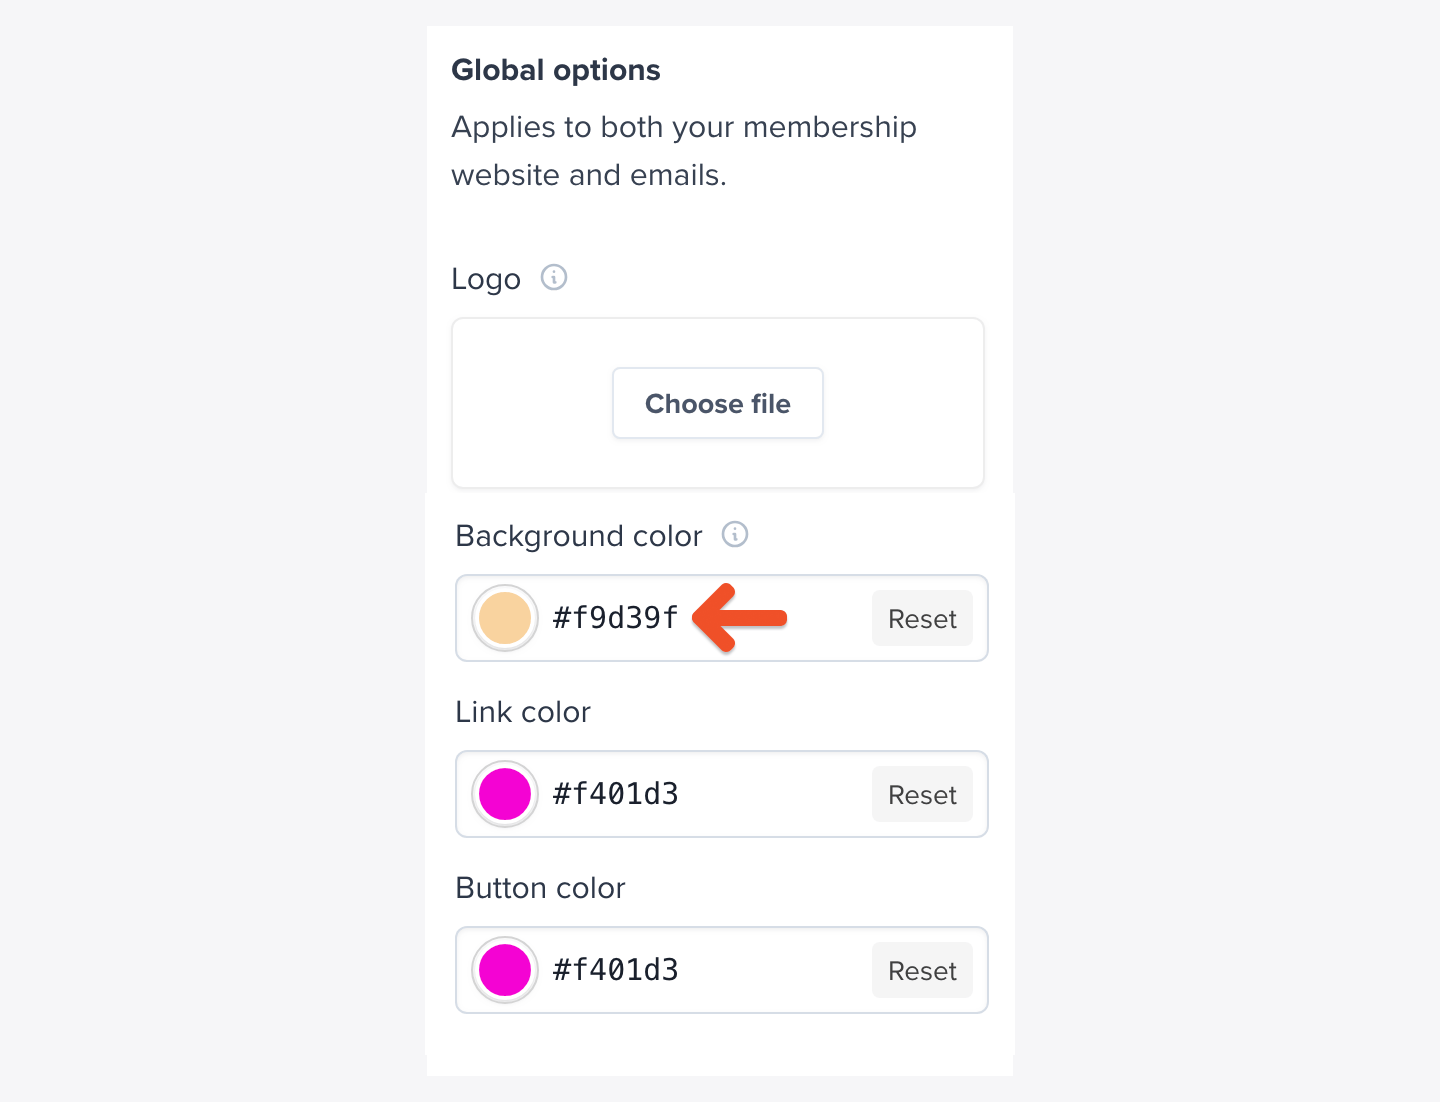
Memberful lets you set a custom background color for your member website. This is the base color for important elements of your membership pages, including both the Subscribe and Checkout pages. If the footer and navigation colors for your member website aren’t set, this color will be applied. Go to the Website tab, click Branding, then use Base Options to set or reset the background color.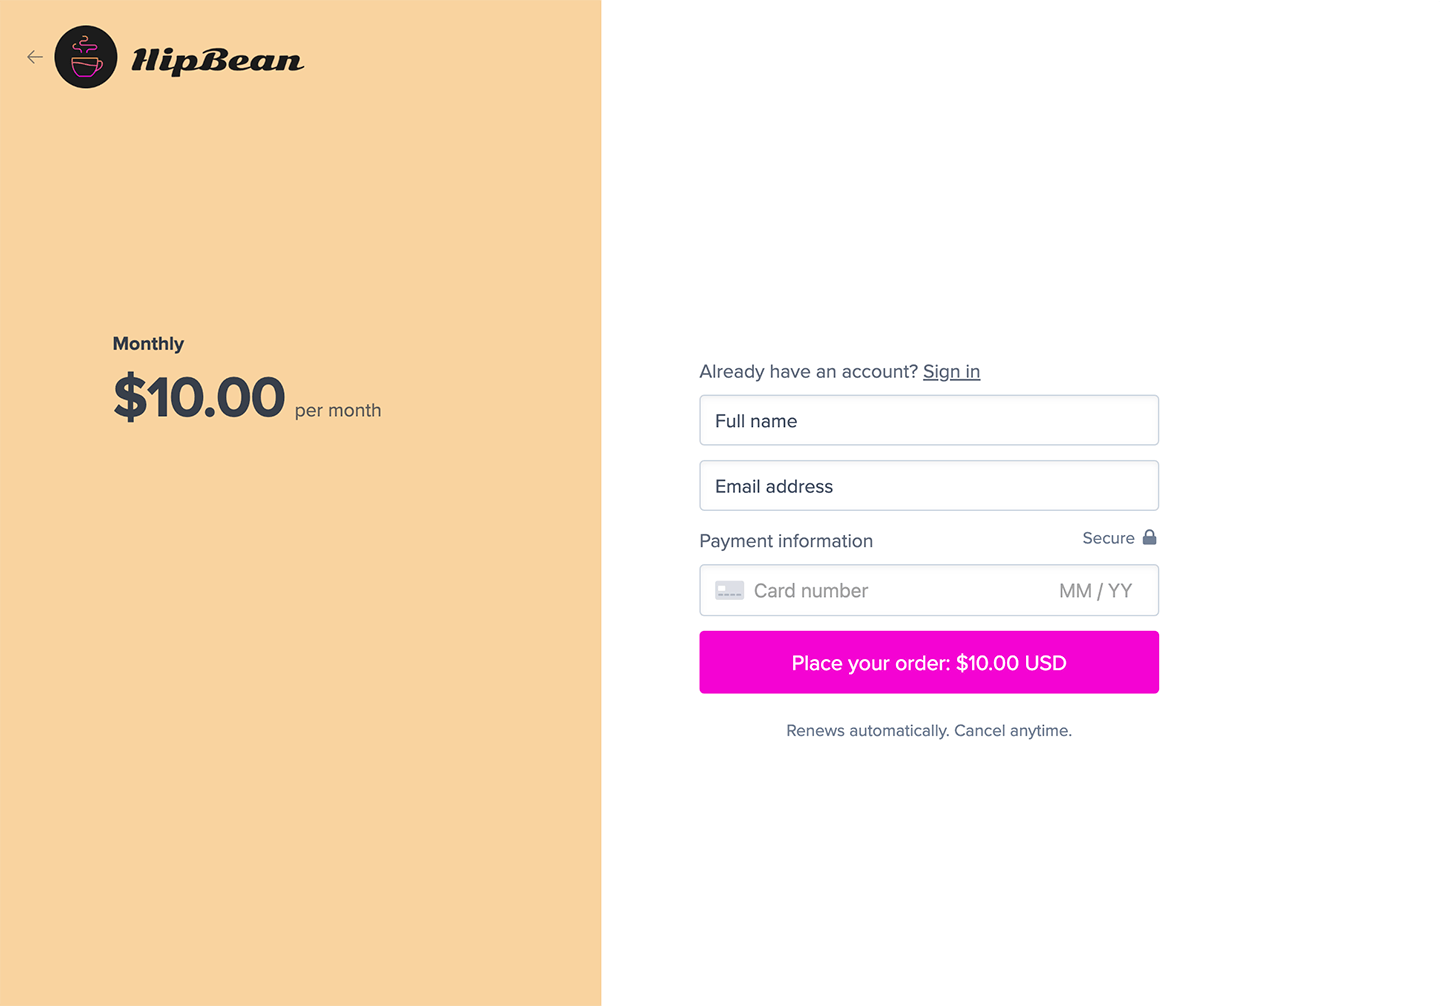
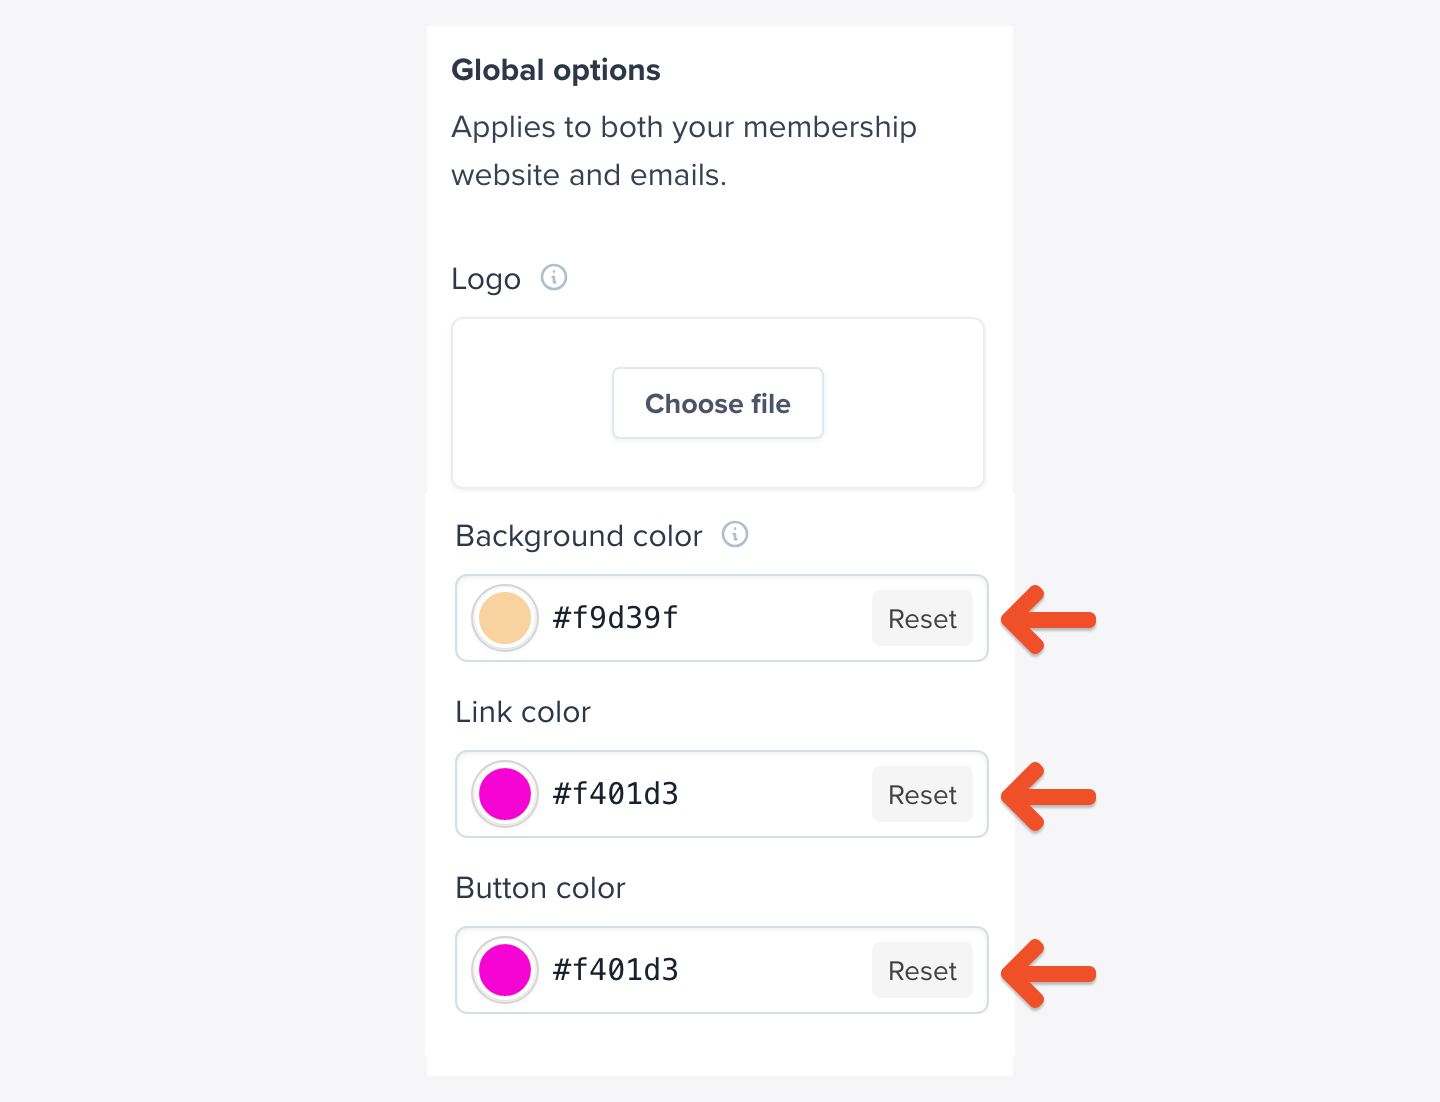
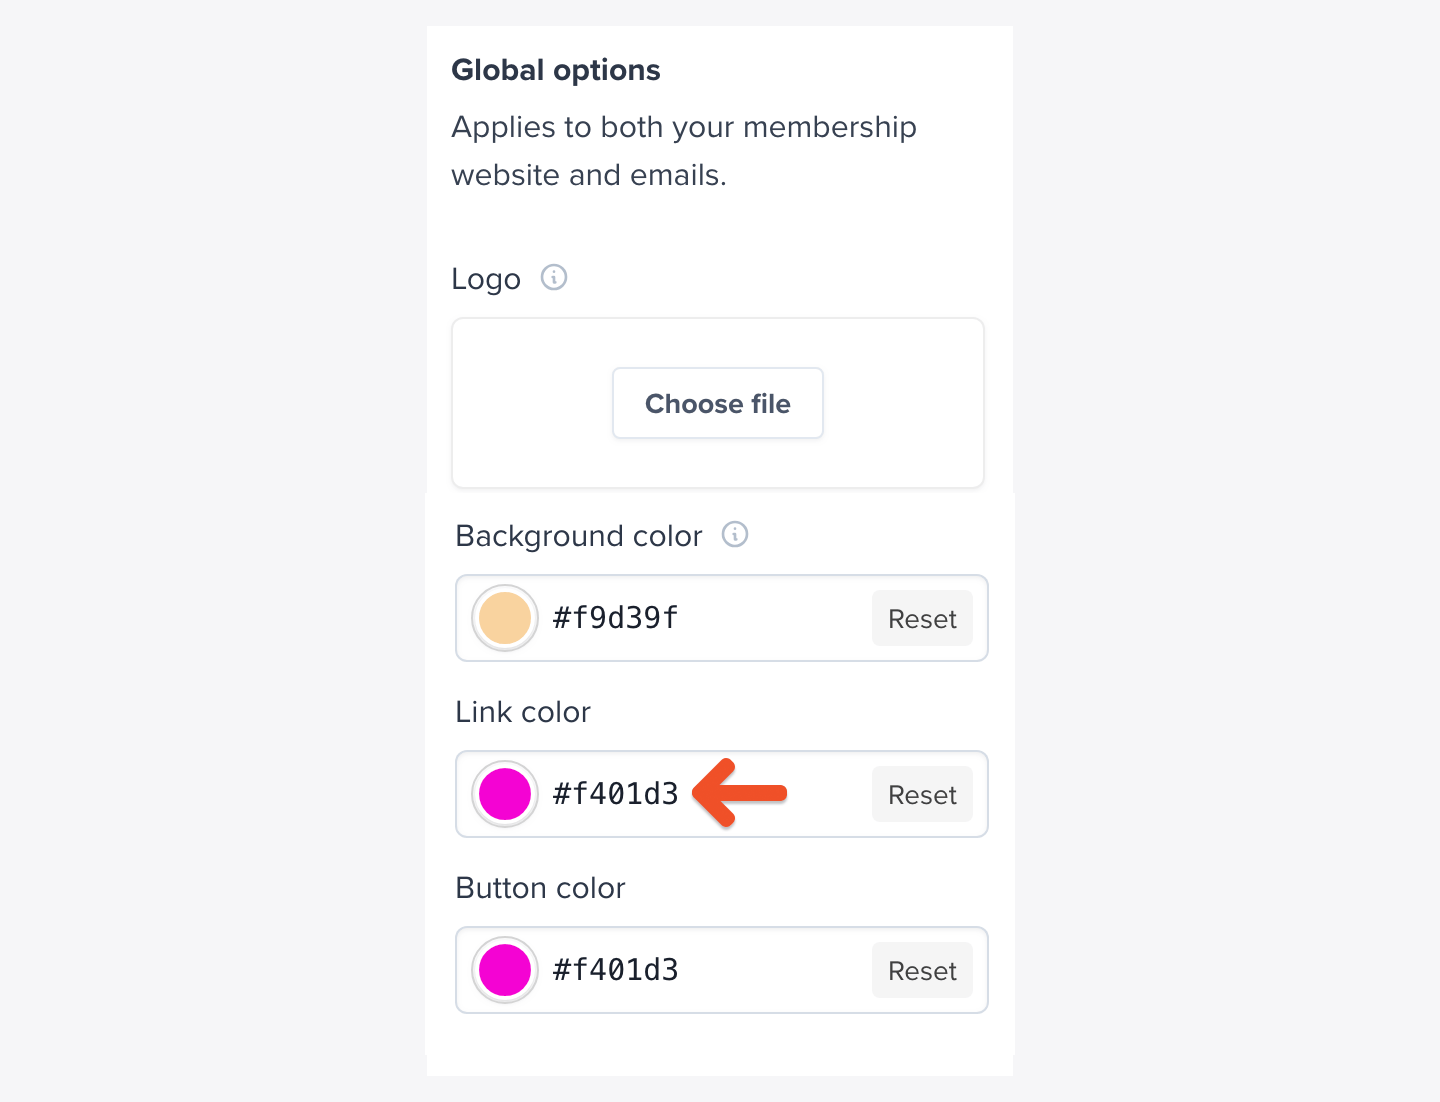
Choose a link color
You can set a custom color for all links across your member website and emails.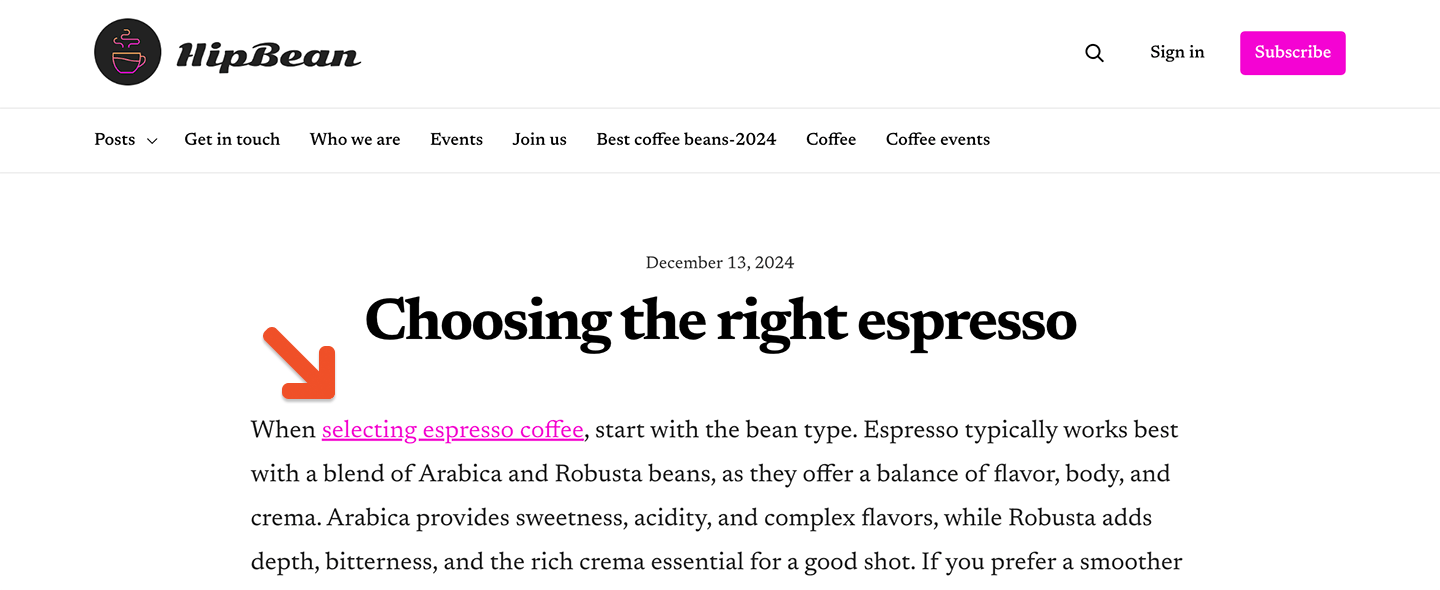
Choose a button color
You can set a custom color for the main action buttons on your member website and emails. This also applies to buttons like sign-in, place an order, update profile, and more.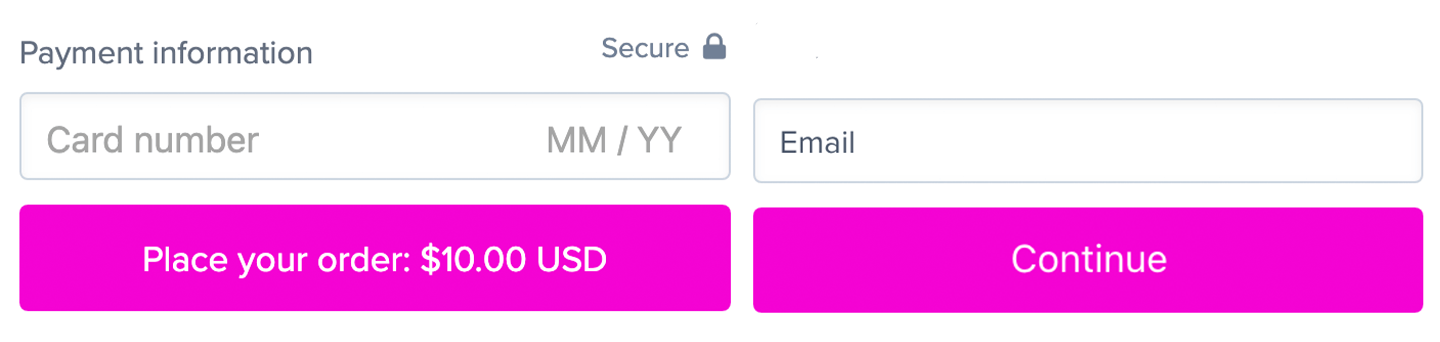
Buttons added through custom blocks use your Base options button color by default, but you can customize them using the color picker in the block settings
Preview your changes
Go to the Website tab in your Memberful dashboard, and toggle through the different pages and forms. Make sure that your logo is sized correctly, and that the colors you selected match your brand and are readable.