

Add the Paywall Divider block
Use the WordPress block editor to place the divider after the final block you want to include in the public preview.1
Open the post or page
Open the post or page you want to protect in the WordPress block editor.
2
Add the Paywall Divider block
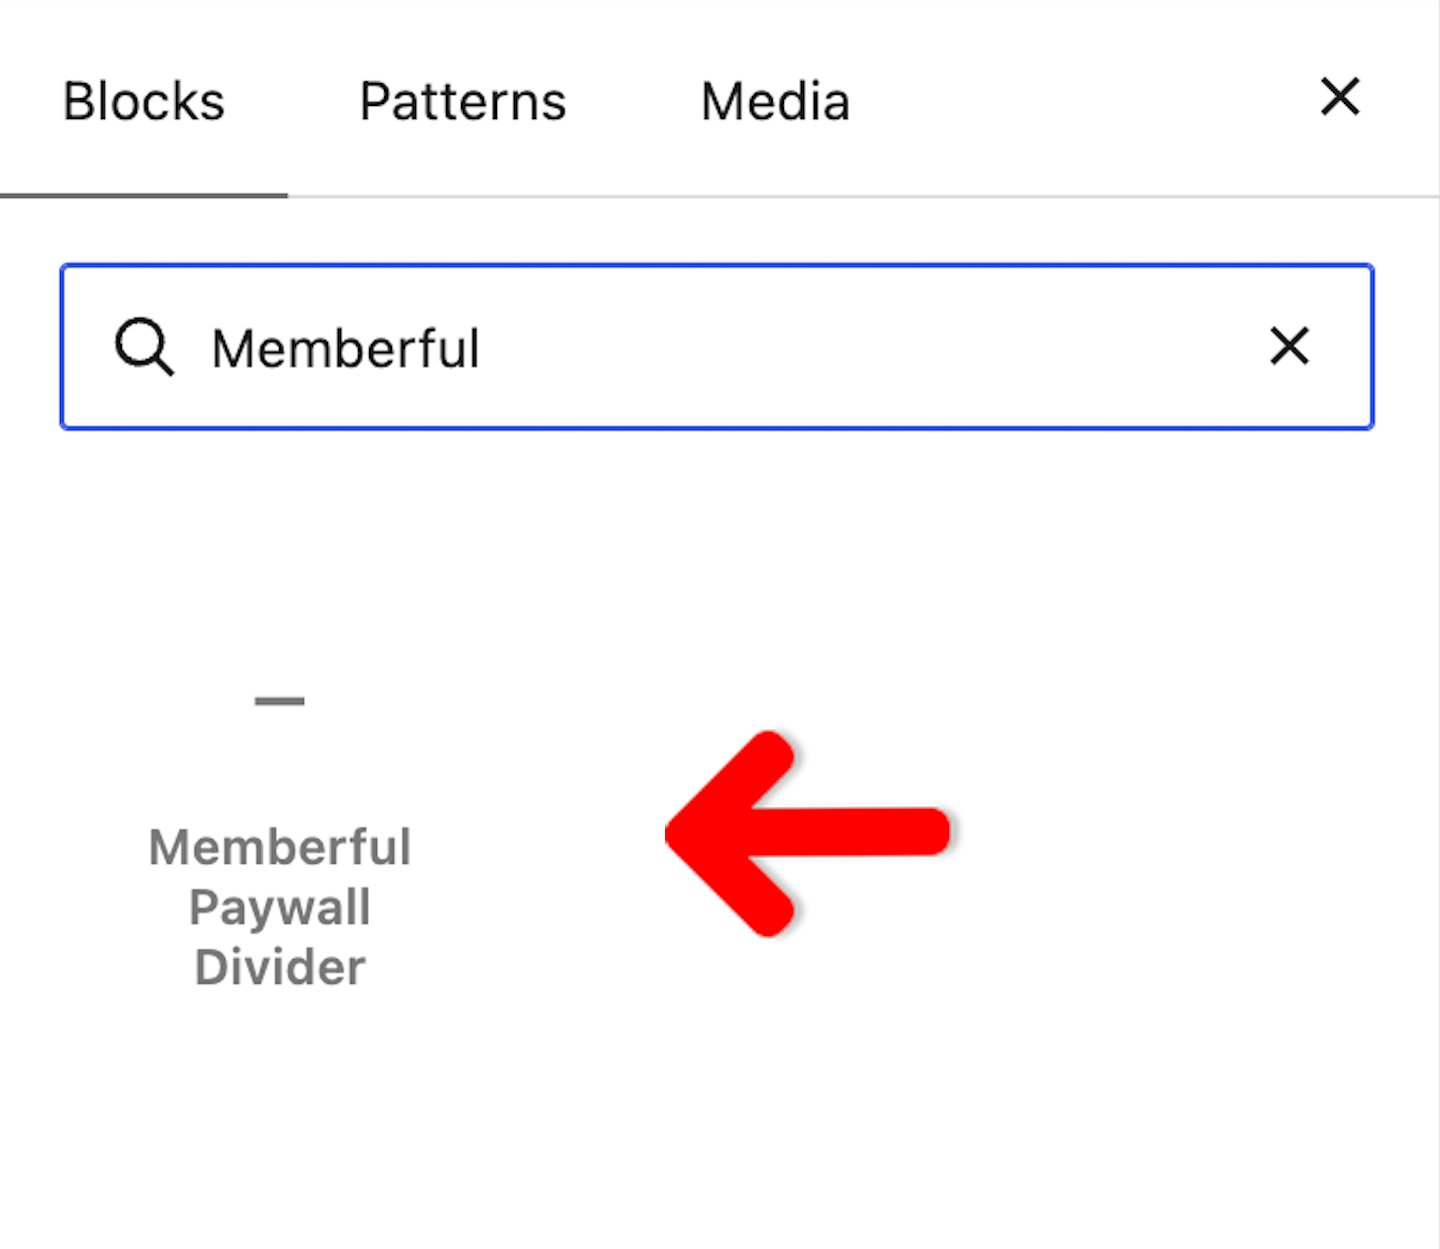
Click the Block Inserter button, search for Memberful Paywall Divider, then select the block.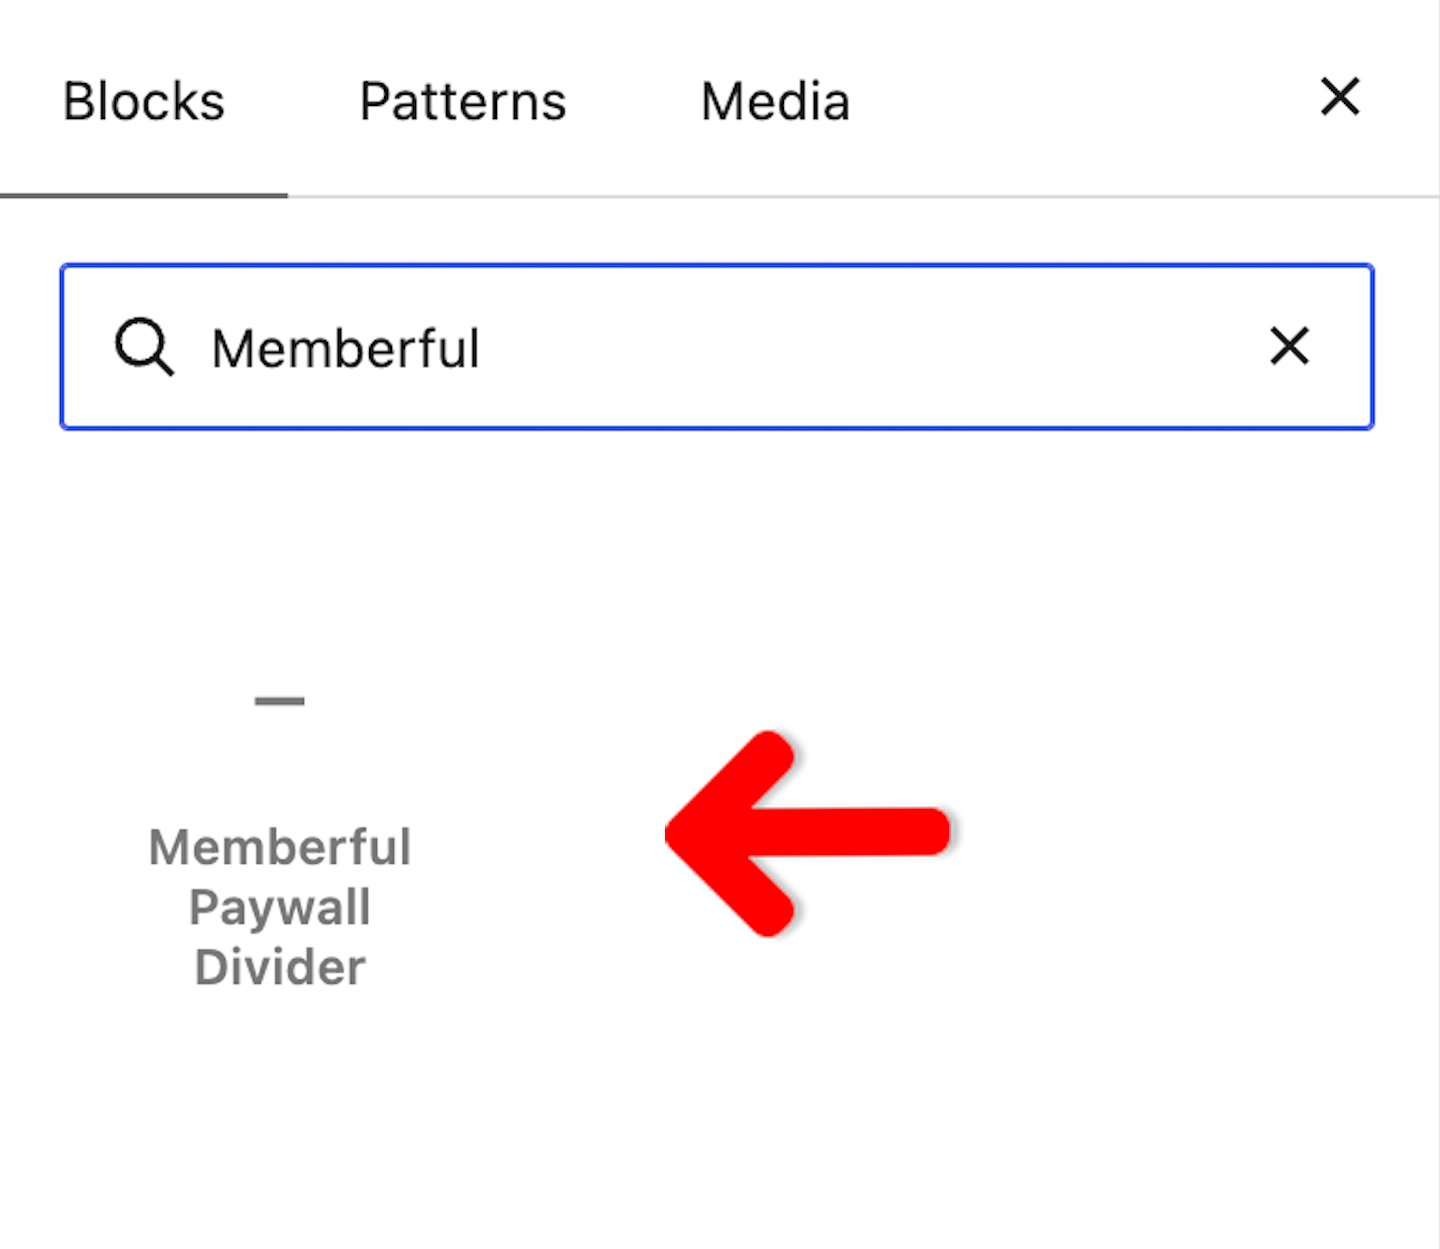
3
Position the divider
Drag the divider to the point where the public preview should end. The Protected content below this line label marks where members-only content begins.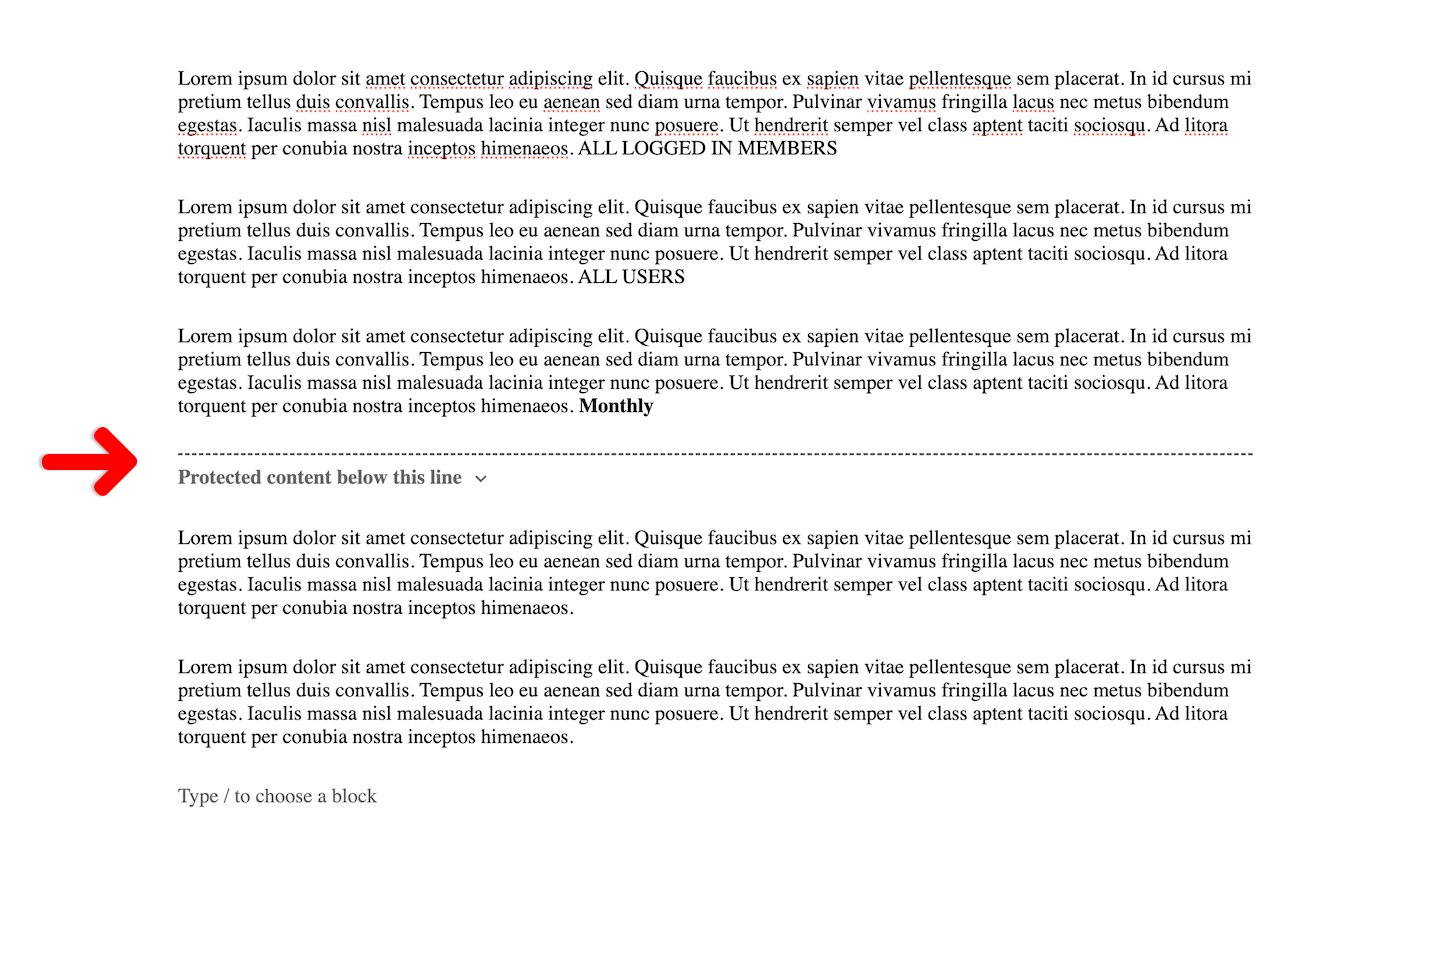
4
Add the protected content
Add or move the members-only text, images, and other blocks below the divider.
5
Save the post or page
Save or publish your changes.
Understand what visitors and members see
Visitors who do not have access see the content above the divider as a public preview. Content below the divider remains protected.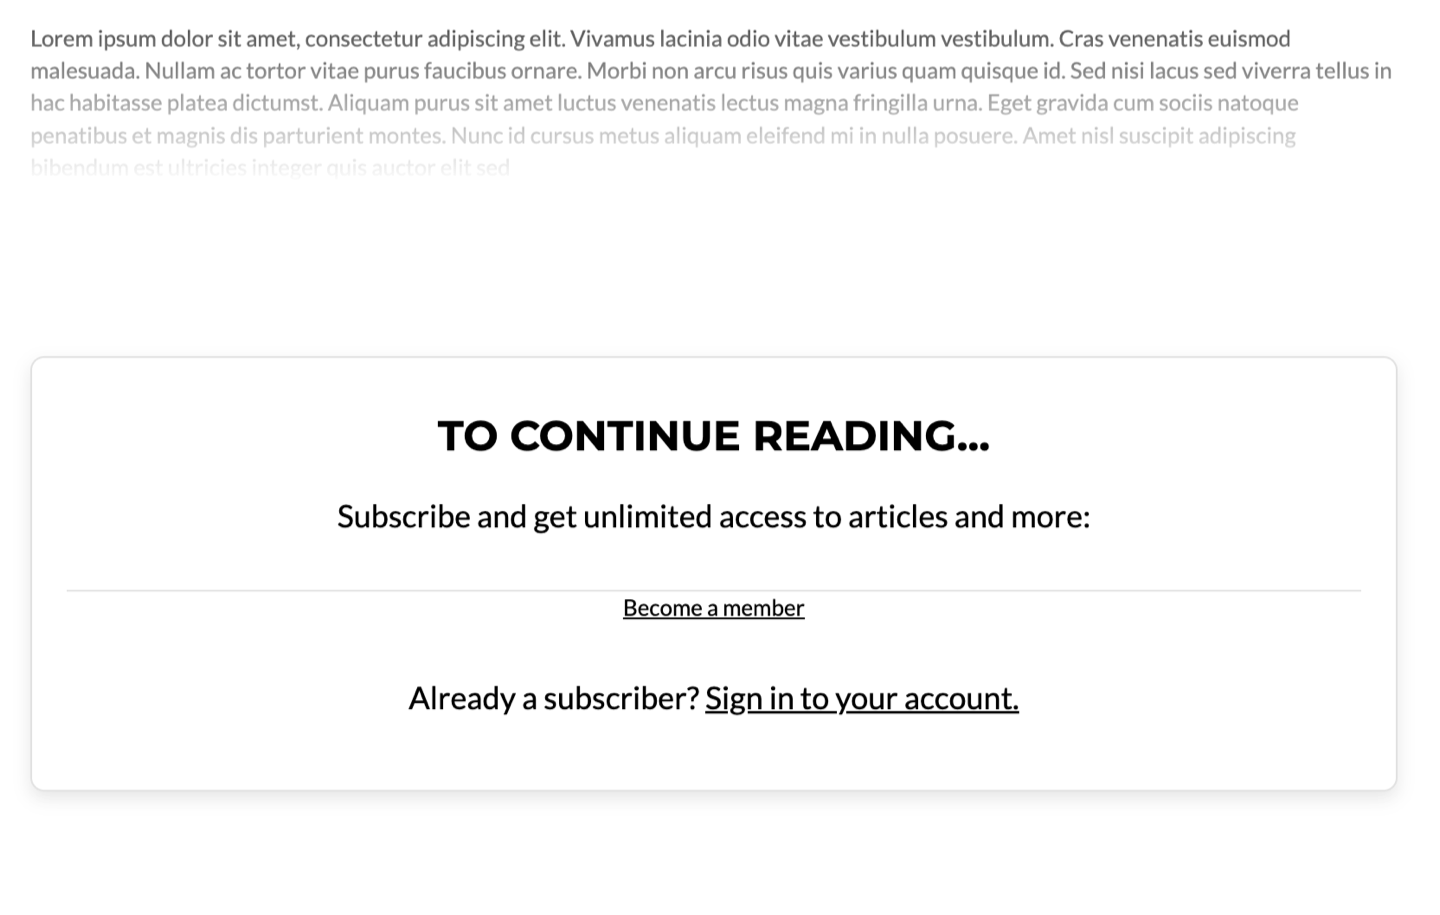
When a post or page contains a Paywall Divider block, the divider takes precedence over other Memberful restriction and marketing preview rules on that post or page.
Move the preview boundary
To change the amount of content included in the public preview, open the post or page and drag the Paywall Divider block to a new position. Content above its new position becomes part of the preview, and content below it remains protected.Test the paywall
Save the post or page, then view it while logged out of your WordPress administrator account and the Memberful dashboard. You can also test it in a different browser.Incognito and private browser modes are not supported for testing Memberful content protection and may produce inaccurate results.