Subscription page examples
Caffeinated Insights
View example subscription page
The Echo Chamber
View example subscription page
Olive & Thyme
View example subscription page
Before you begin
Create at least one membership plan before setting up your subscription page. Go to Revenue → All plans in your Memberful dashboard and click New plan. For full setup guidance, see Create a plan.
Enable and edit your subscription page
1
Open the subscription page settings
Go to Website, hover over Subscribe, and click the gear icon.
2
Enable the page
Toggle on Enable your subscribe page, then click Save.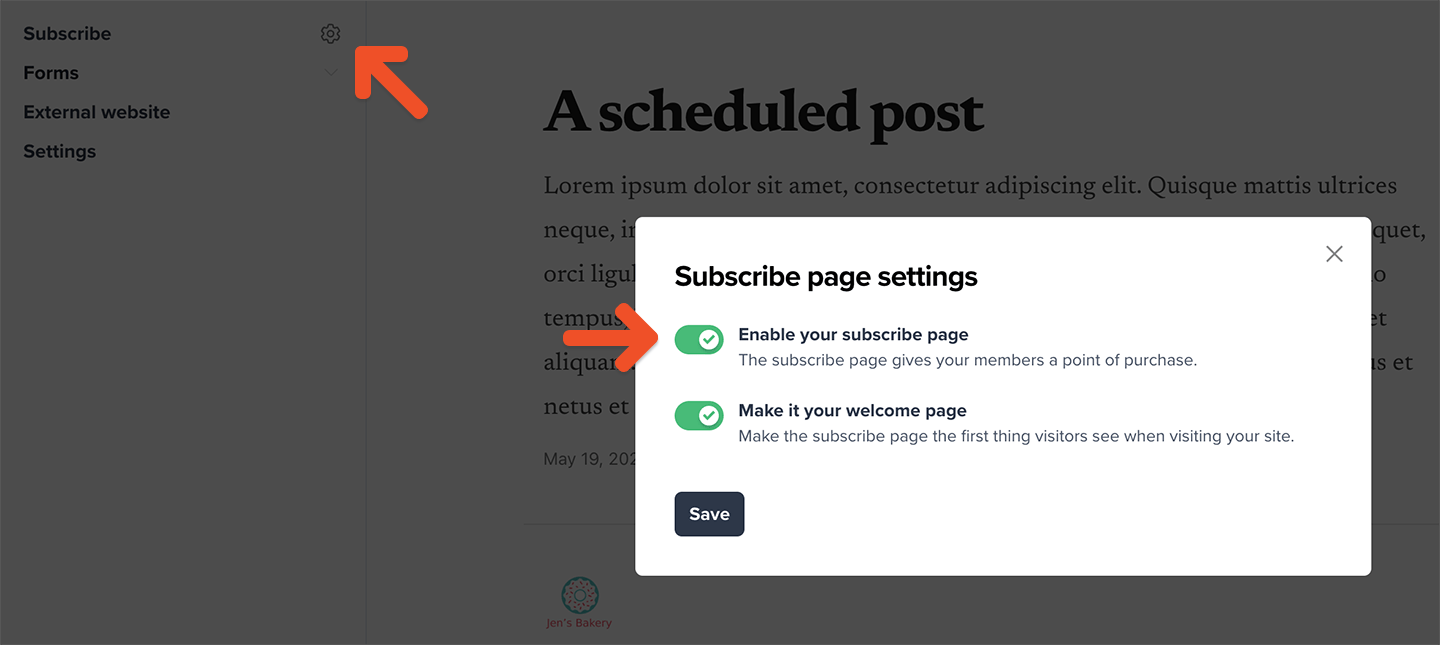
3
Open the page editor
Go to Website → Subscribe and click Edit page.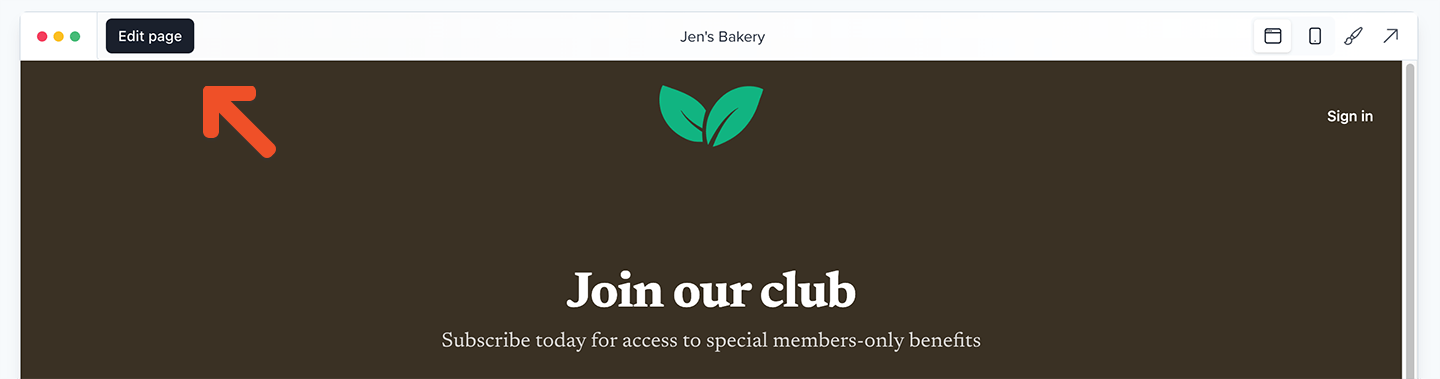
4
Add the page heading
Enter a title and optional description. Use the rich-text controls to add bold text, italics, strikethroughs, and links. Memberful also uses your page description for search descriptions and link previews.
ACCOUNT-URL with your actual account URL subdomain.
To temporarily hide the page, go to Website, hover over Subscribe, and click the gear icon. Toggle off Enable your subscribe page, then click Save. Visitors won’t be able to access the page while it is disabled.
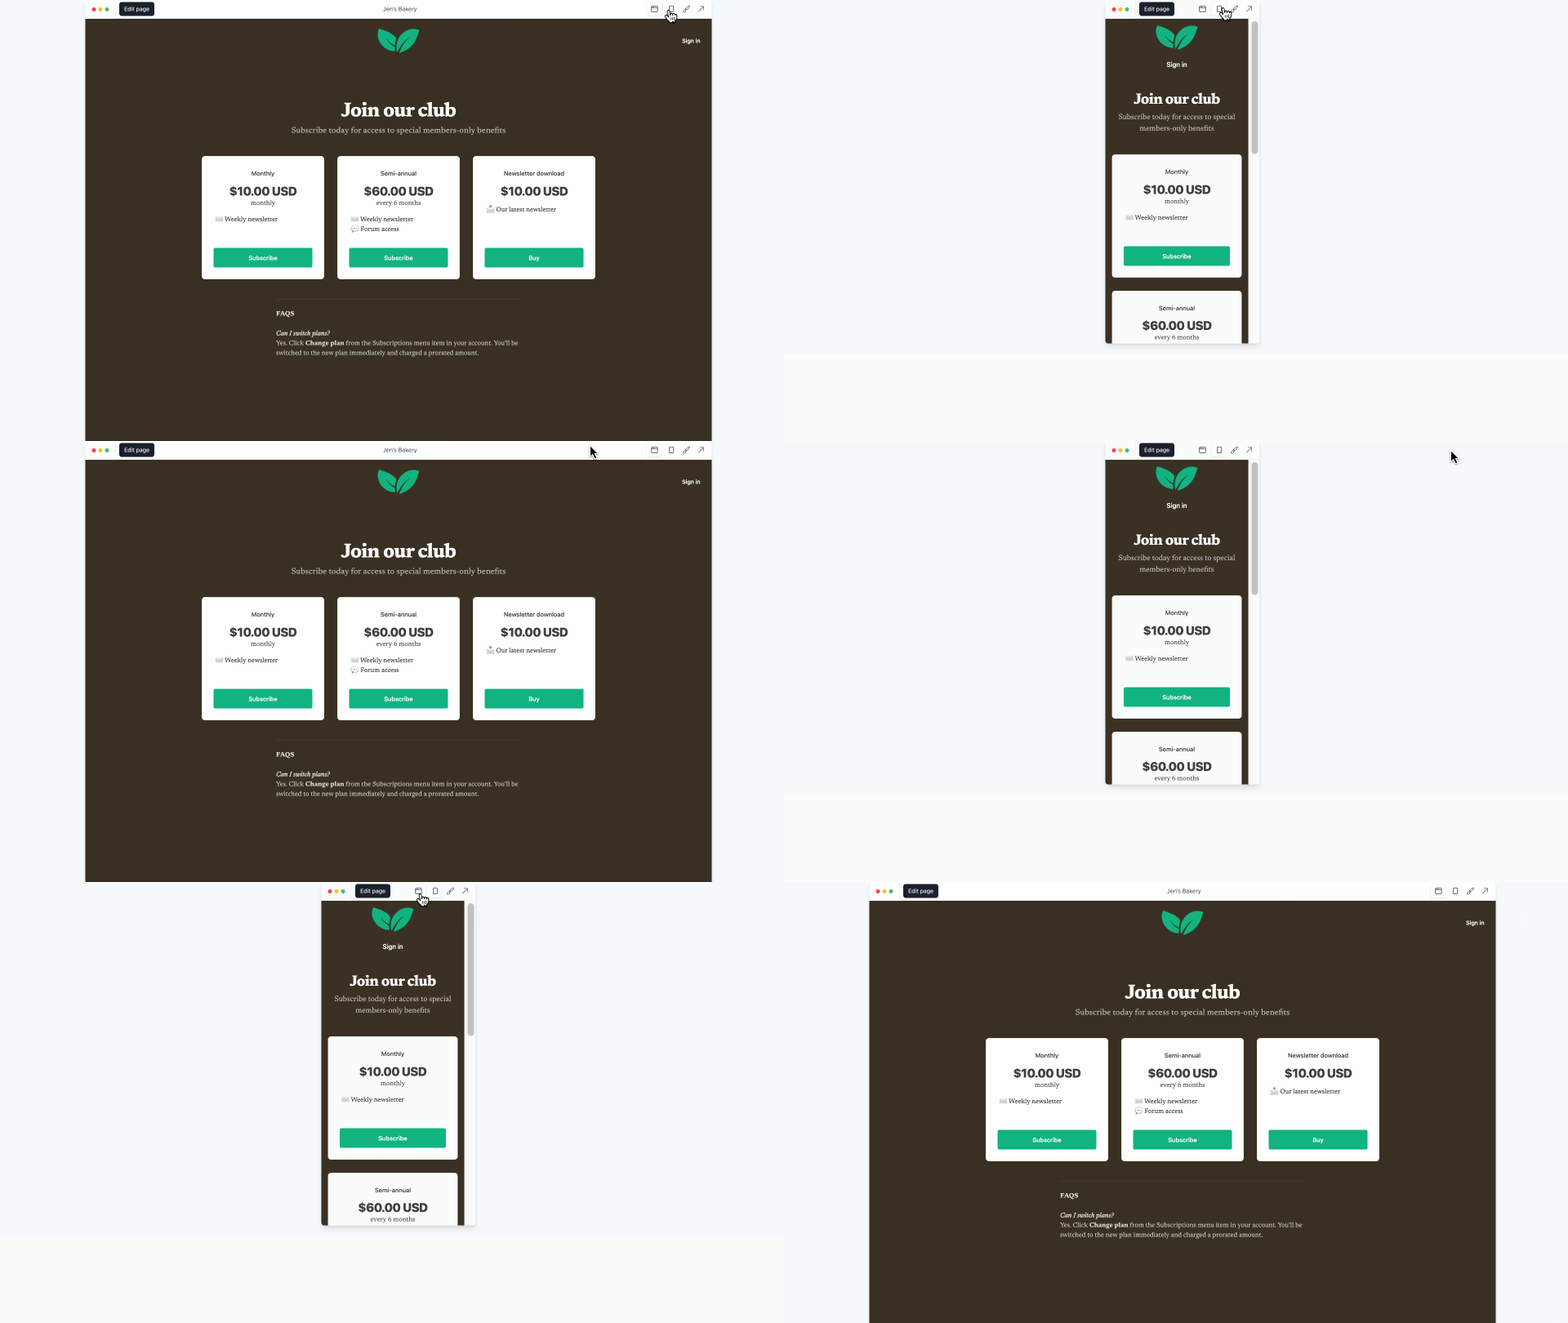
Go to Website → Subscribe at any time to preview the page at different screen sizes.
Add and arrange subscription page items
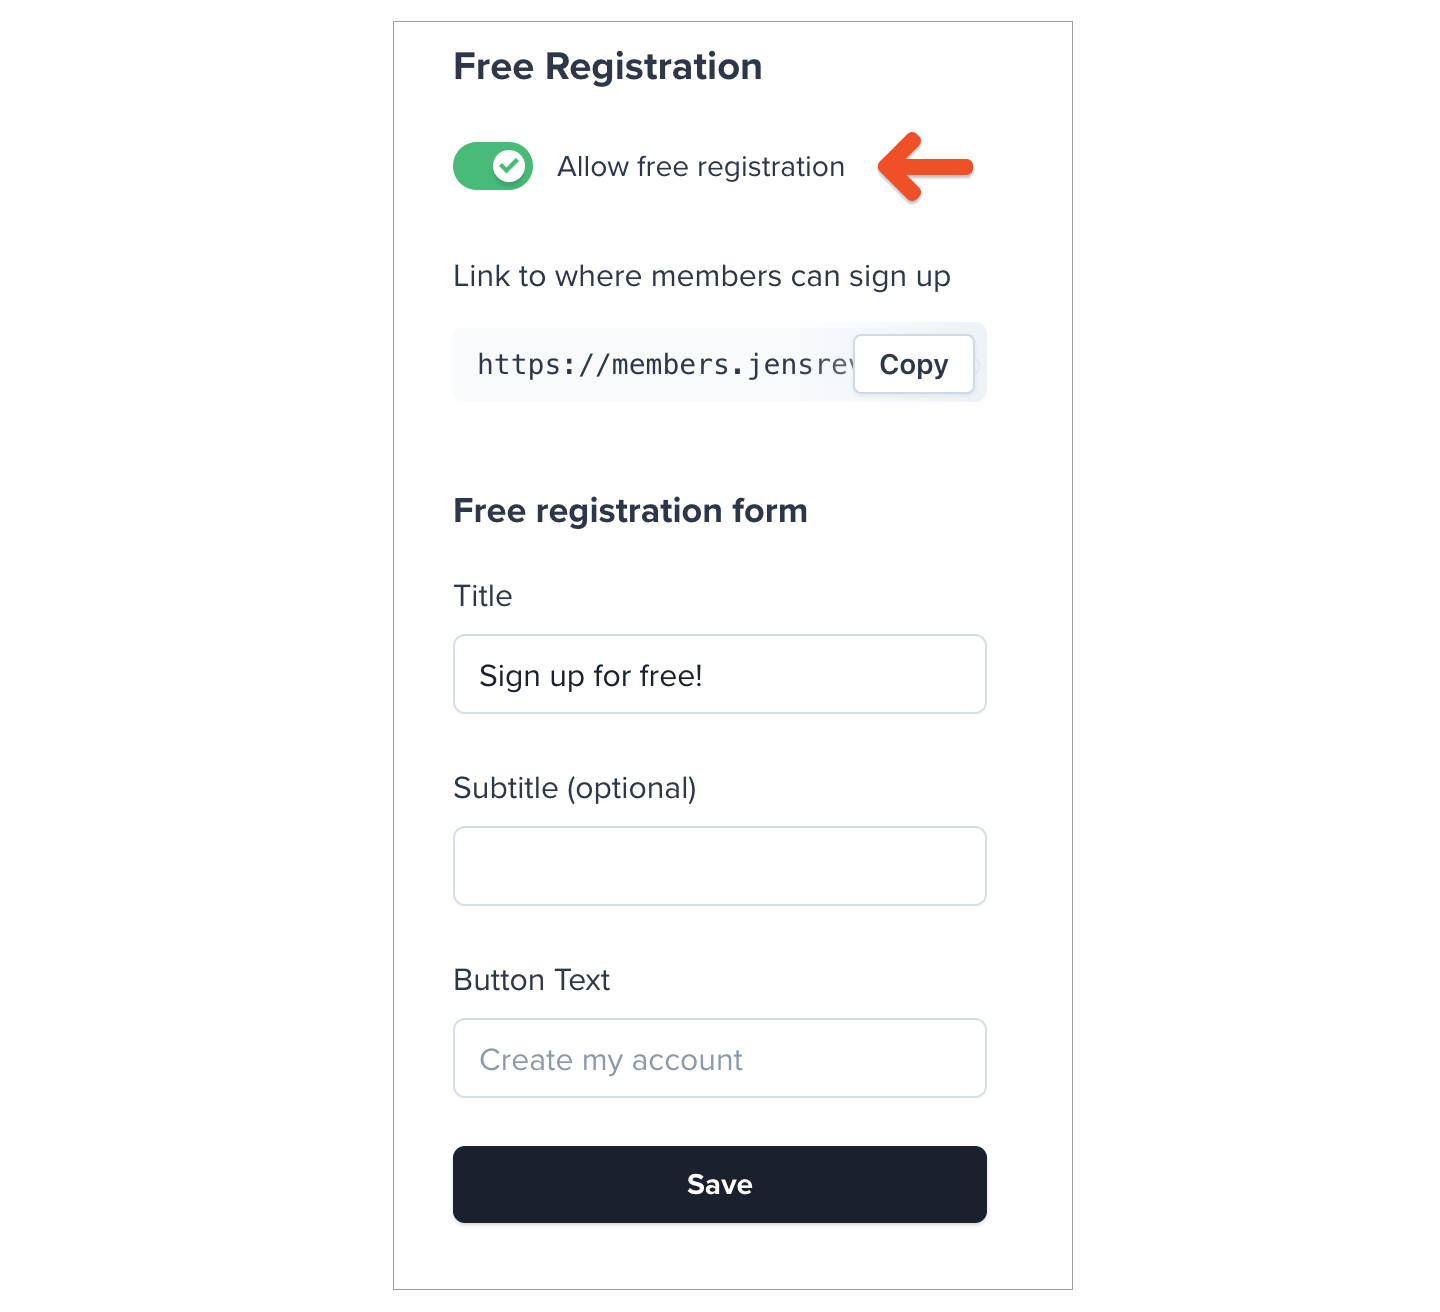
You can add membership plans, standalone downloads, and free registration as selectable items.You can add as many items as needed, but showing no more than four can make it easier for visitors to scan and compare their options.
1
Add a new item
Click New subscribe page item.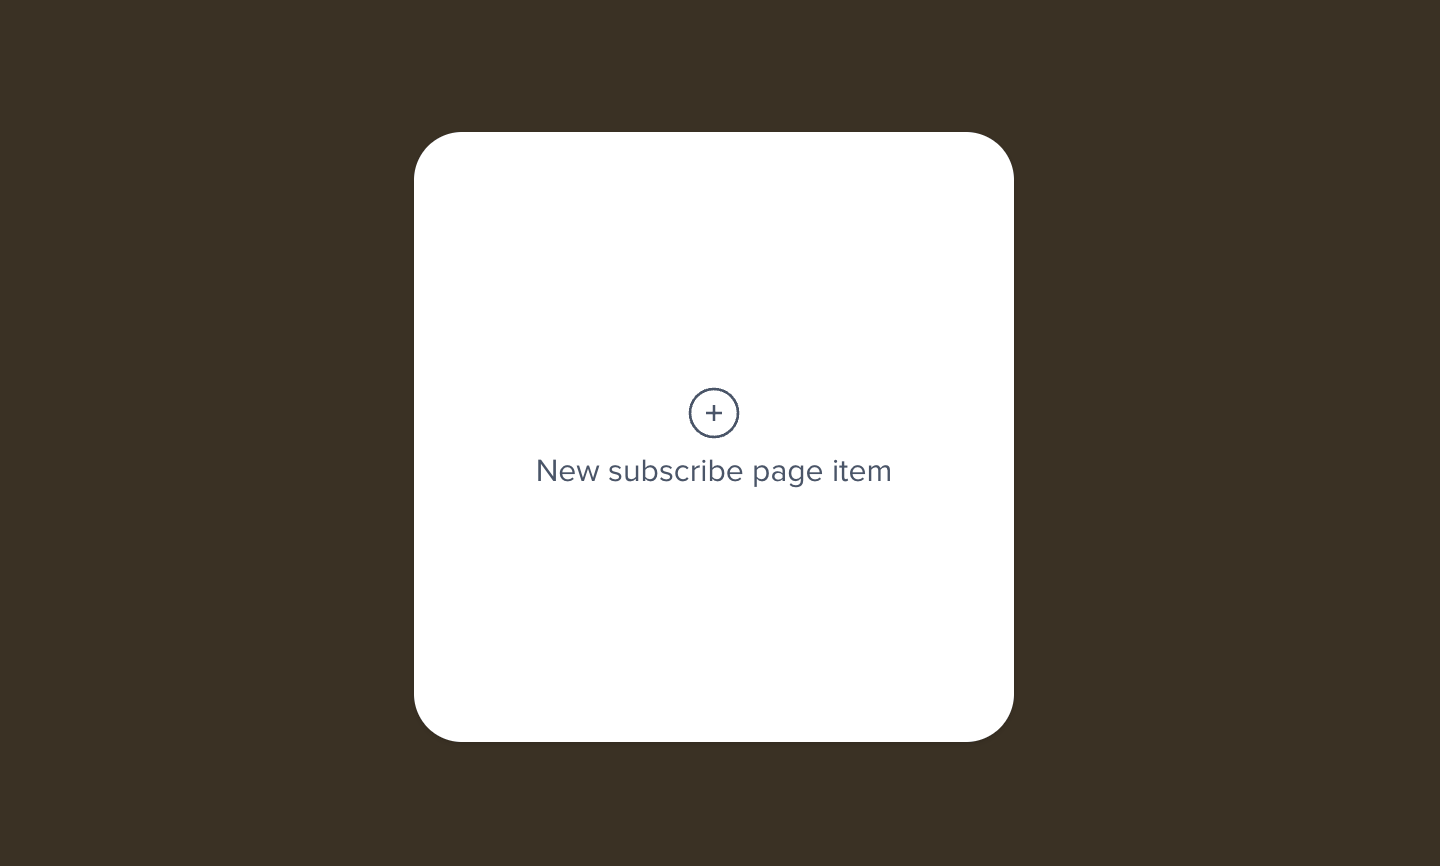
2
Select the item
Select a plan, standalone download, or free registration option, then click Add to page.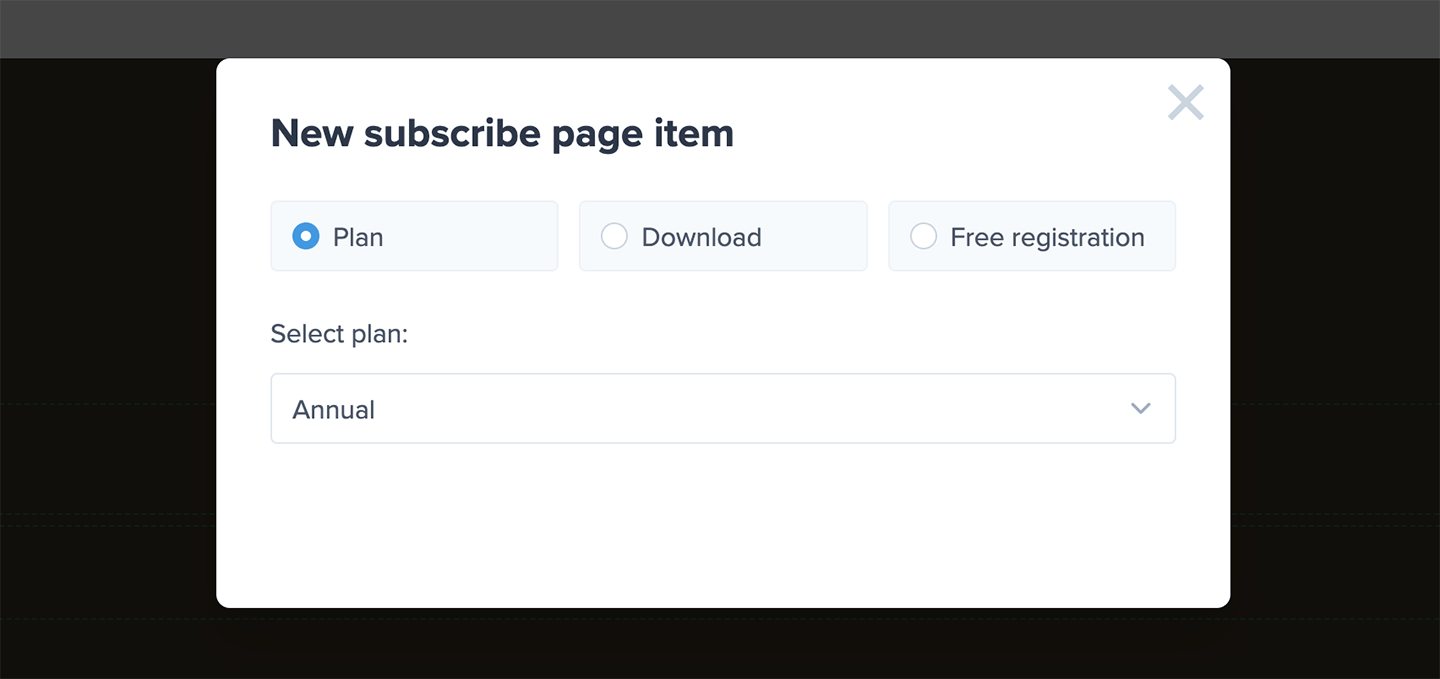
3
Customize the item
Click the item’s display name, description, or button label to edit it.Use the description to explain the benefits members receive or help visitors compare the available options. You can add bold text, italics, strikethroughs, links, and bulleted or numbered lists.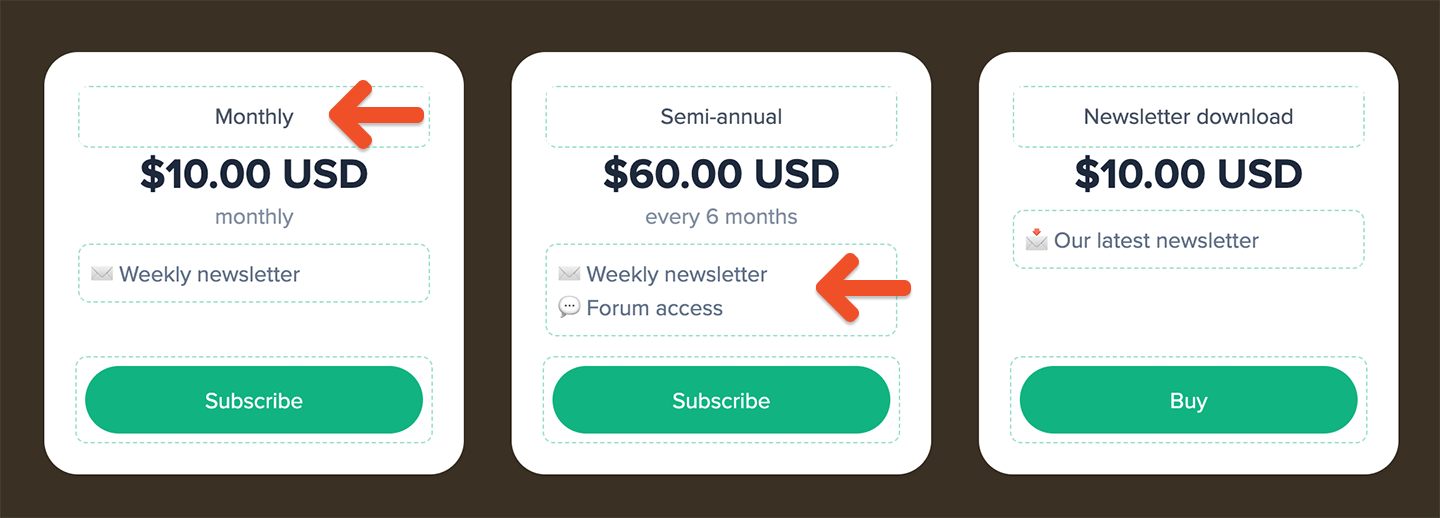
Reorder subscription page items
On a desktop device, hover over an item and drag the bar that appears above it.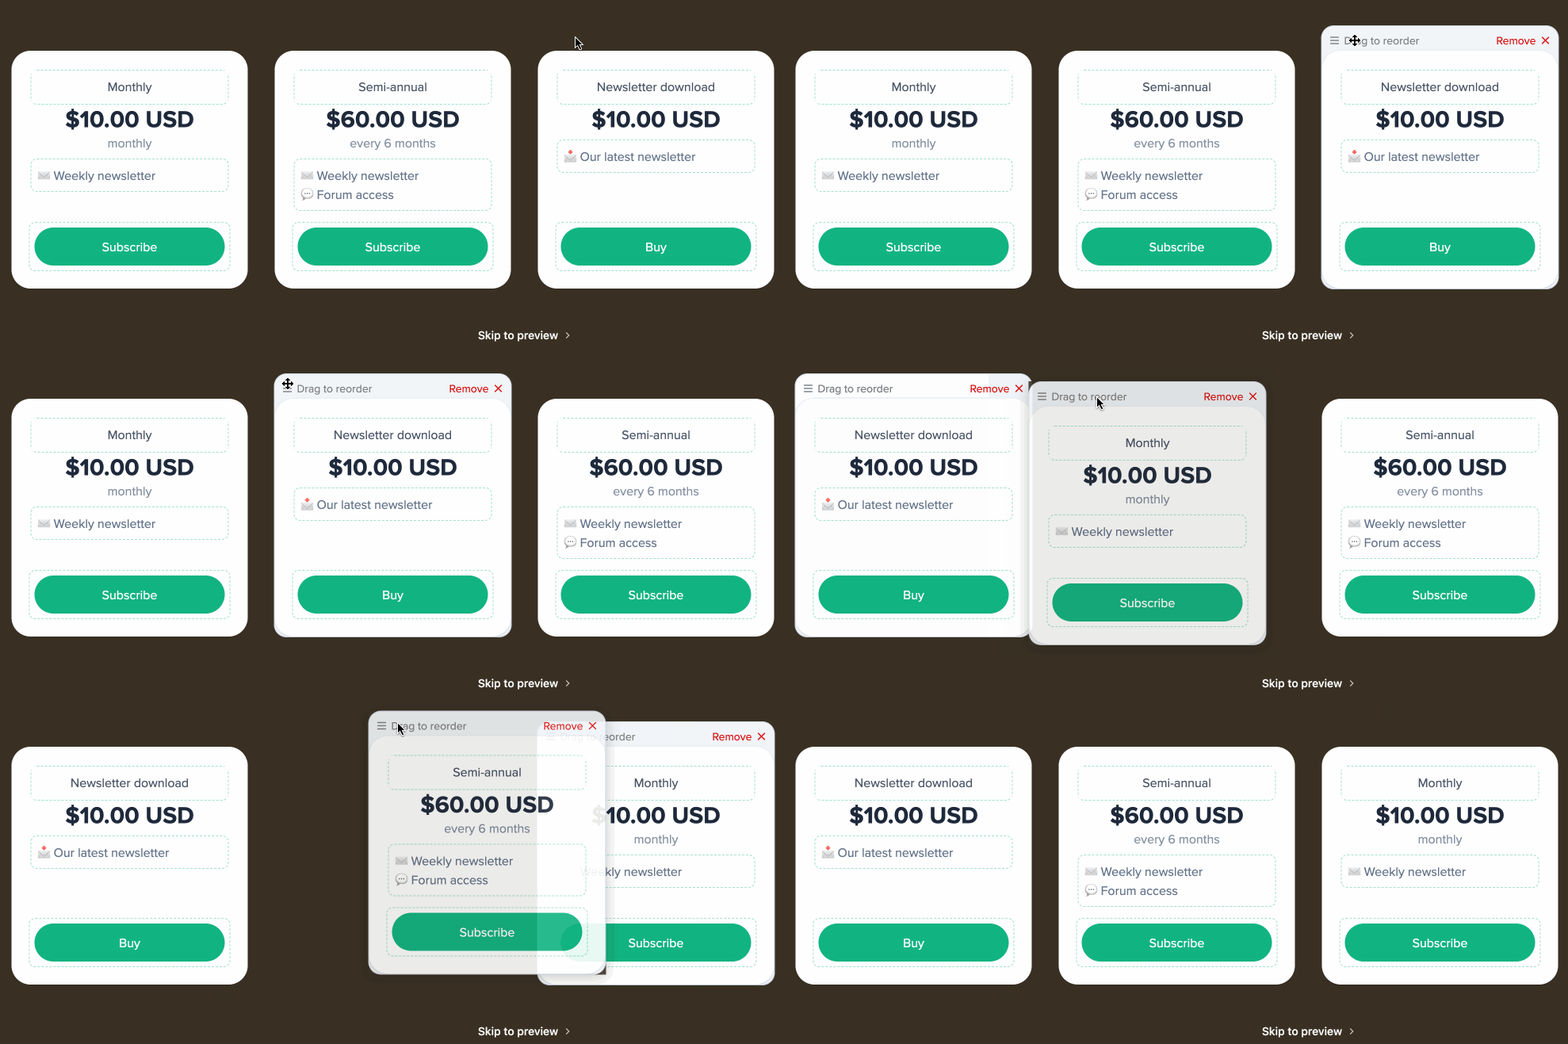
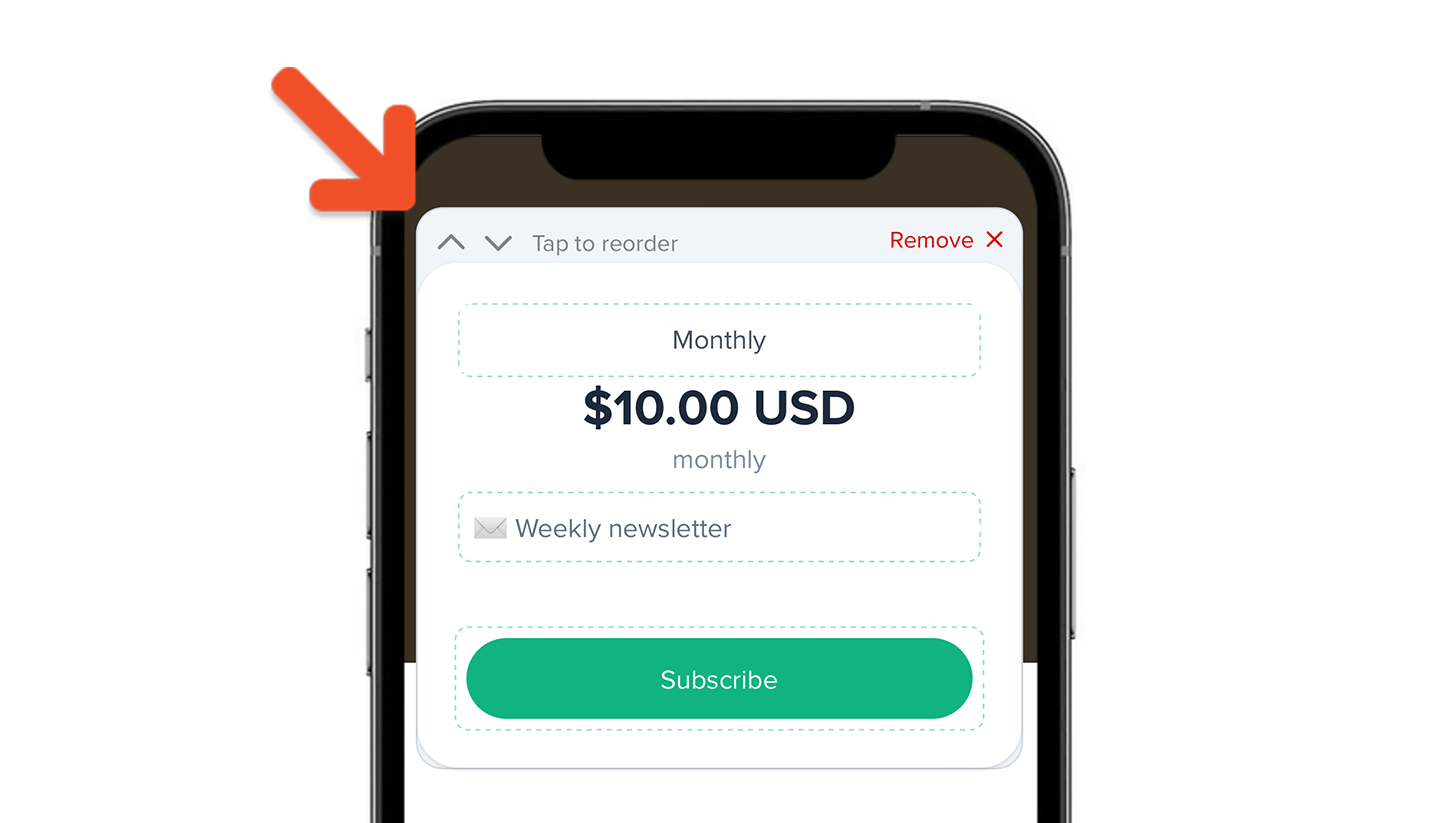
Show gift buttons
You can add a gift button below the purchase button for each plan that supports gifts.1
Open the subscription page settings
Go to Website, hover over Subscribe, and click the gear icon.
2
Enable gift buttons
Toggle on Show gift buttons, then click Save.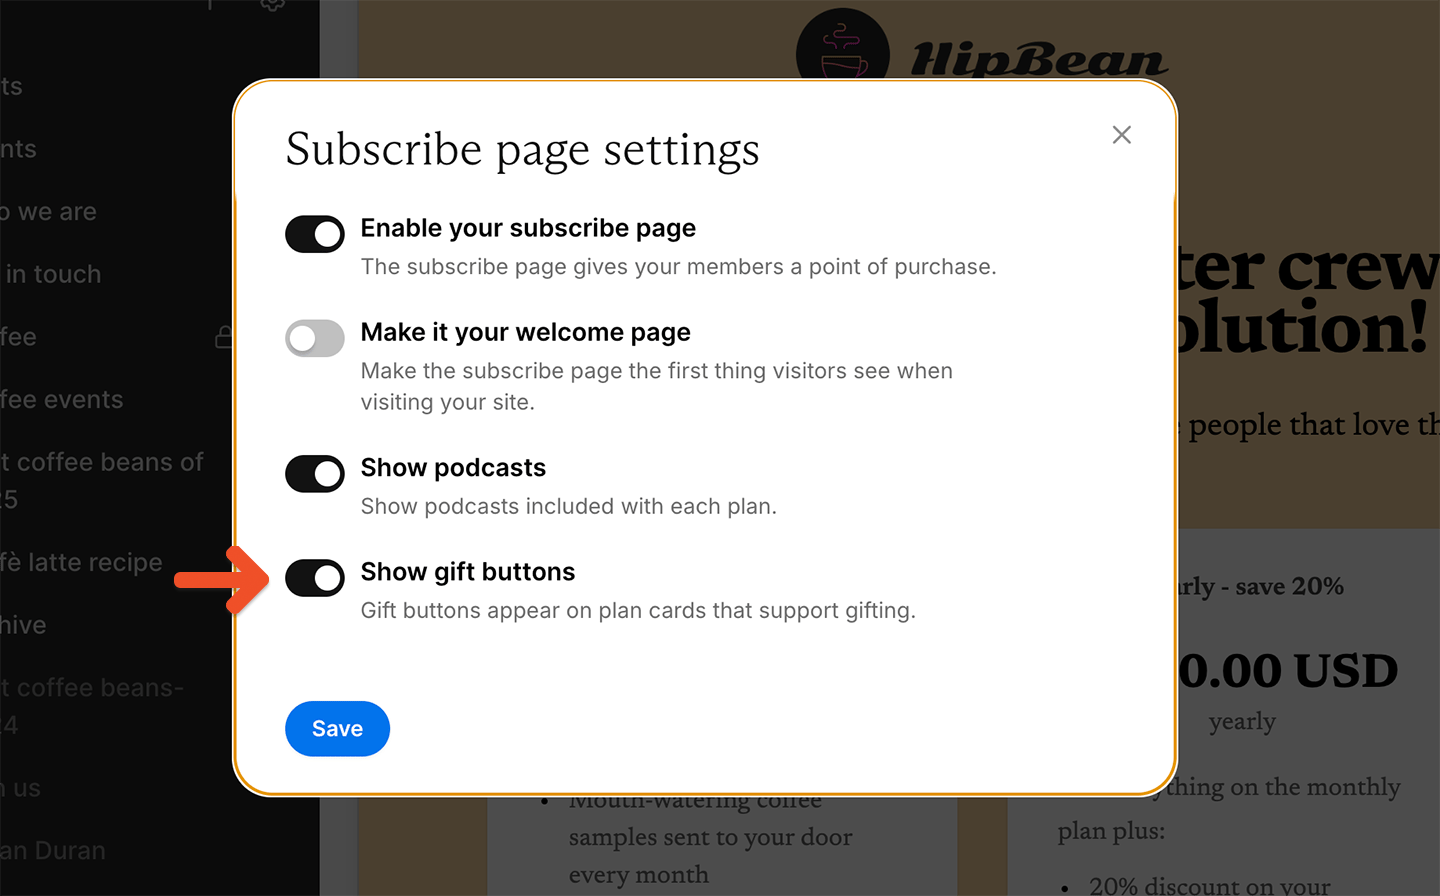
3
Customize the button label
Go to Website → Subscribe and click Edit page. Click the gift button below an eligible plan, enter the button label you want to display, then save your changes.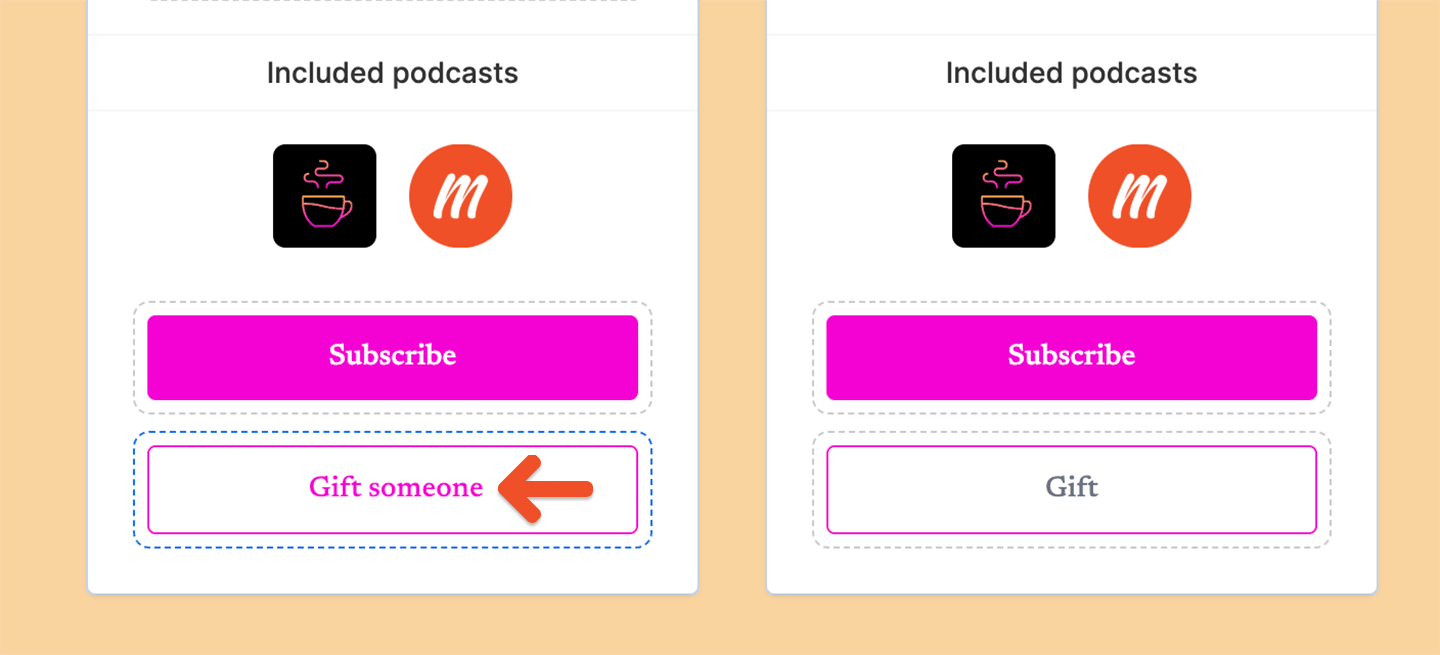
Only plans that support gifts display a gift button. Plans that aren’t eligible for gifting continue to show only their purchase button.
Add supporting content
Below your subscription options, you can add content such as:- frequently asked questions
- member testimonials
- contact information
- additional details about your membership
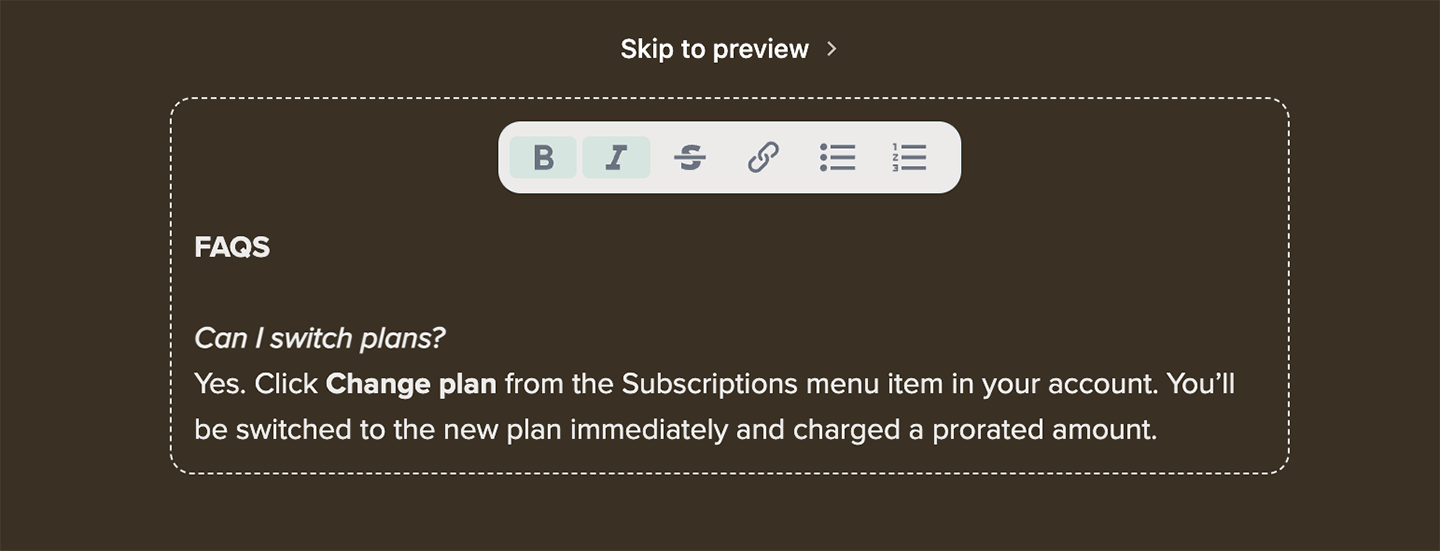
Configure subscription page display settings
Set the subscription page as your welcome page
You can show the subscription page before visitors enter the rest of your member website. Go to Website, hover over Subscribe, and click the gear icon. Toggle on Make it your welcome page, then click Save.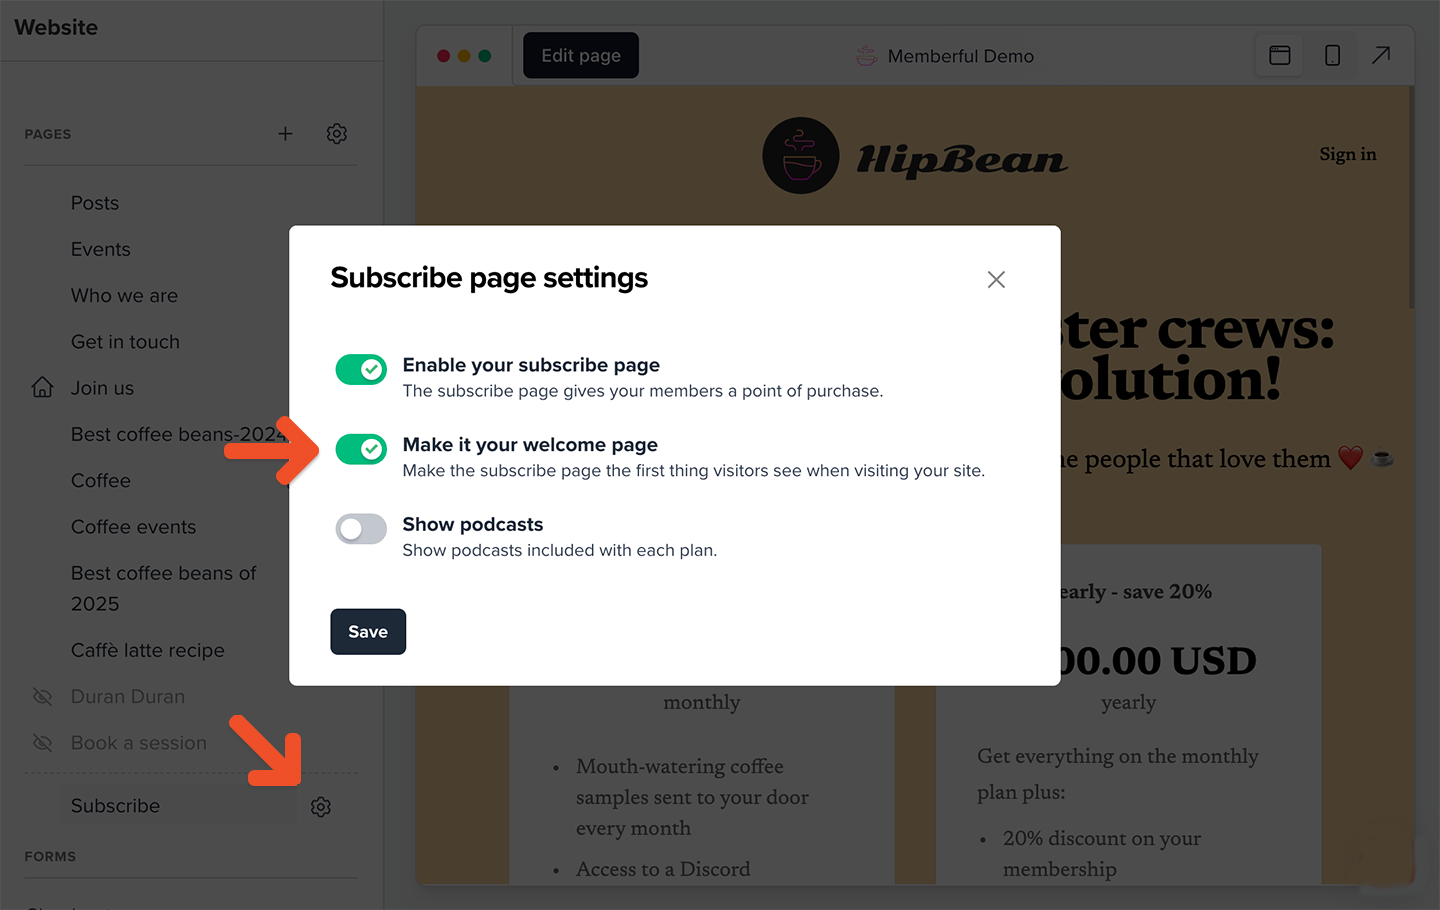
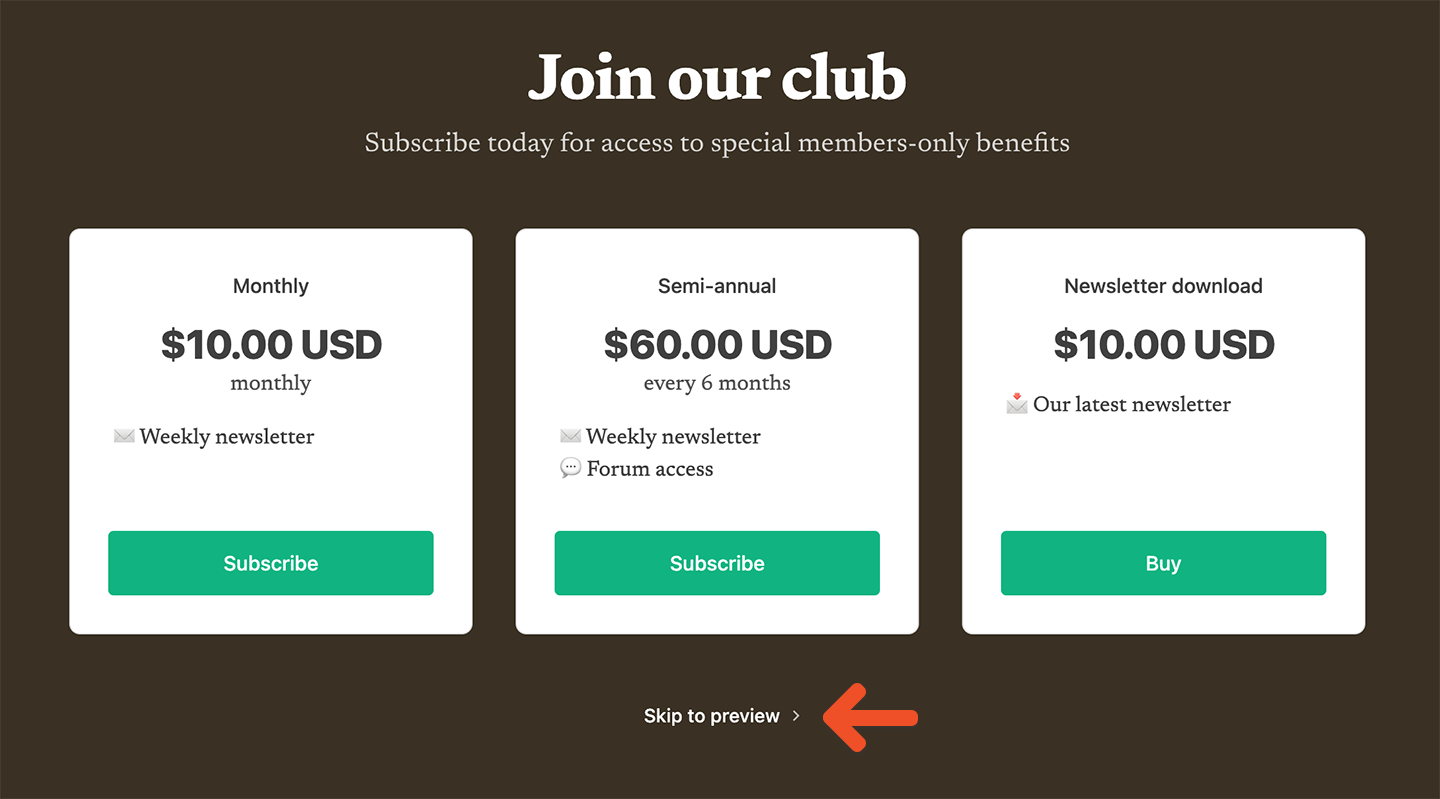
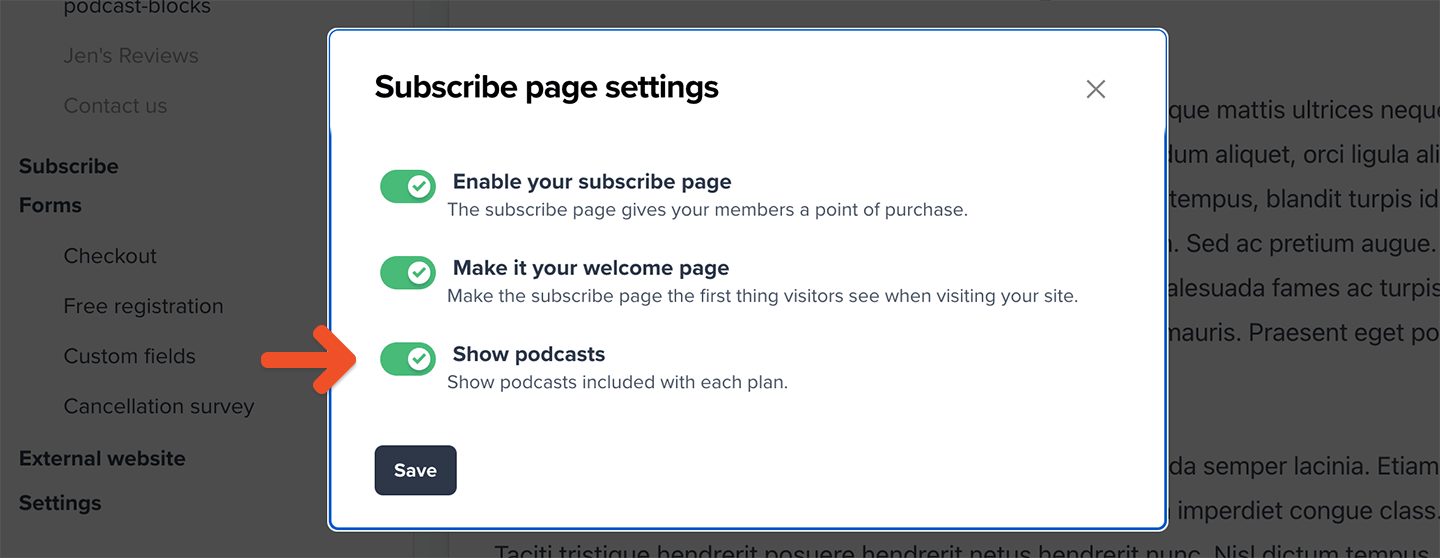
Show or hide included podcasts
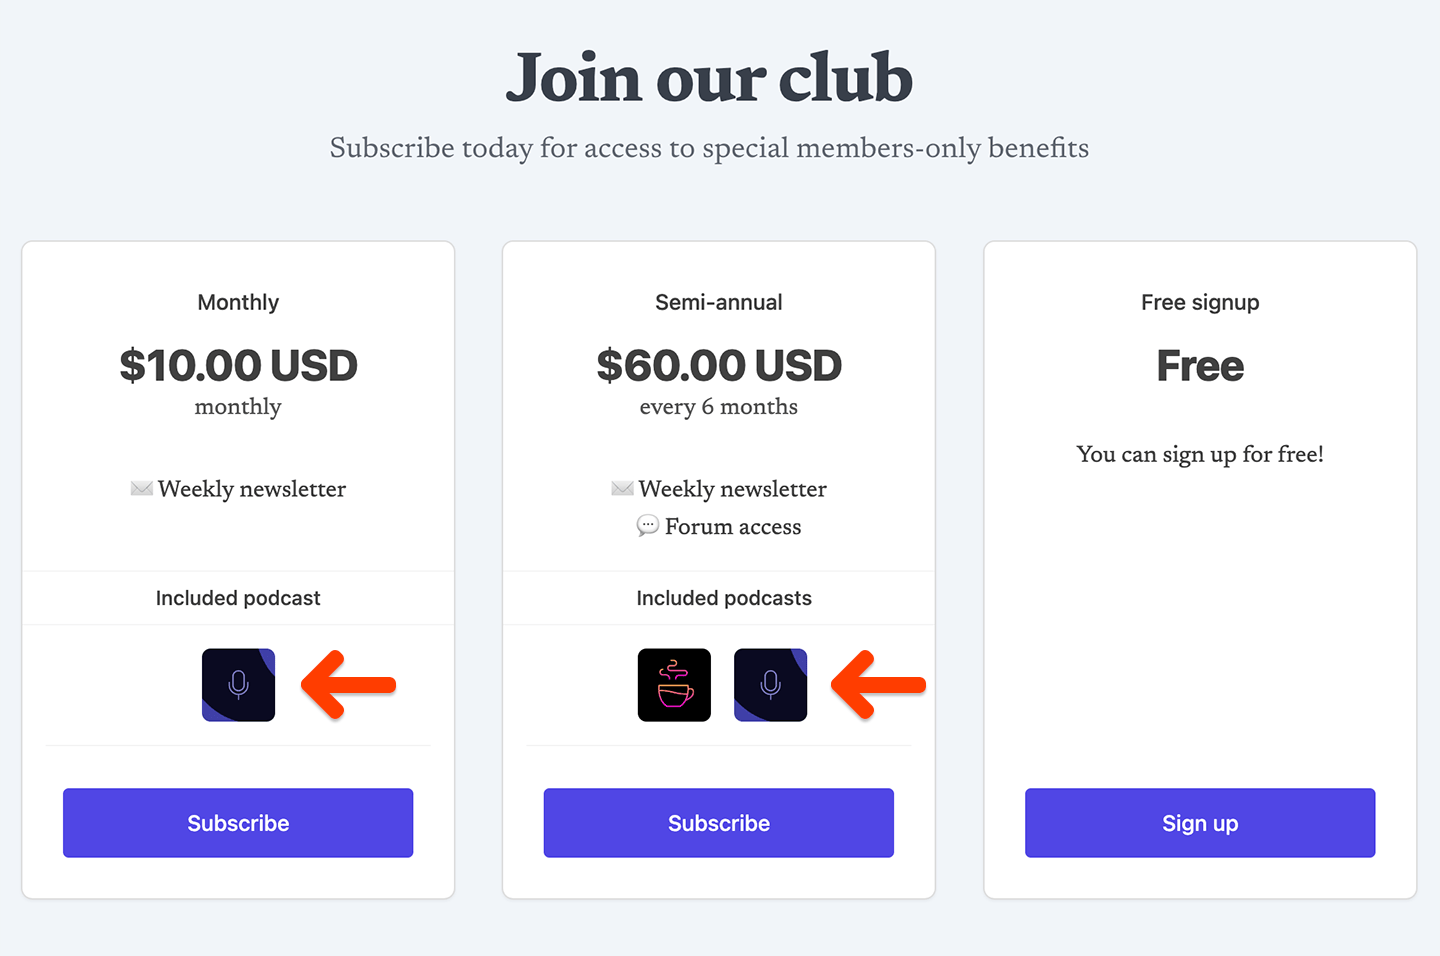
Your subscription page can display thumbnails for podcasts included with each plan. Memberful loads the thumbnails automatically from each podcast’s RSS feed.