

Configure custom fields
Go to Website → Custom fields in your Memberful dashboard.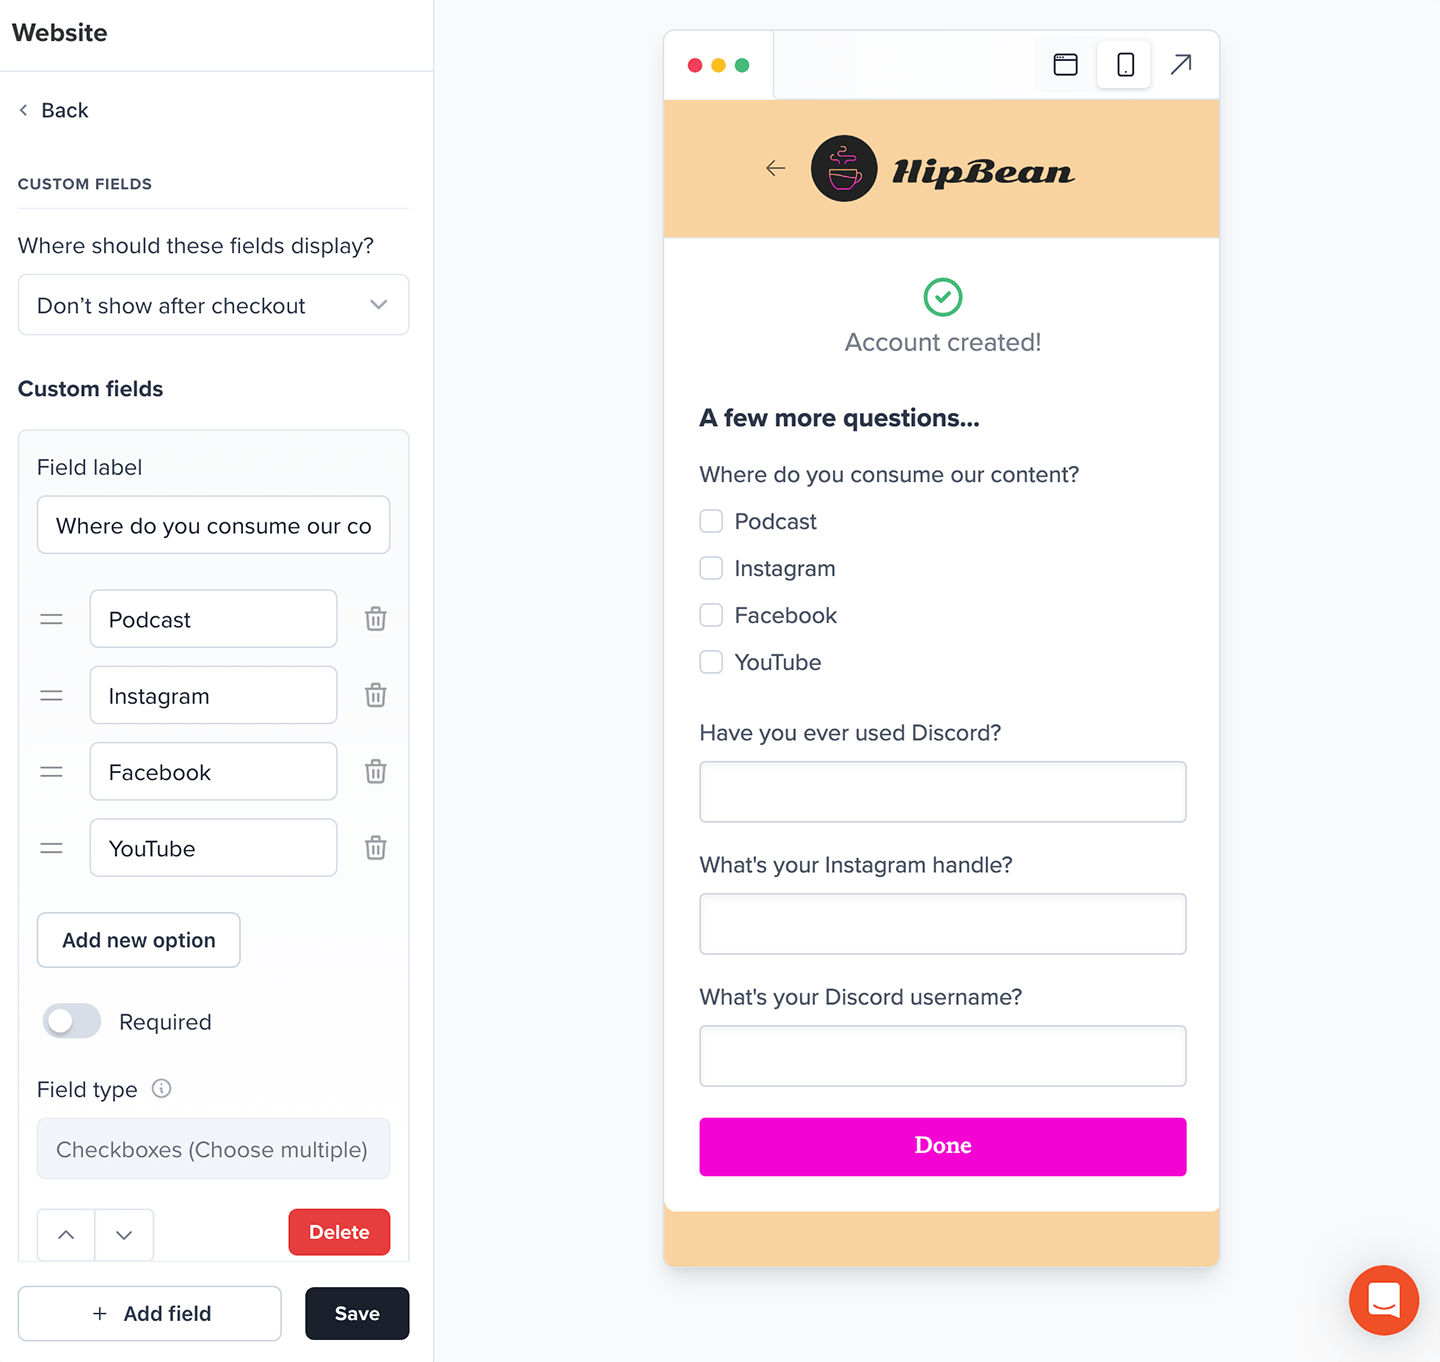
Choose when to display custom fields
By default, custom fields are displayed for all plans after checkout or free registration. If you haven’t created any fields, this step won’t appear.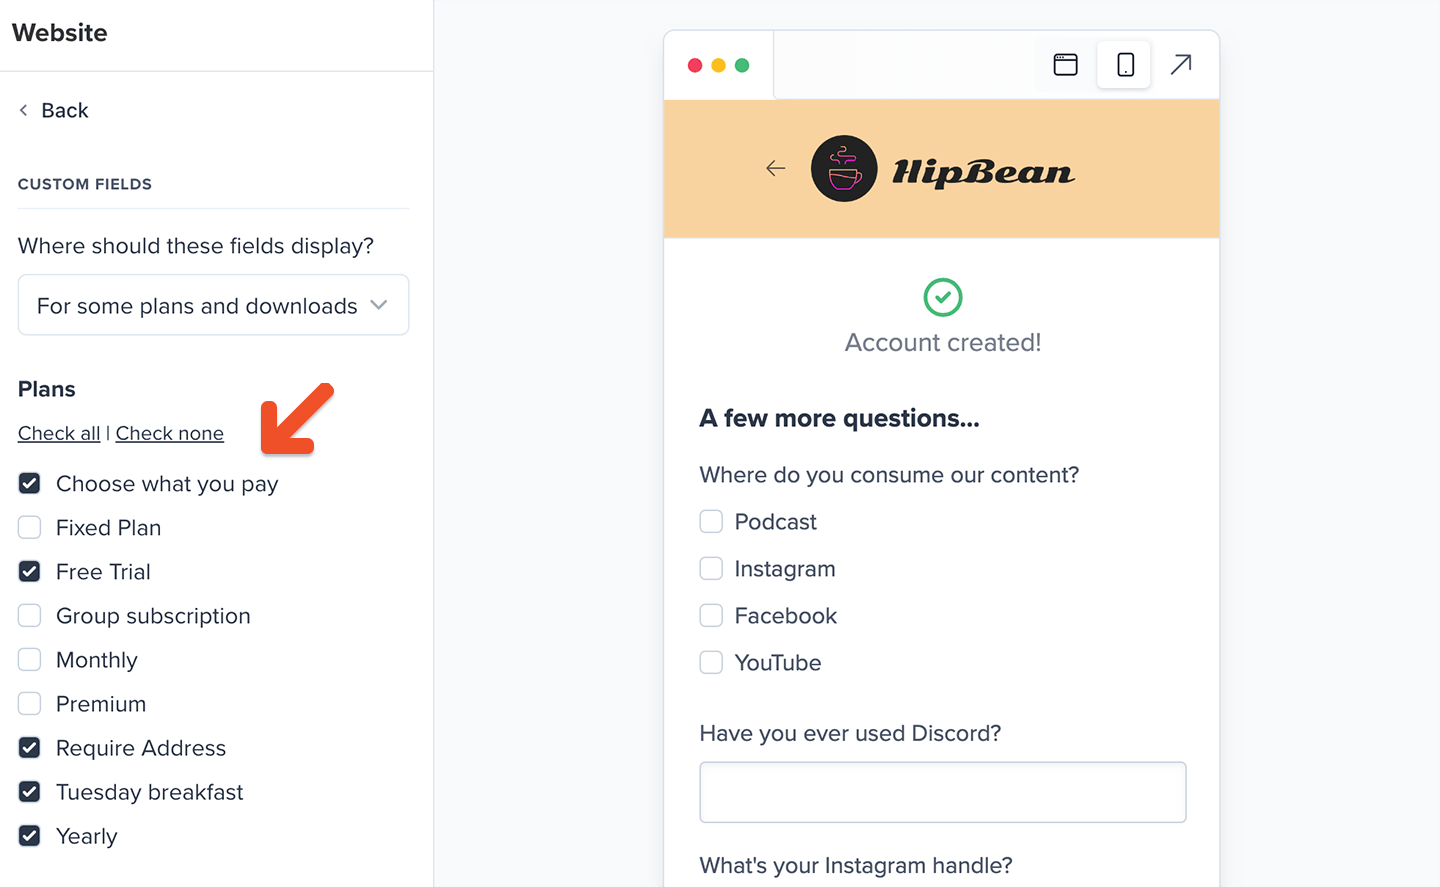
- Show for all plans and downloads
- Show for some plans and downloads
- Don’t show after checkout
Create a custom field
1
Enter a field label
Enter the question or label you want members to see. For example: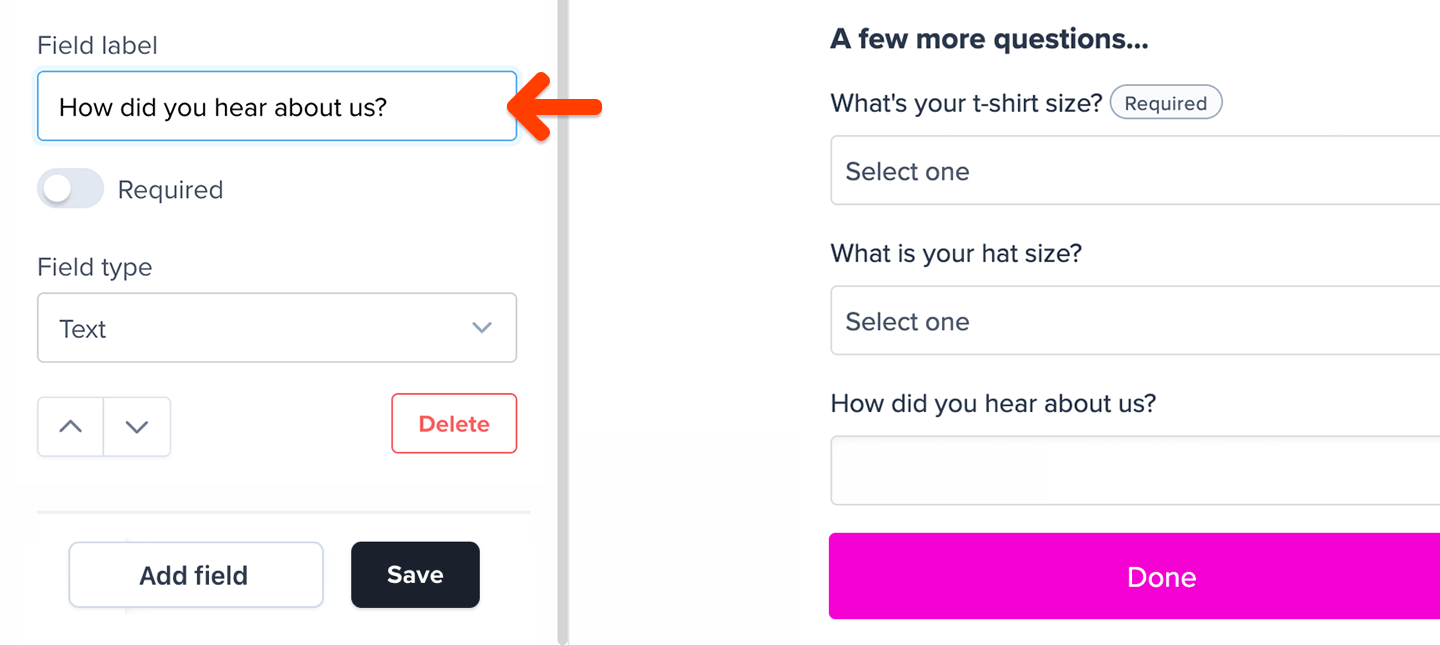
- How did you hear about us?
- Which newsletters do you want to receive?
- What is your t-shirt size?
2
Select a field type
Select the field type that supports the information you want to collect.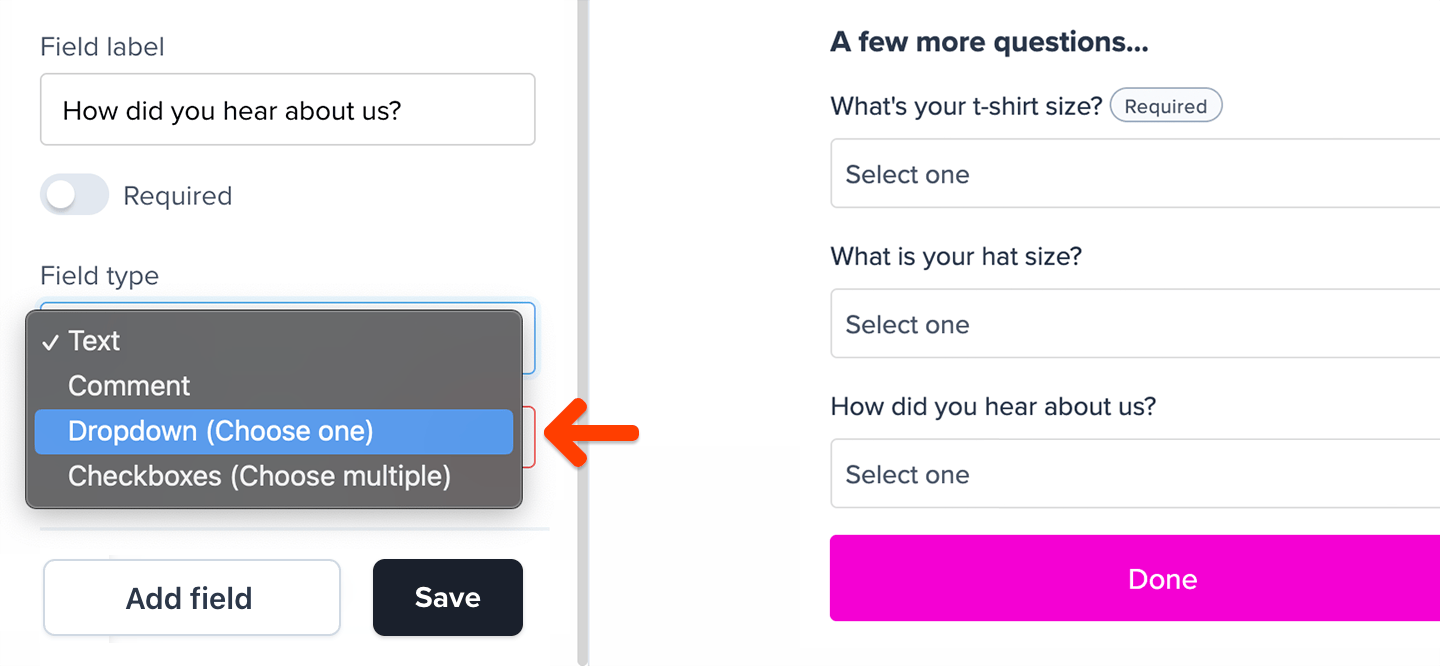
- Text: A basic text field with a 250-character limit
- Comment: A long-form text field with a 1,000-character limit
- Dropdown (Choose one): Allows members to select one answer
- Checkboxes (Choose multiple): Allows members to select multiple answers
- Account password: Allows members to create a password after signing up
3
Add answer options
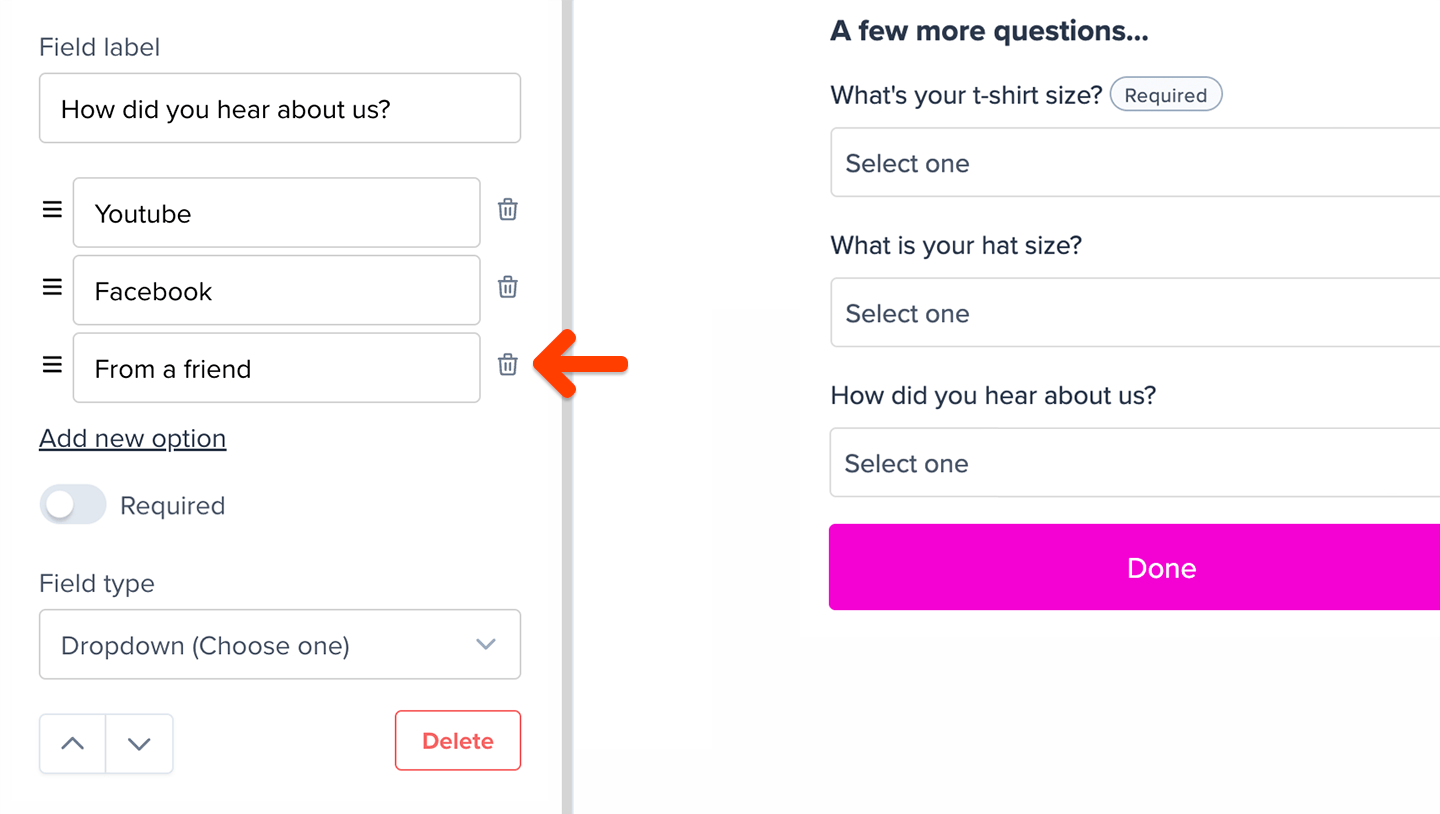
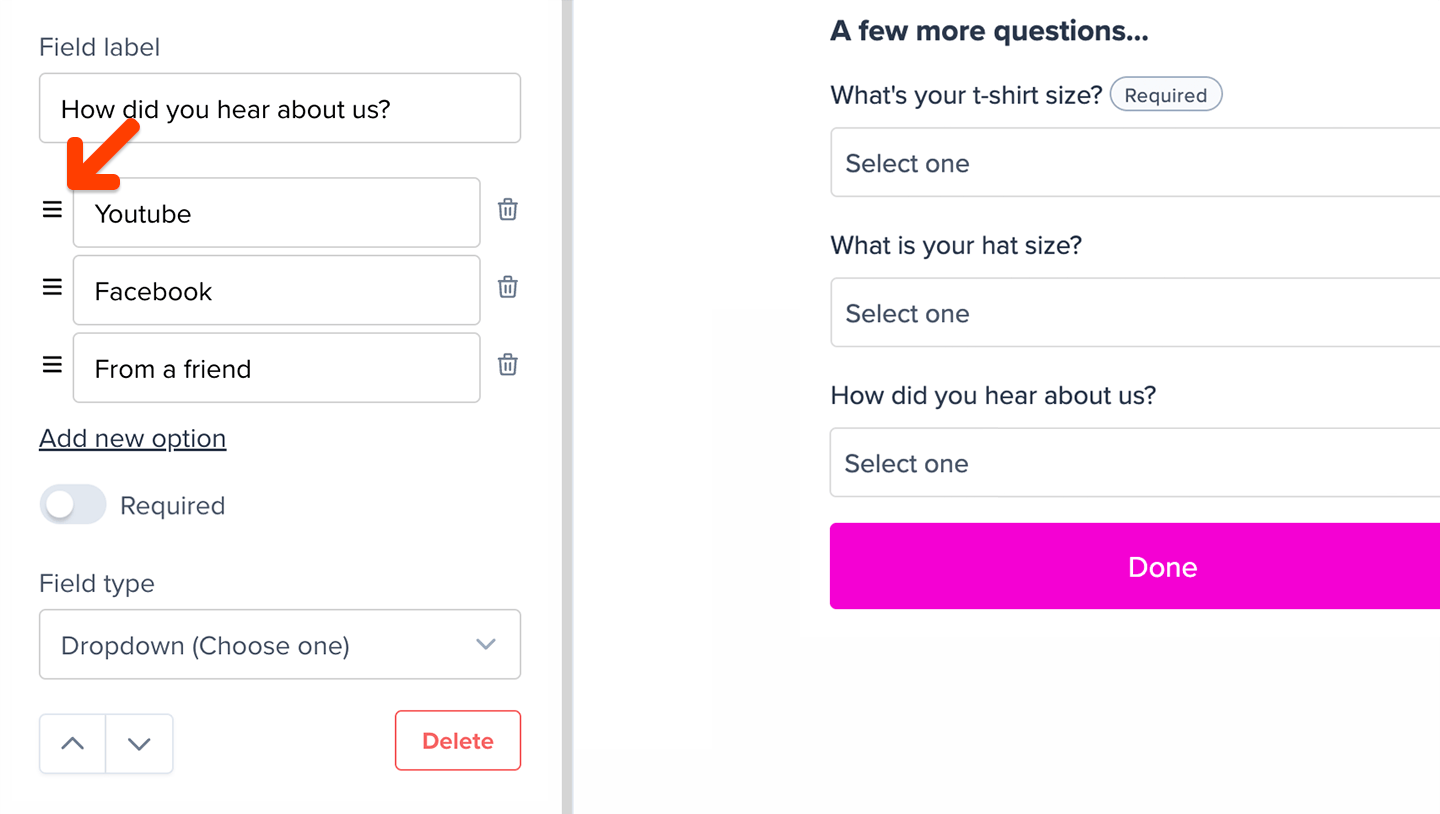
If you selected a dropdown or checkbox field, click Add new option and enter the available answers. There is no limit to the number of options you can add.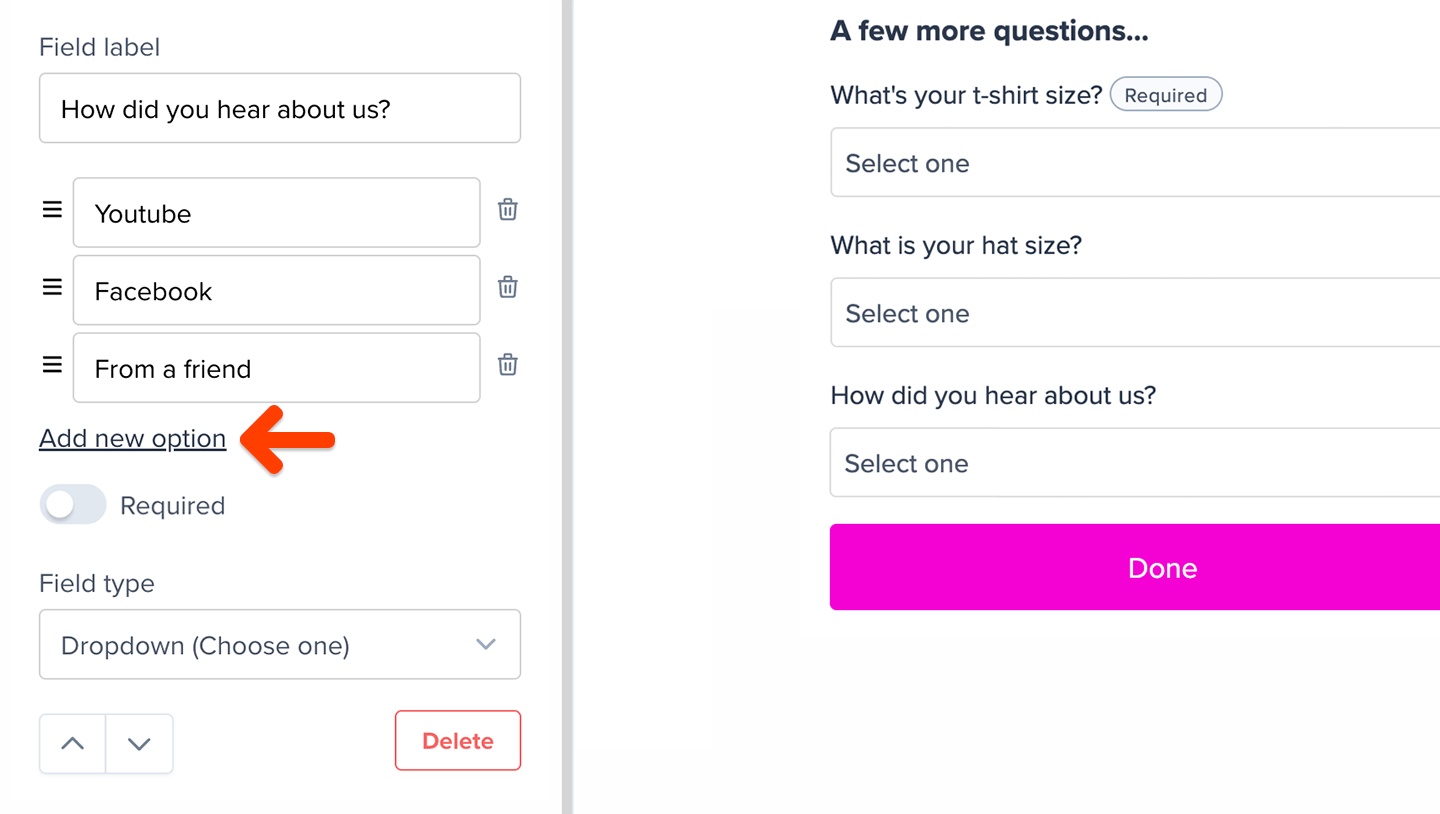
4
Choose whether the field is required
Choose whether members must complete the field before submitting the form.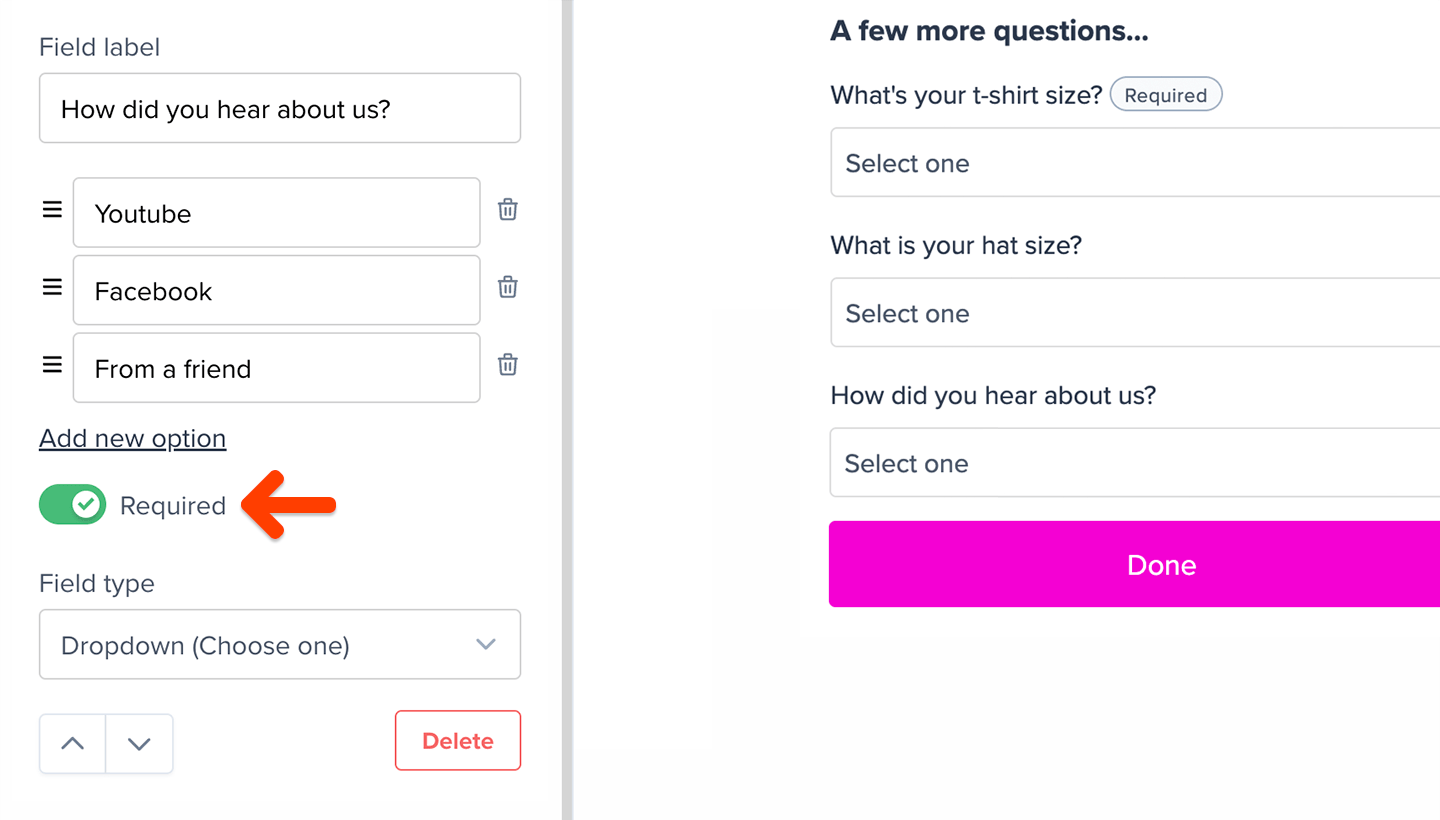
5
Save the custom field
Click Save changes.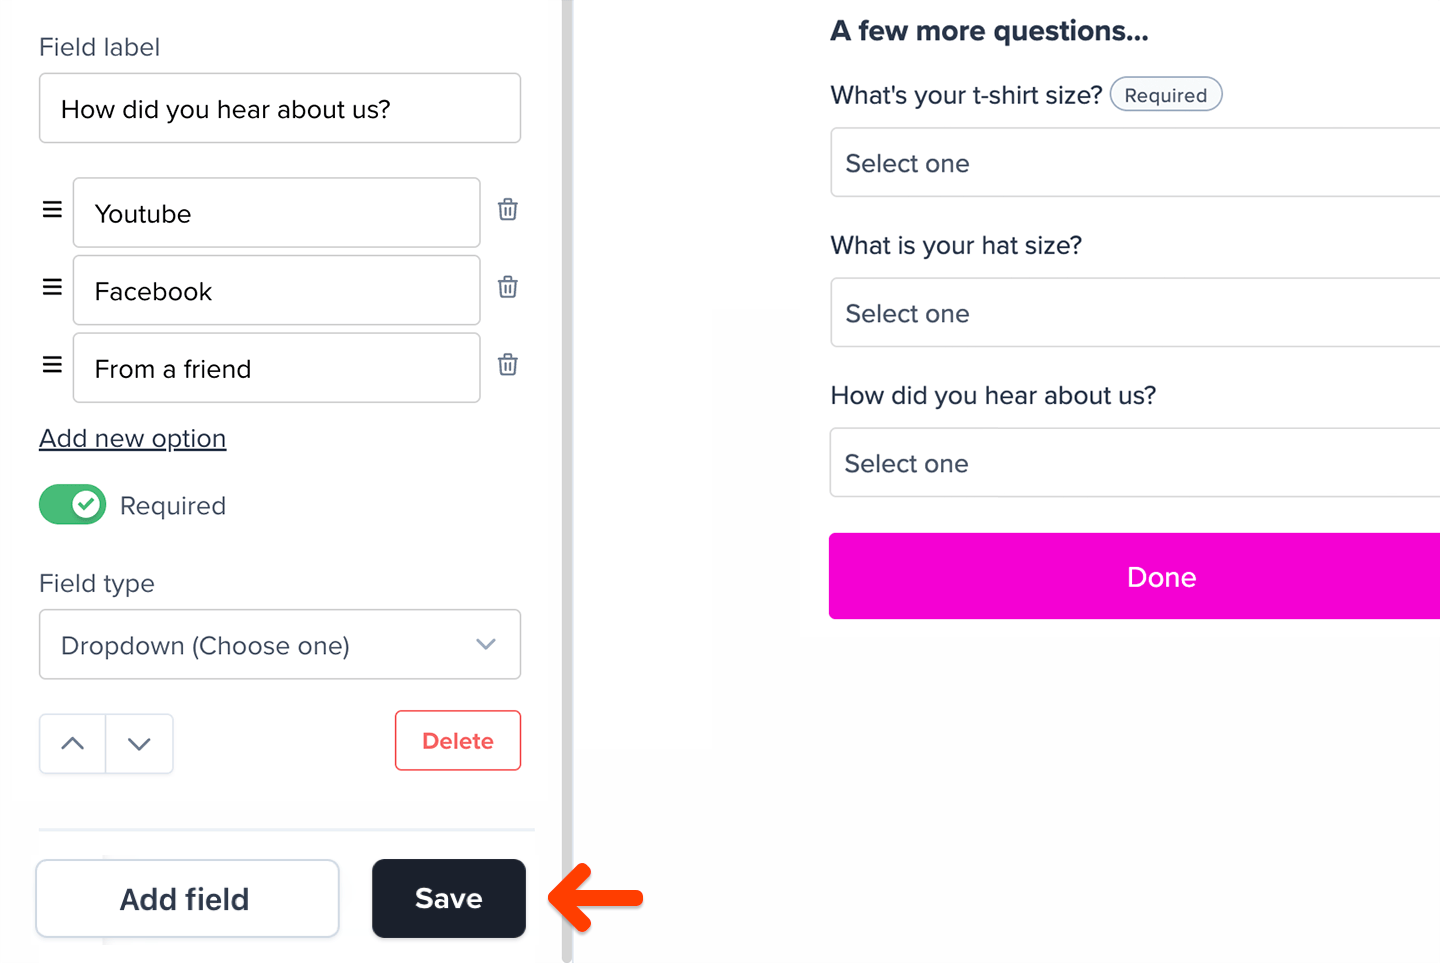
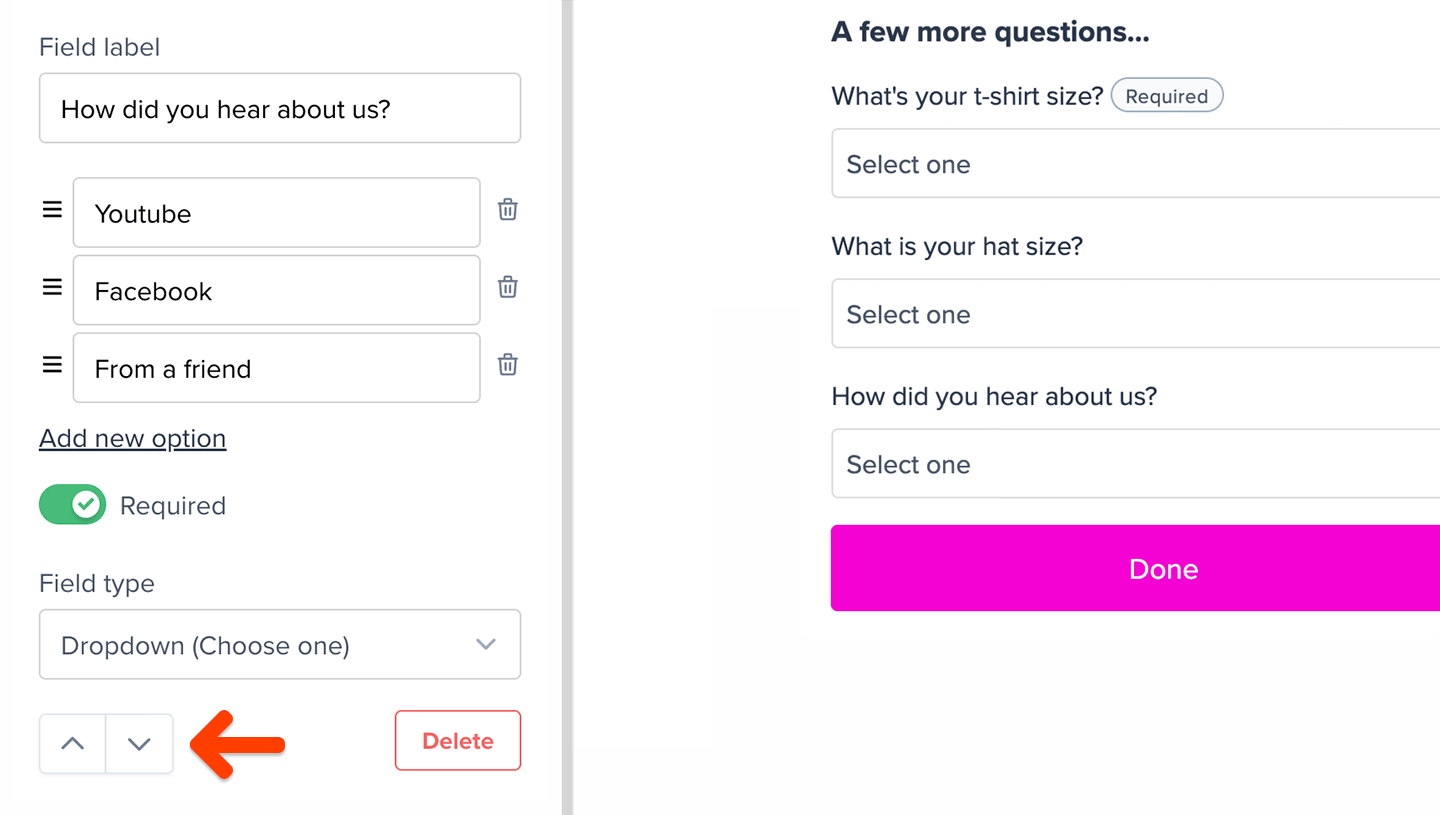
After creating a field, you can edit its label and options, but you can’t change its field type. To use a different type, delete the field and create a new one.
Preview the post-checkout form
The form is displayed after a member completes a payment, redeems a gift, joins a group subscription, or completes free registration, provided the plan is included in your custom field display settings.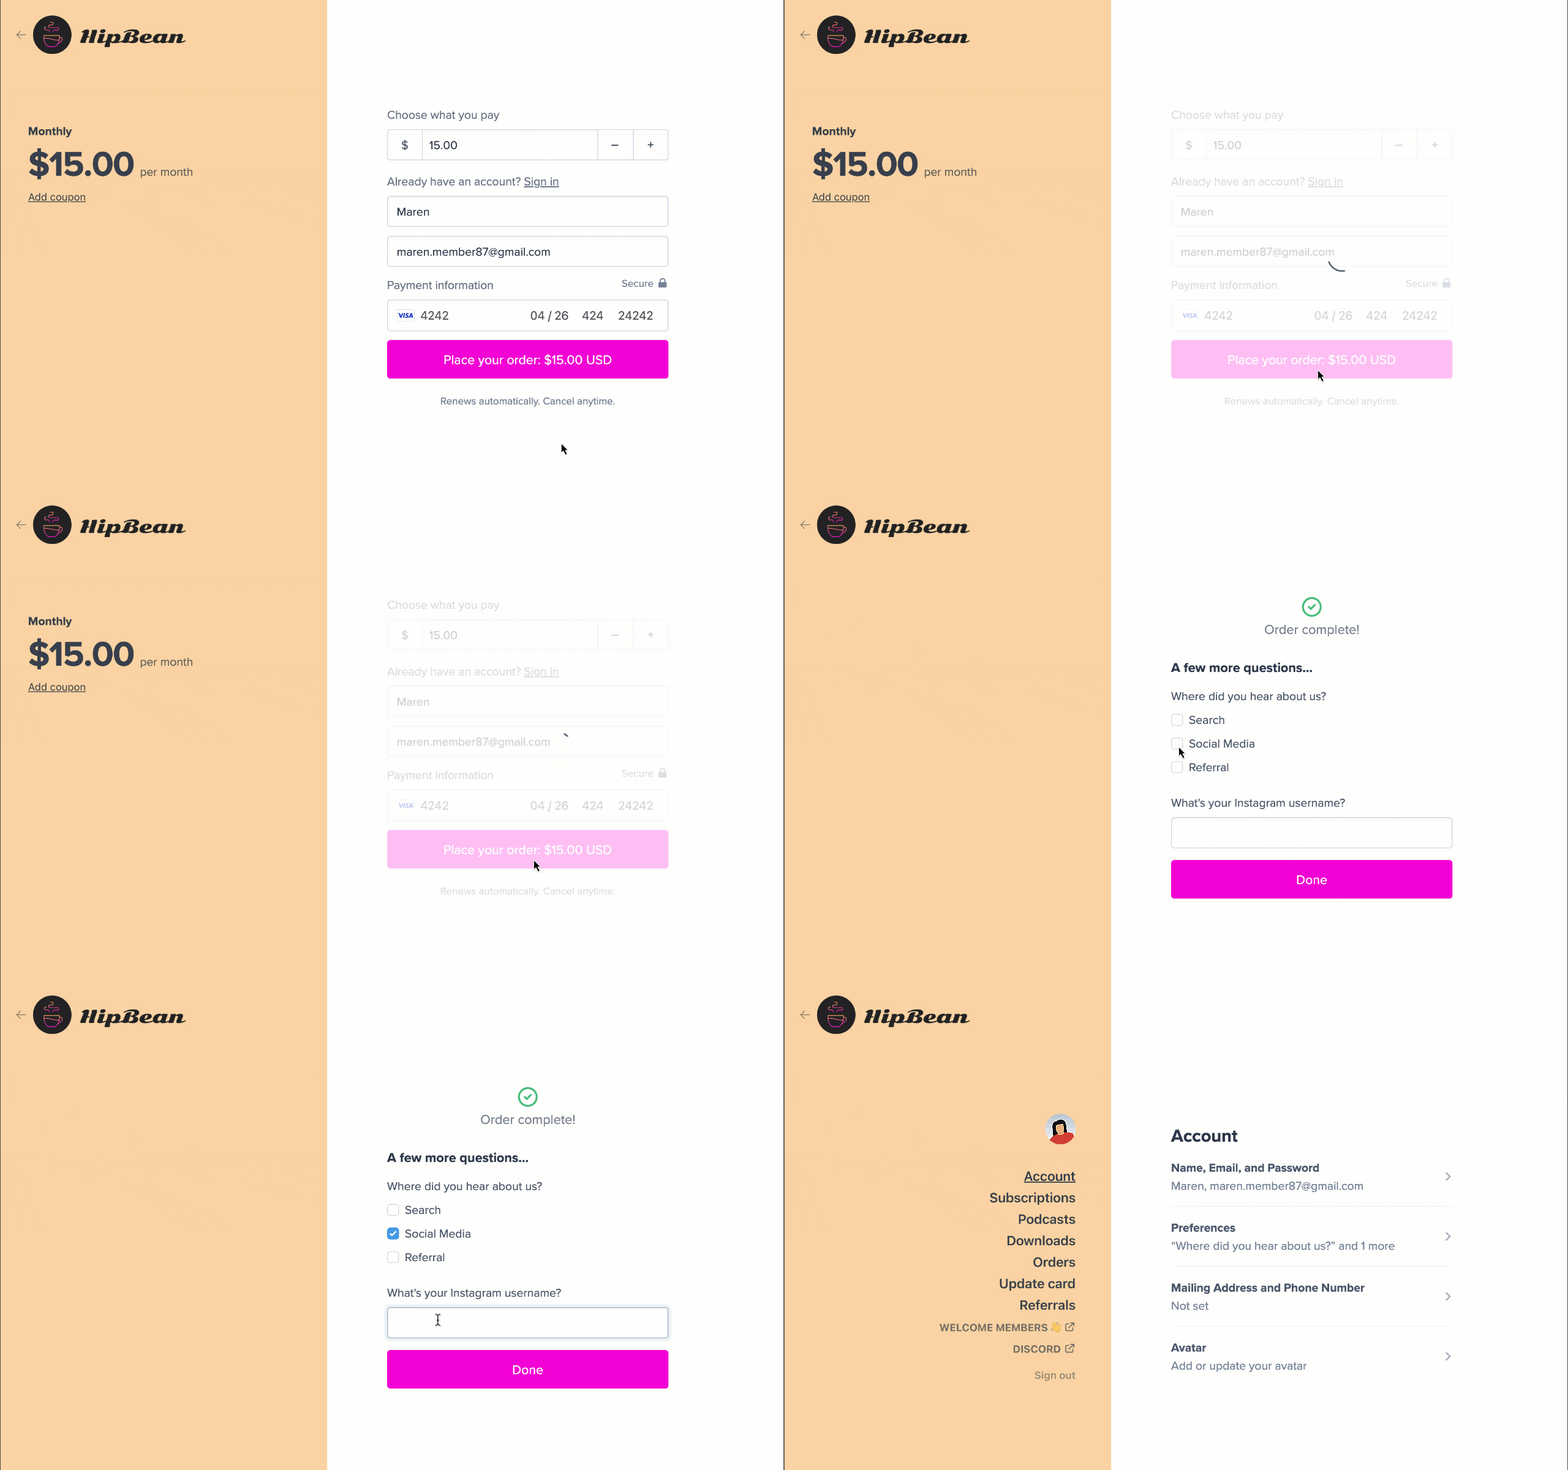
Let members update their custom fields
Members can update their custom fields from their account. The Account password field behaves differently from other custom fields. It is only displayed after signup and doesn’t appear with the other custom fields in the member’s account. Members can create or update their password from the separate password section in their account. Members continue to see their saved fields if you update a field’s label or options. If you delete an option that a member previously selected, the saved option remains visible in their profile until they update the field. They can’t select the deleted option again. If you delete an entire field, it will no longer appear in member accounts or member exports.Access custom field data in Memberful
To access custom field data in bulk, go to Members and export a CSV. You can also review an individual member’s responses in the Member Stats section of their profile.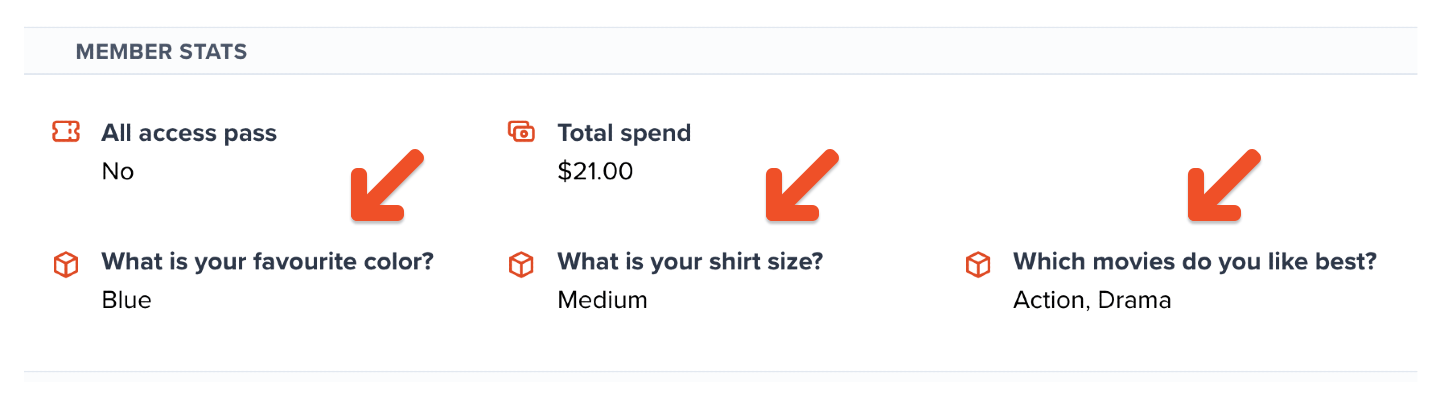
Moving members from another platform? Create your custom fields first, then download the sample file when you import members via CSV. The file includes a column for each custom field, so you can bring members’ existing responses with them.