Caffeinated Insights
Caffeinated Insights post
Olive and Thyme
Olive and Thyme post
Enable or disable the member website
Memberful includes a member website feature, which is optional. This website saves you from having to set up and operate a custom website on your own server, so you can get up and running within minutes. Memberful’s member website is enabled by default, but you can disable it by going to the Website tab, clicking the gear icon, and selecting Hidden.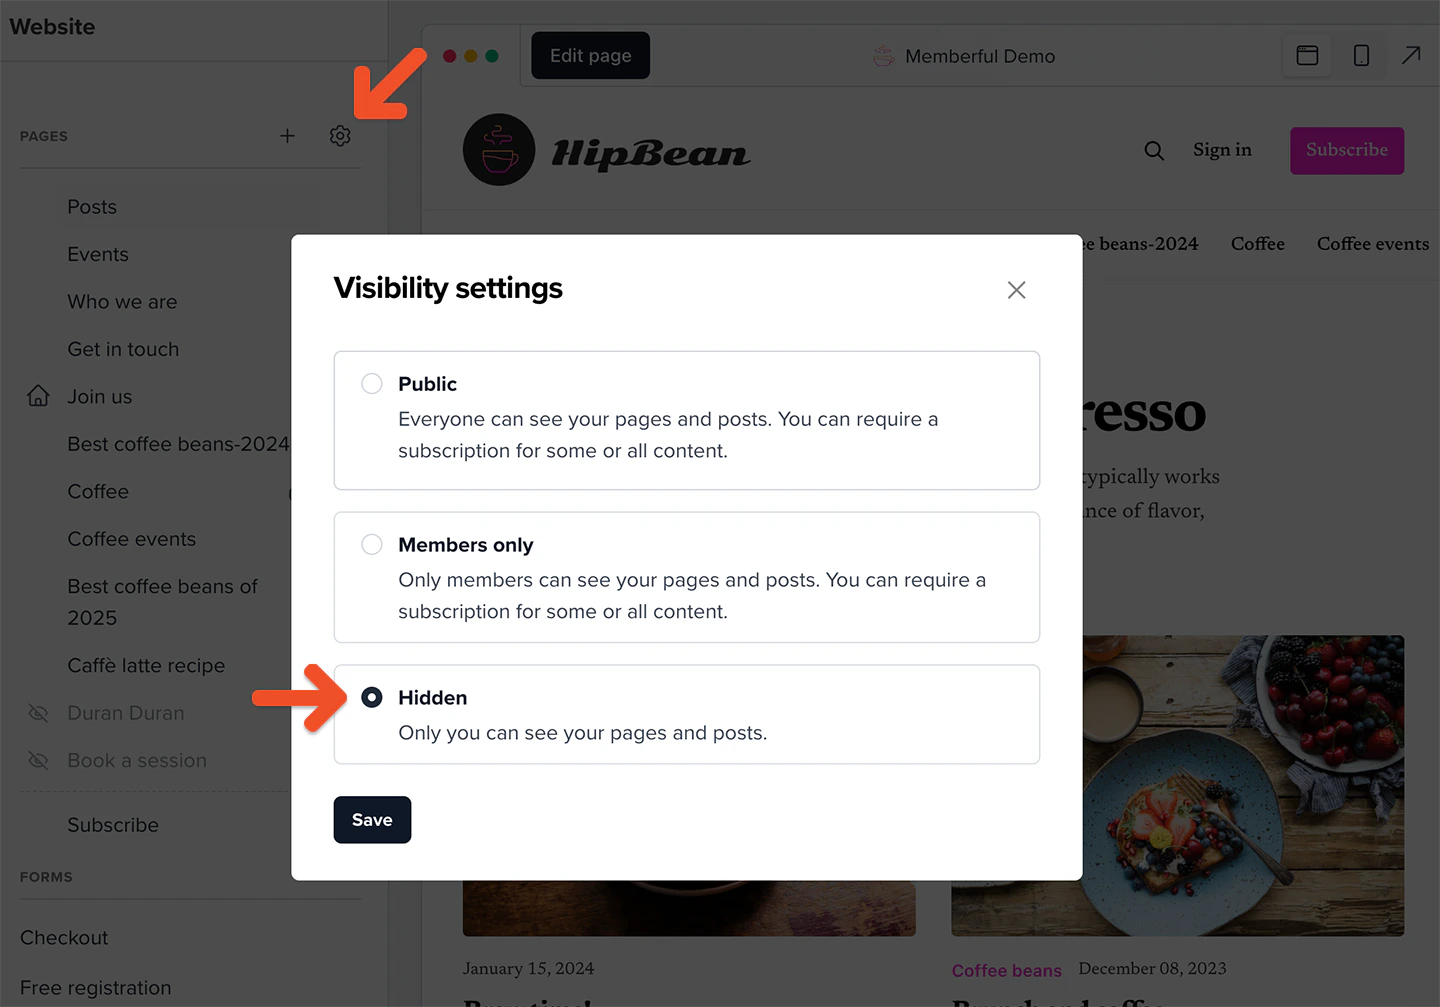

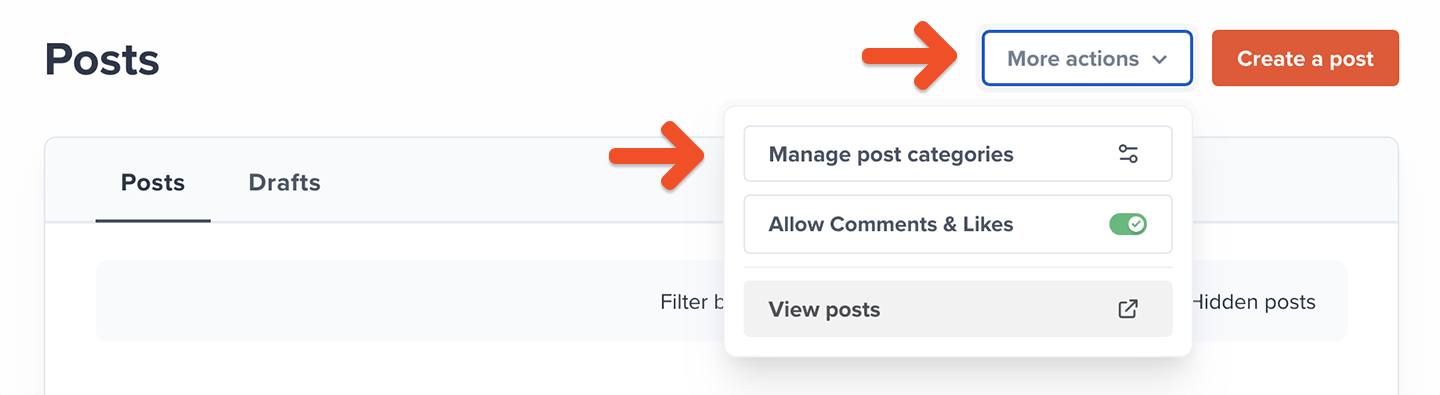
Create a new post
Go to Content → Posts from your Memberful dashboard, and click Create a post.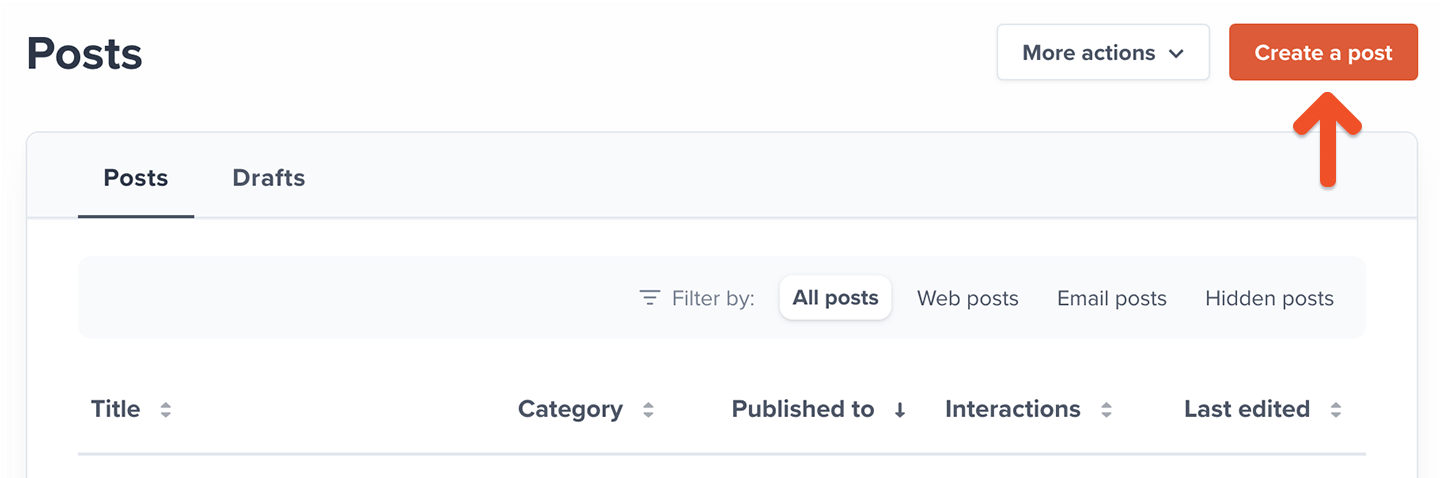


Upload videos to a post
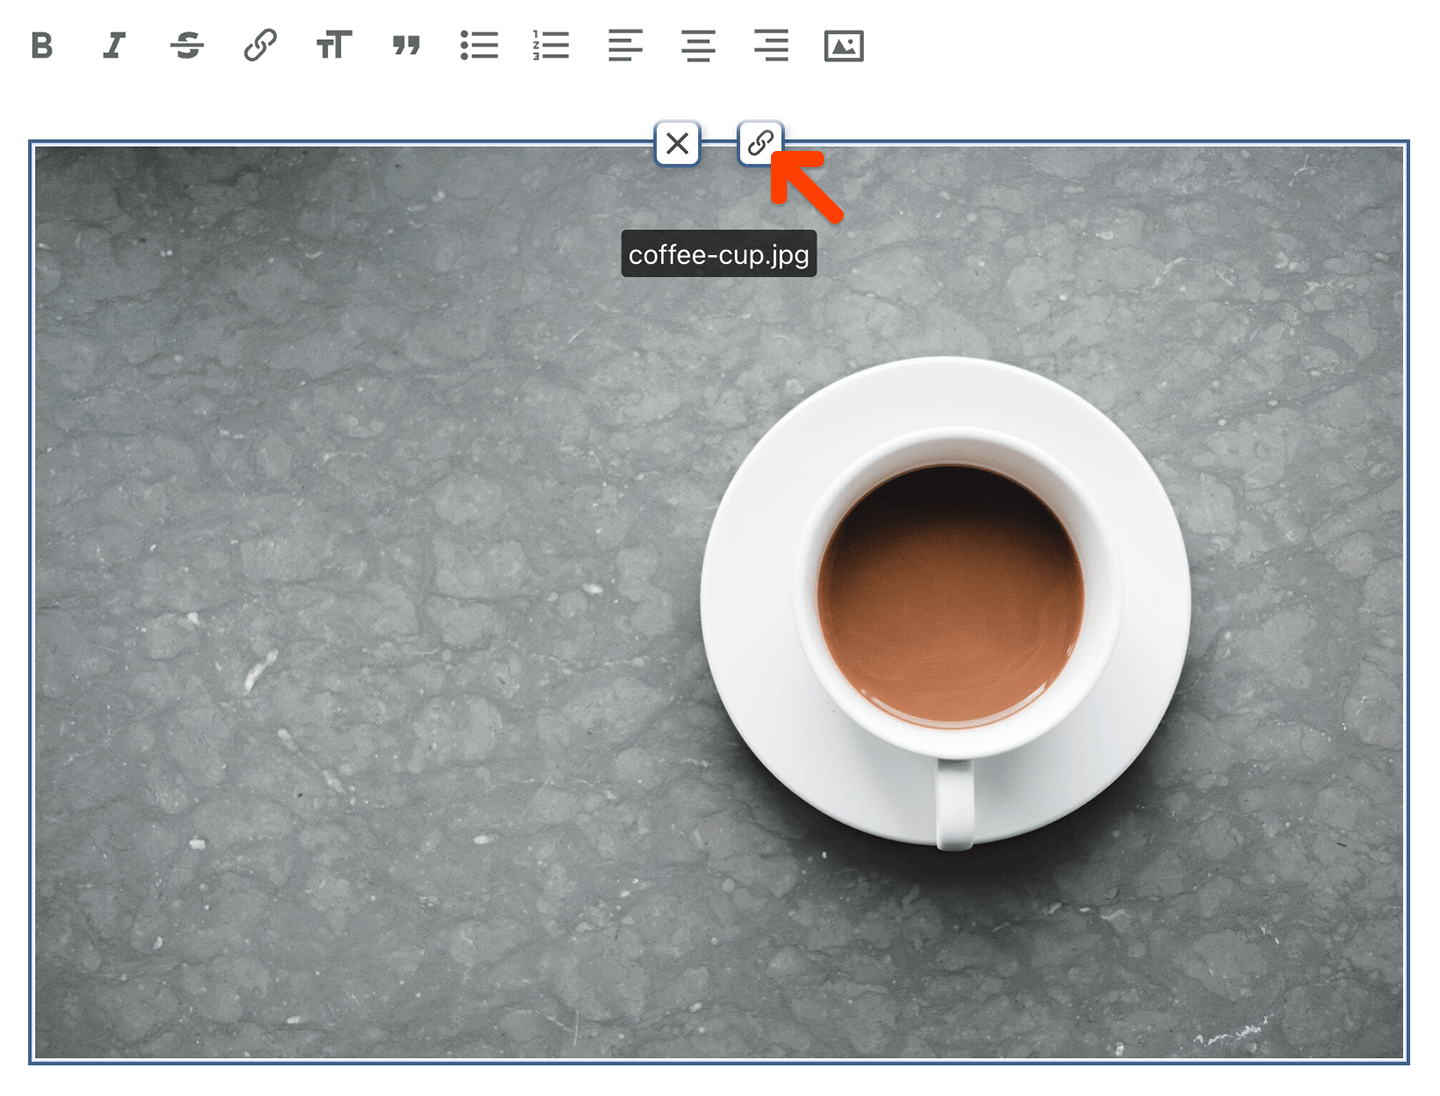
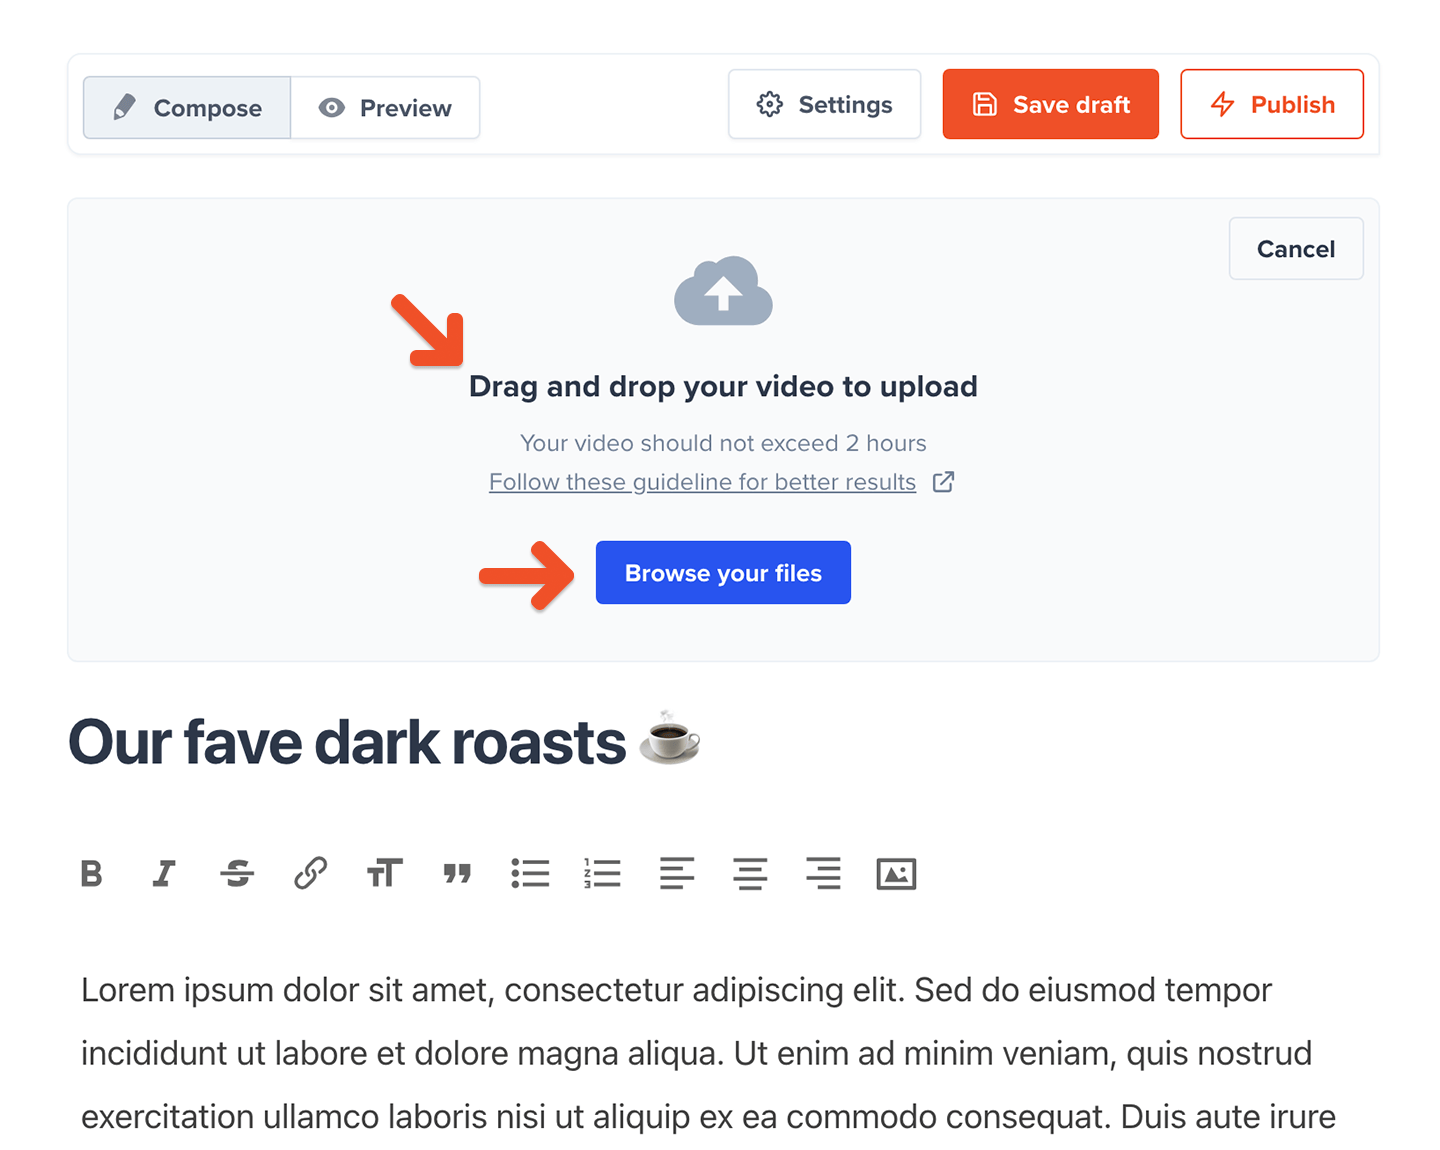
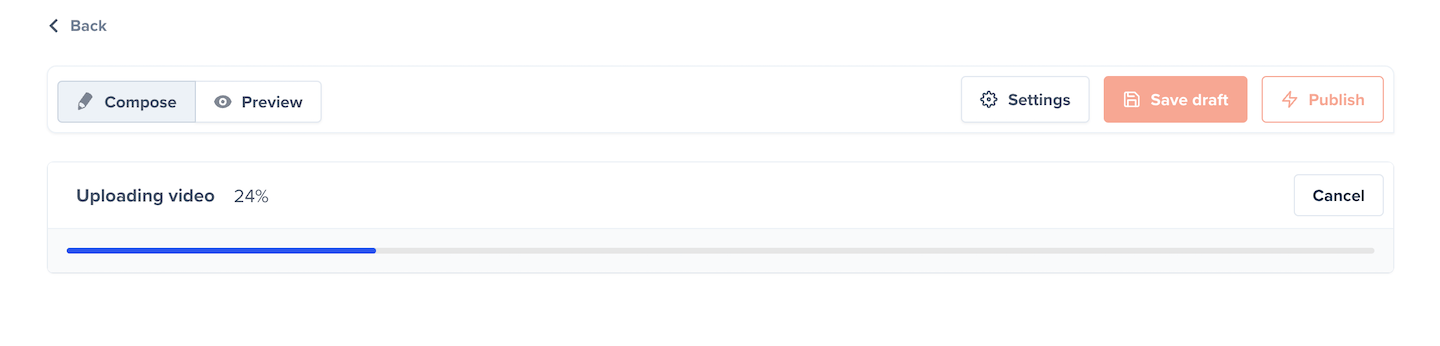
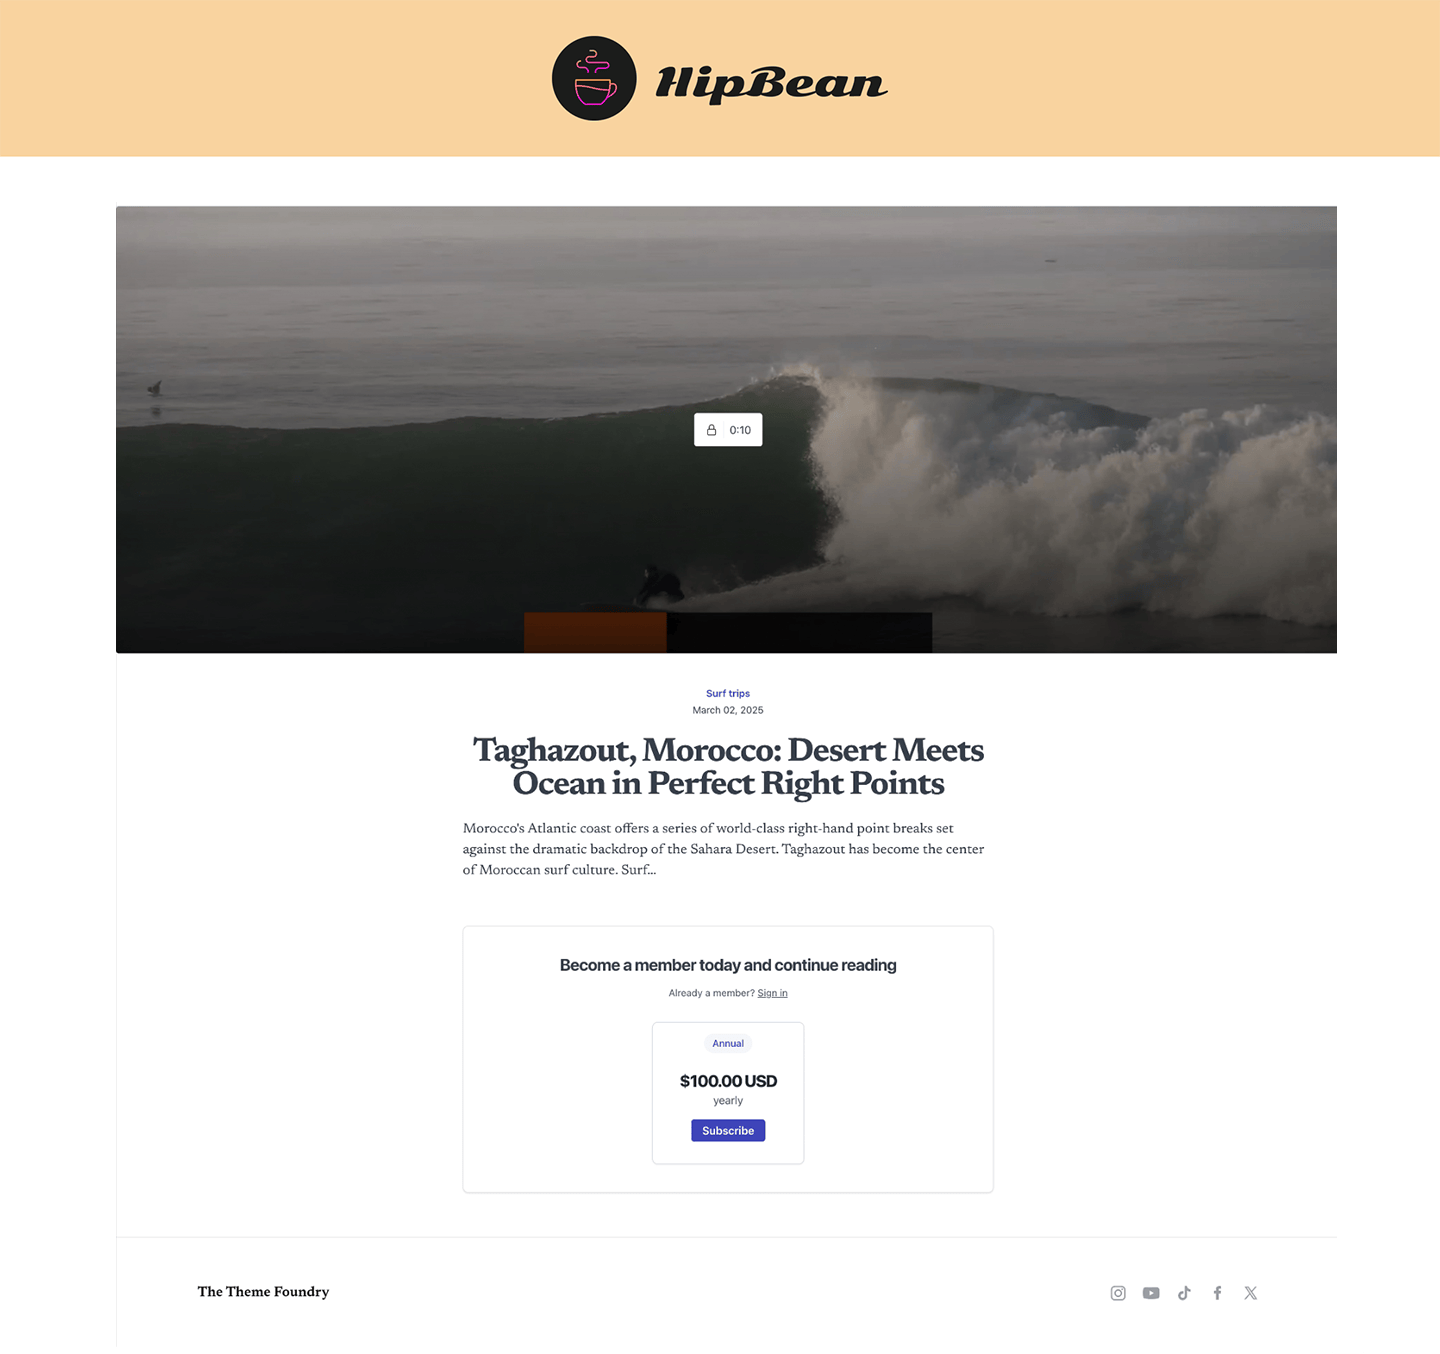
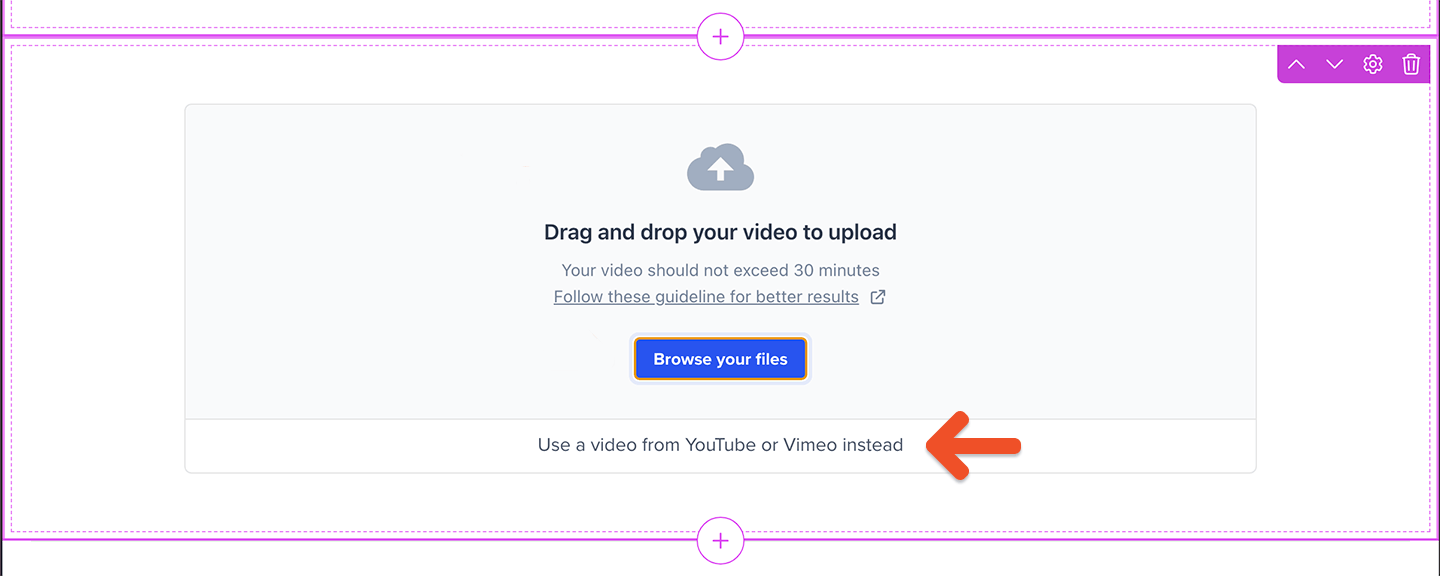
You can upload or drag and drop video files into your post for paid members. Follow our video processing guidelines for the best streaming quality, then go to your post and click Add featured video to upload: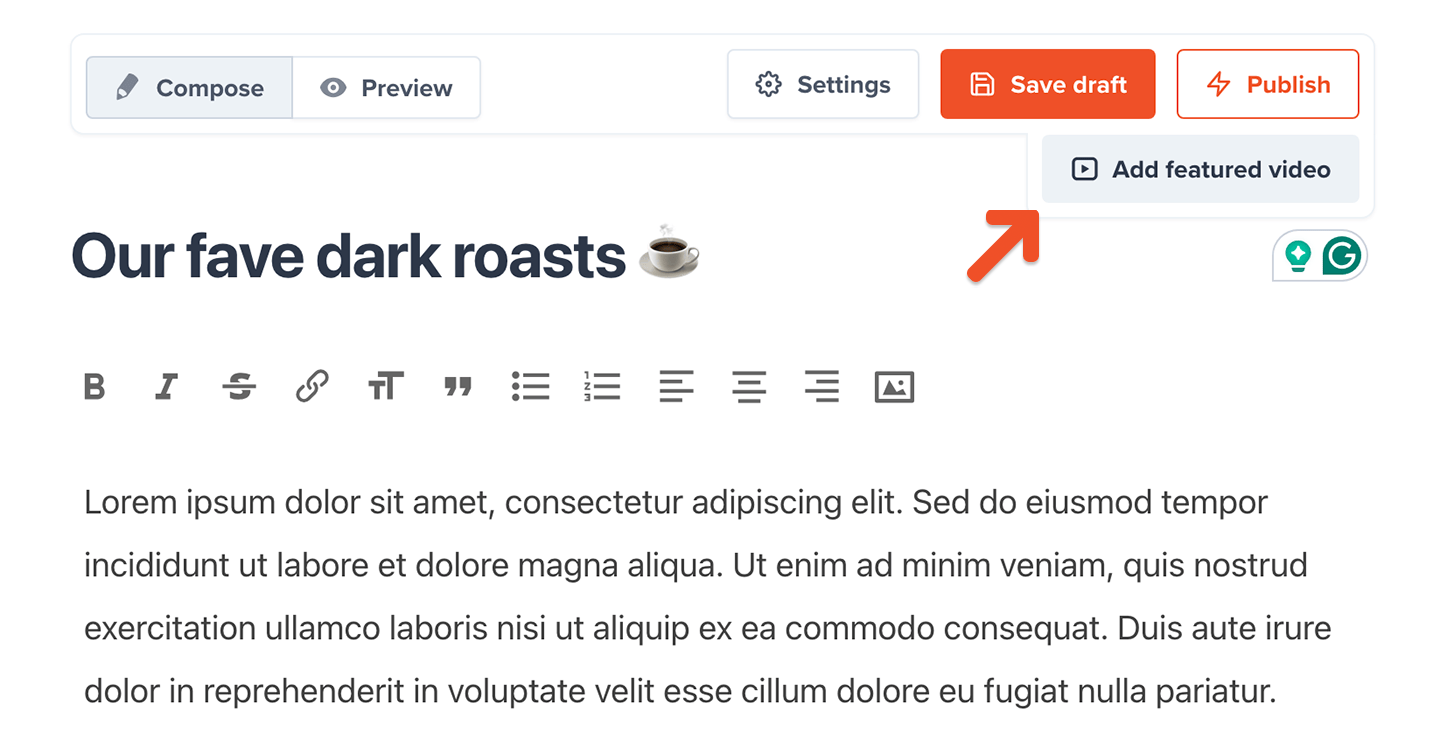
You can upload one featured video per post.
Memberful Video gives you plenty of room to share your content: Up to 2 hours long in posts, and have an upload limit of 20 hours in any given month.
Duplicate an existing post
If you’ve already made a post, you have the option to duplicate it with its current settings and content. Go to Content → Posts, find the existing post to duplicate, click the ellipsis icon (…), and select Make a copy.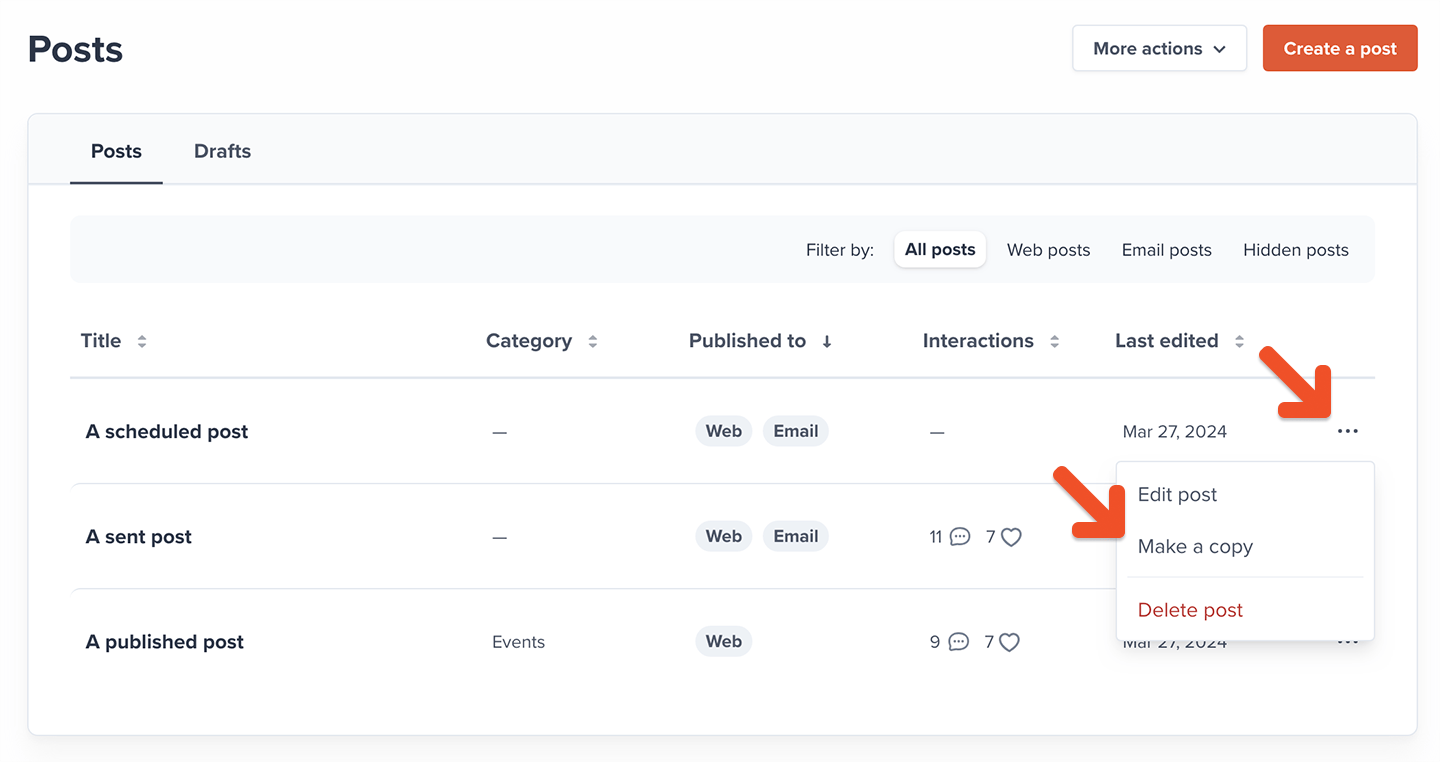
- The original post’s title — which is appended with the word “(copy)”
- The original post’s content and its attachments (videos, images, etc)
- The original post’s visibility (e.g. if it’s for public view, active members, or for members on certain plans)
- The original post’s publishing options are:
- Show on members website
- Category
- Comments and likes
- Send to members as email
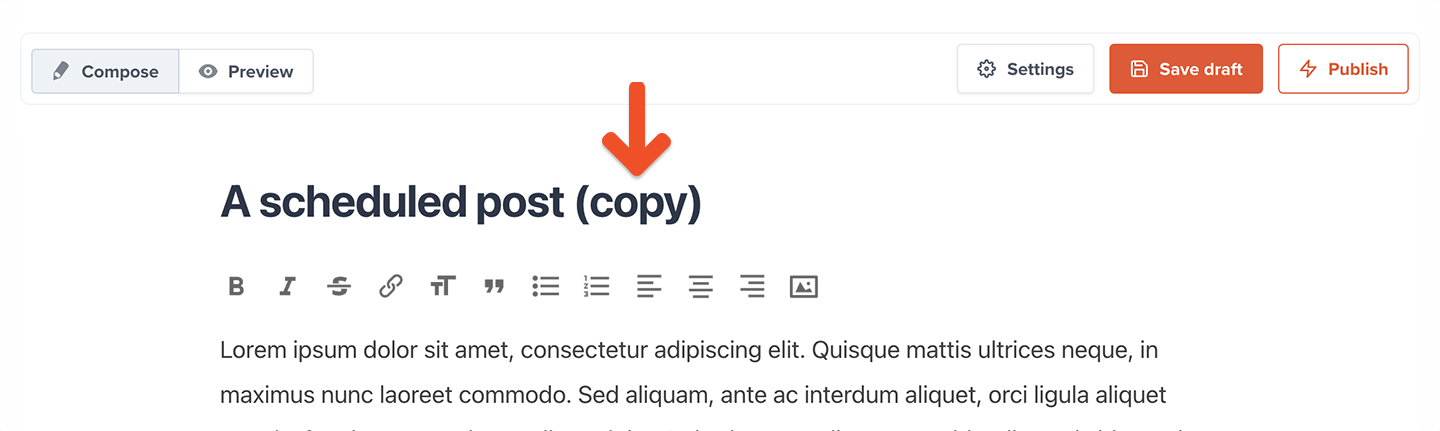
- The copied post will be a draft
- The delivery settings and “last edited at” timestamp will be reset
- Any uploaded featured video will not be duplicated
Featured videos will need to be reuploaded to the duplicate post.
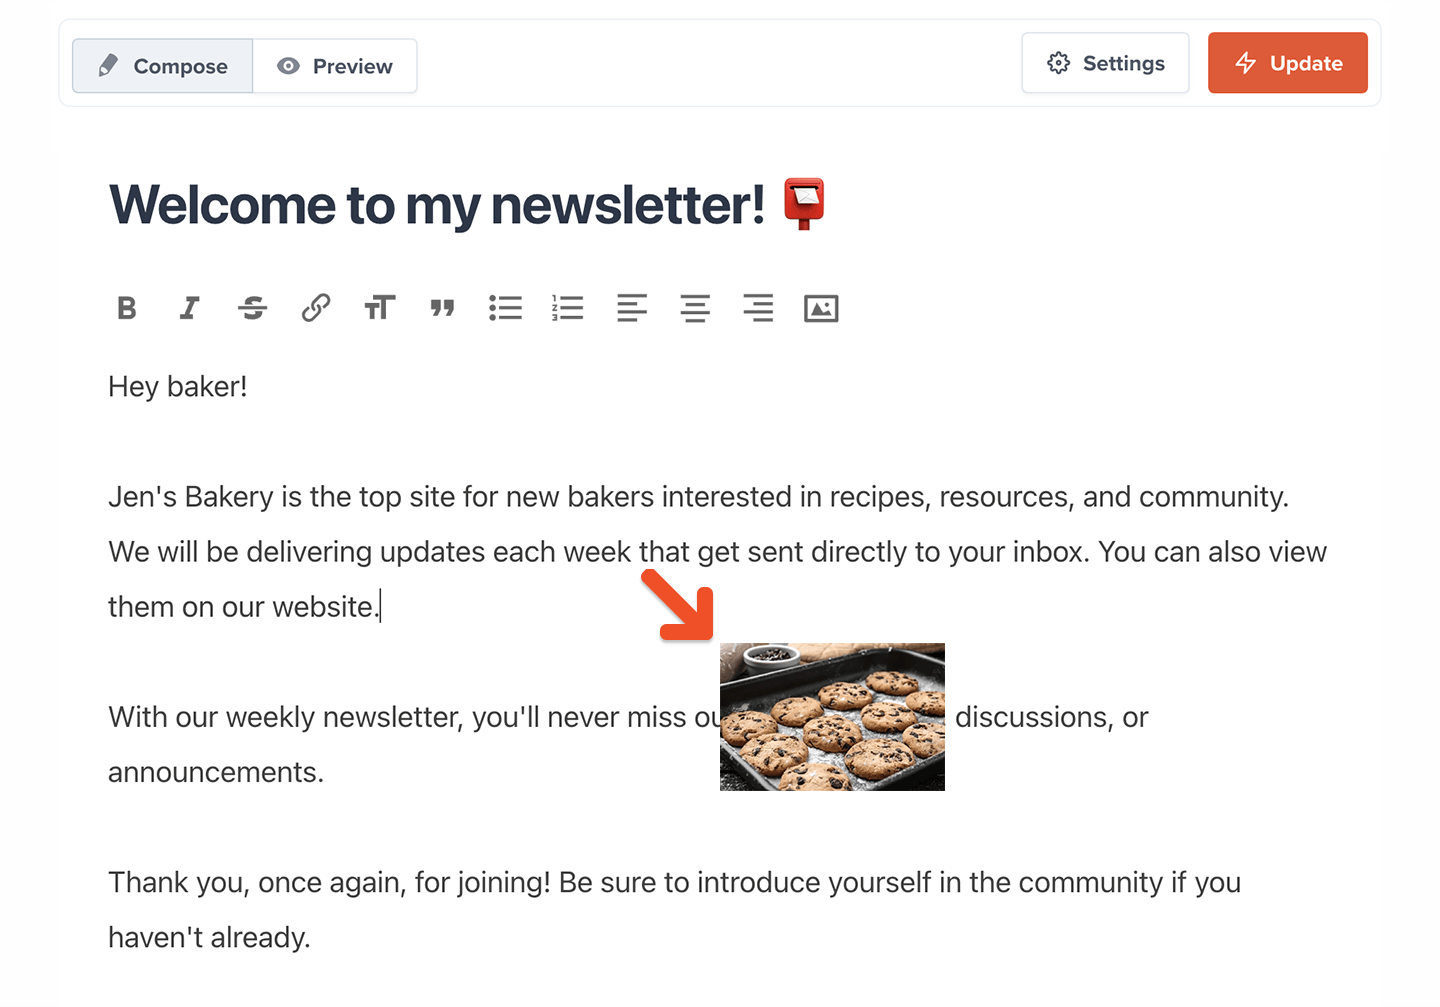
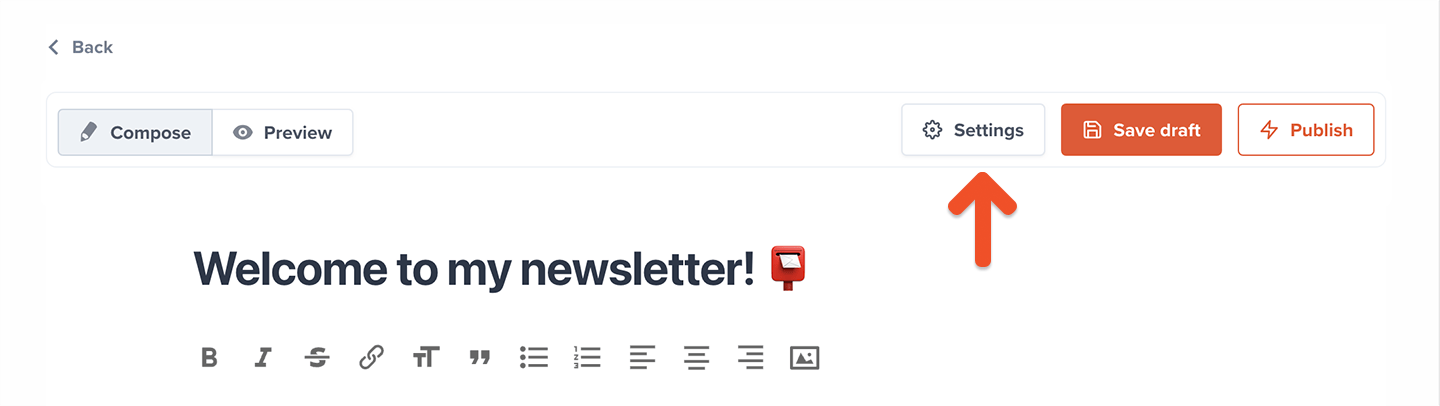
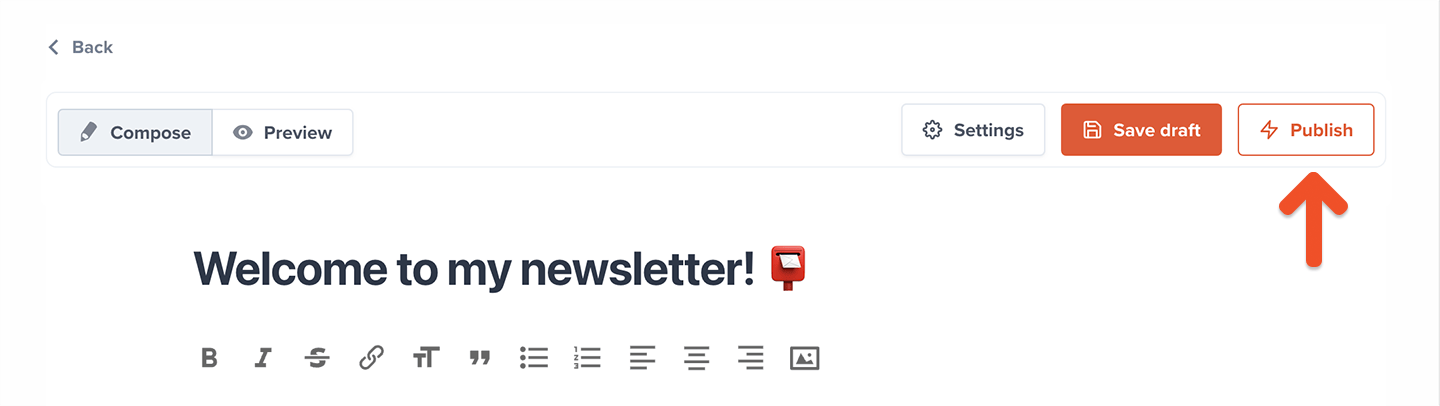
Preview a post
Click Preview to see what this post will look like to your members.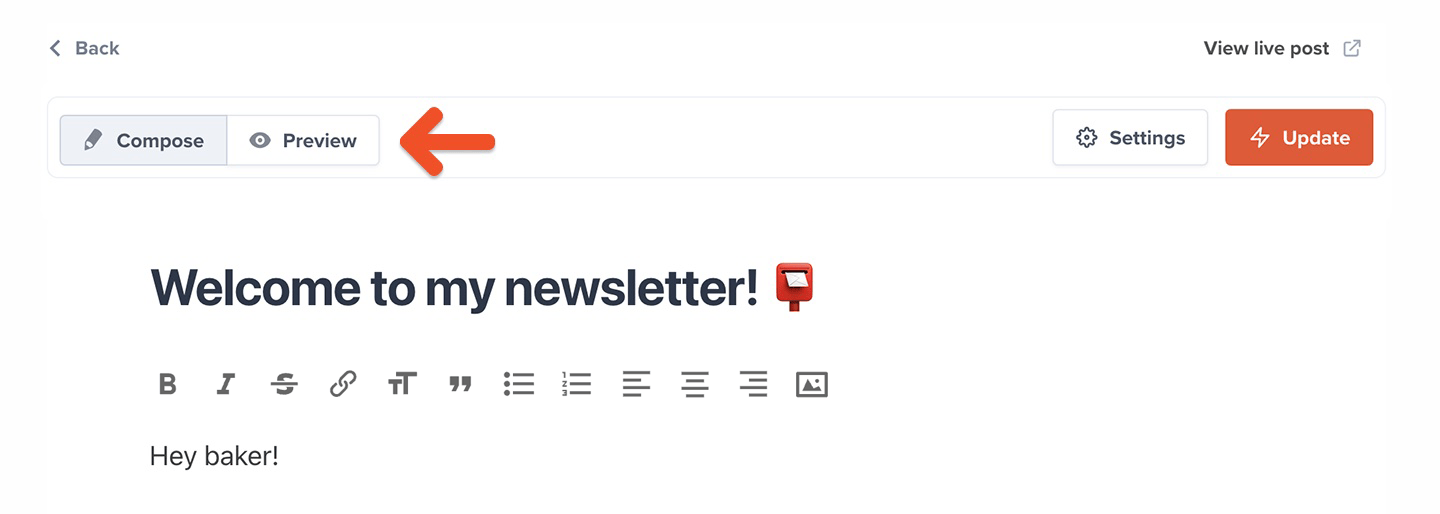
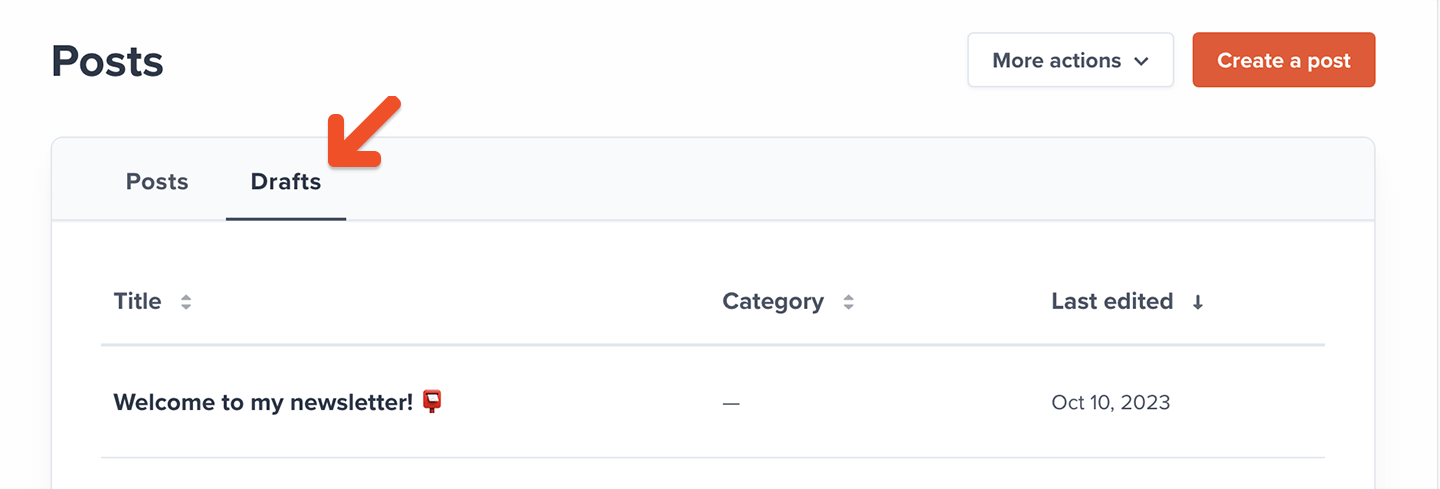
Save a draft
Click Save draft if you’re not ready to email or publish your work.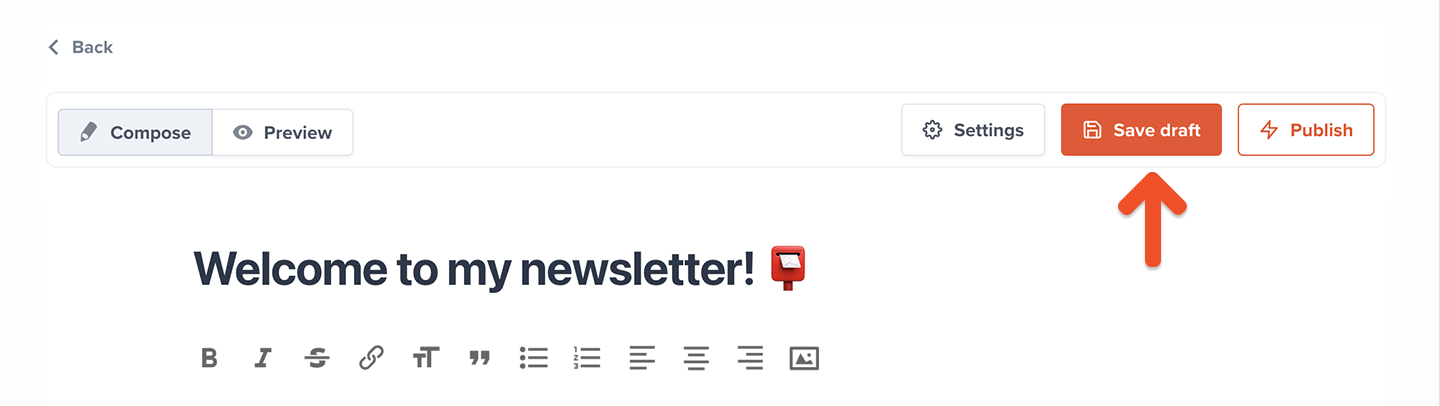
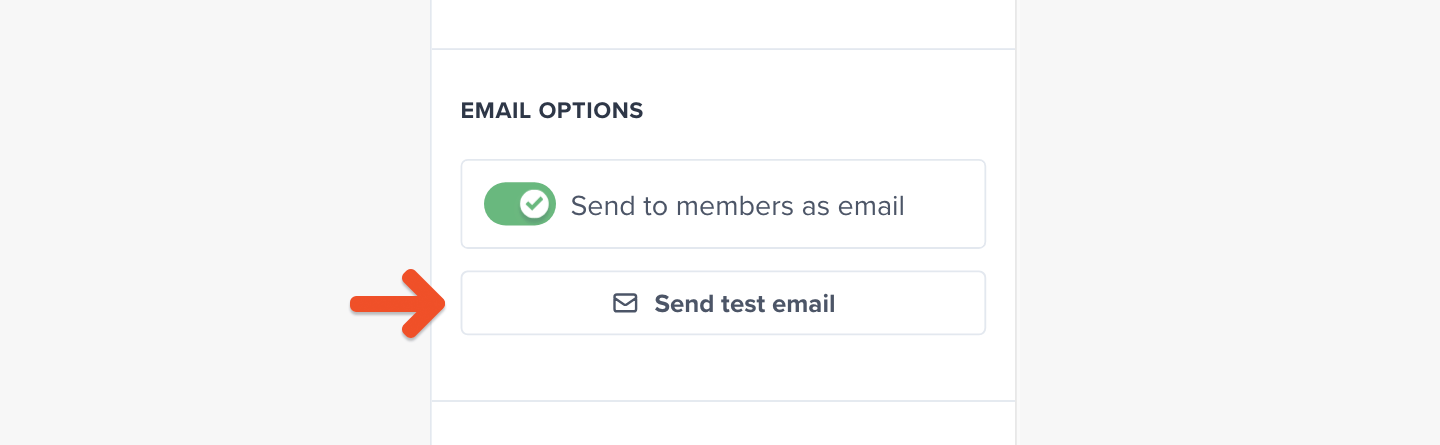
Videos won’t display a play button in test emails. The play button will appear when the post is emailed to members.
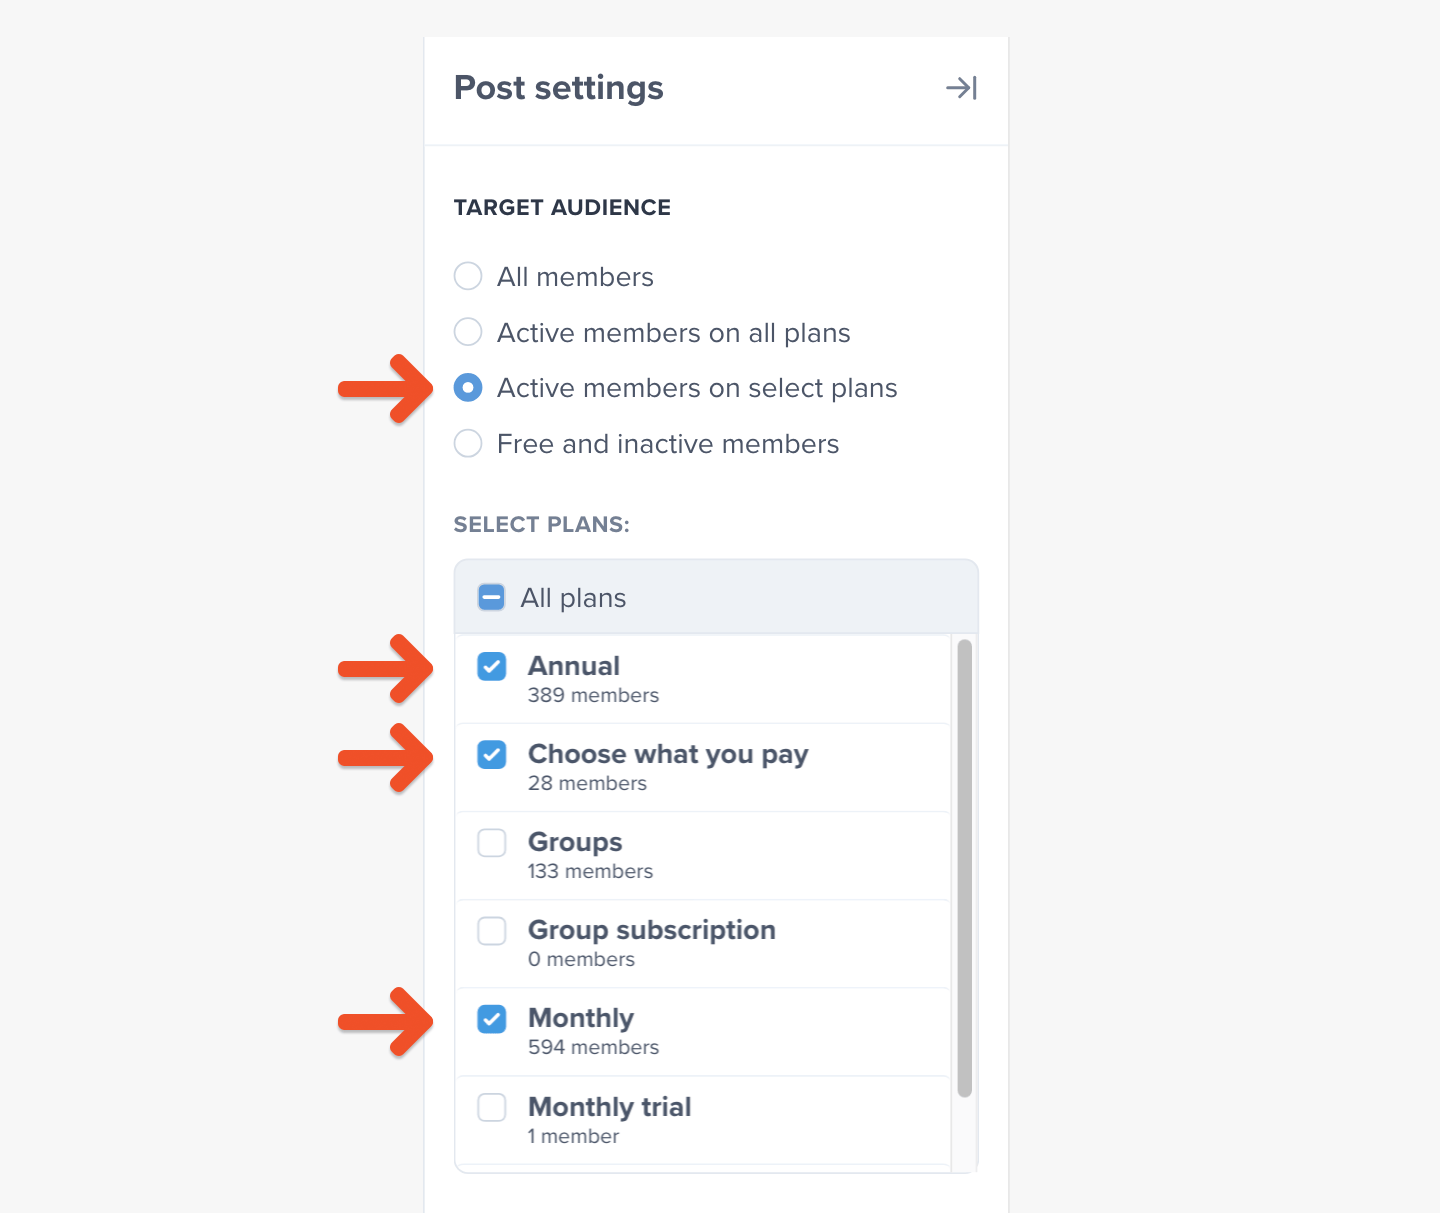
Select an audience to target
Your post can be made available to all members, active members on all plans, active members on select plans, or free and inactive members. However, a post with an uploaded video can only be made available to paid members on all plans or select plans.
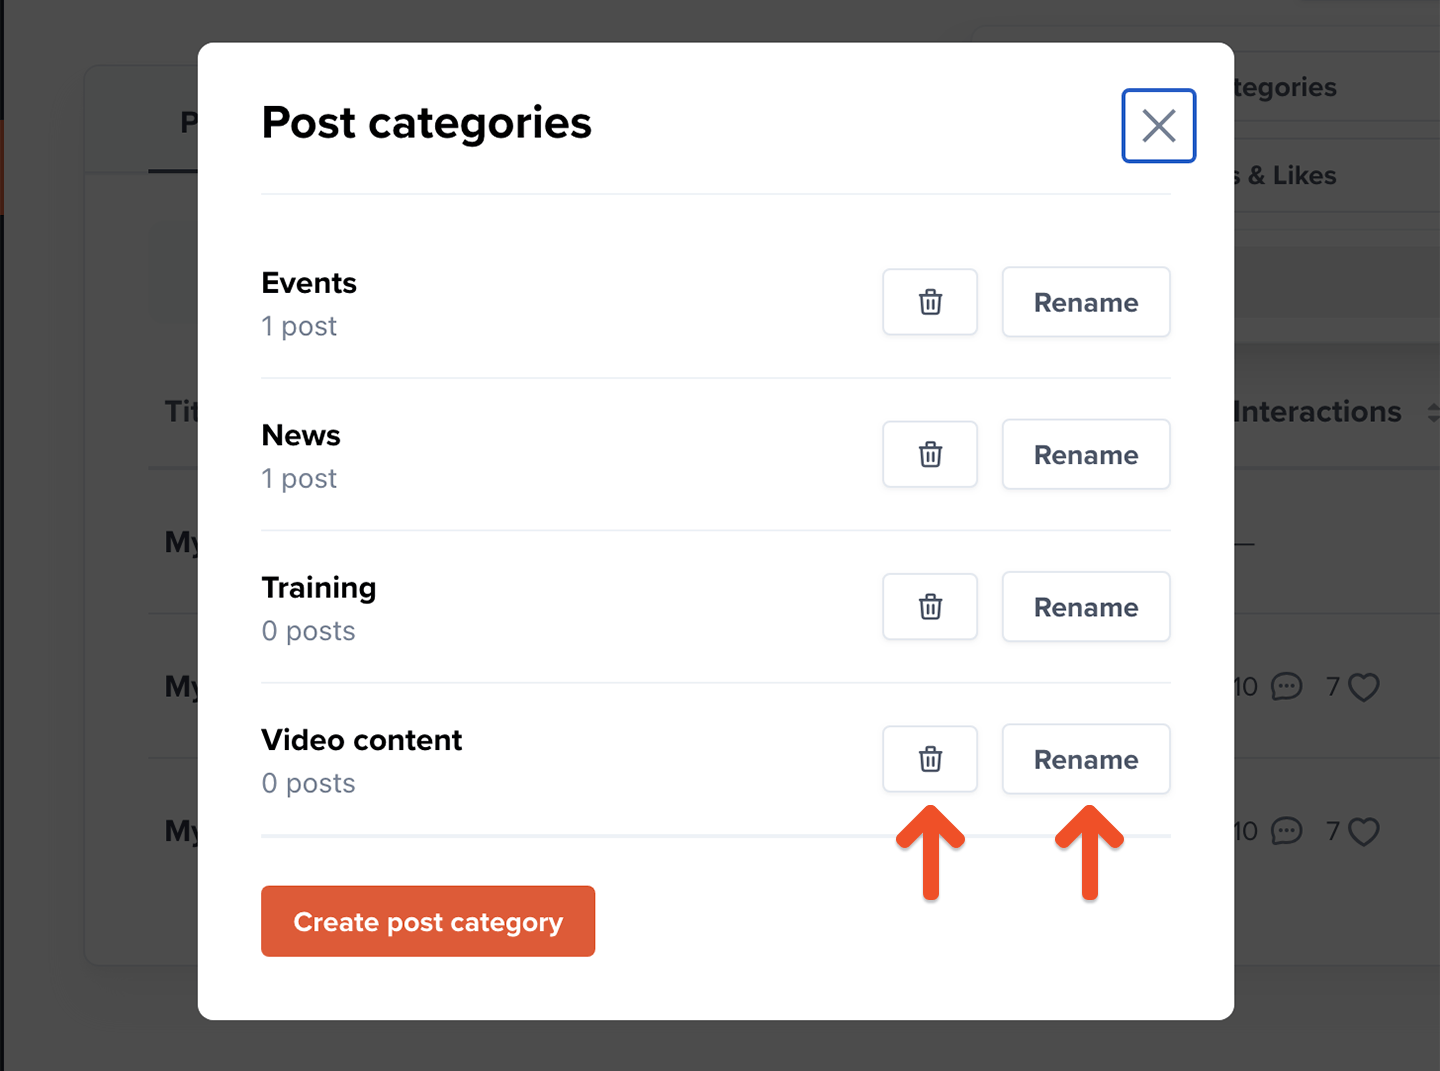
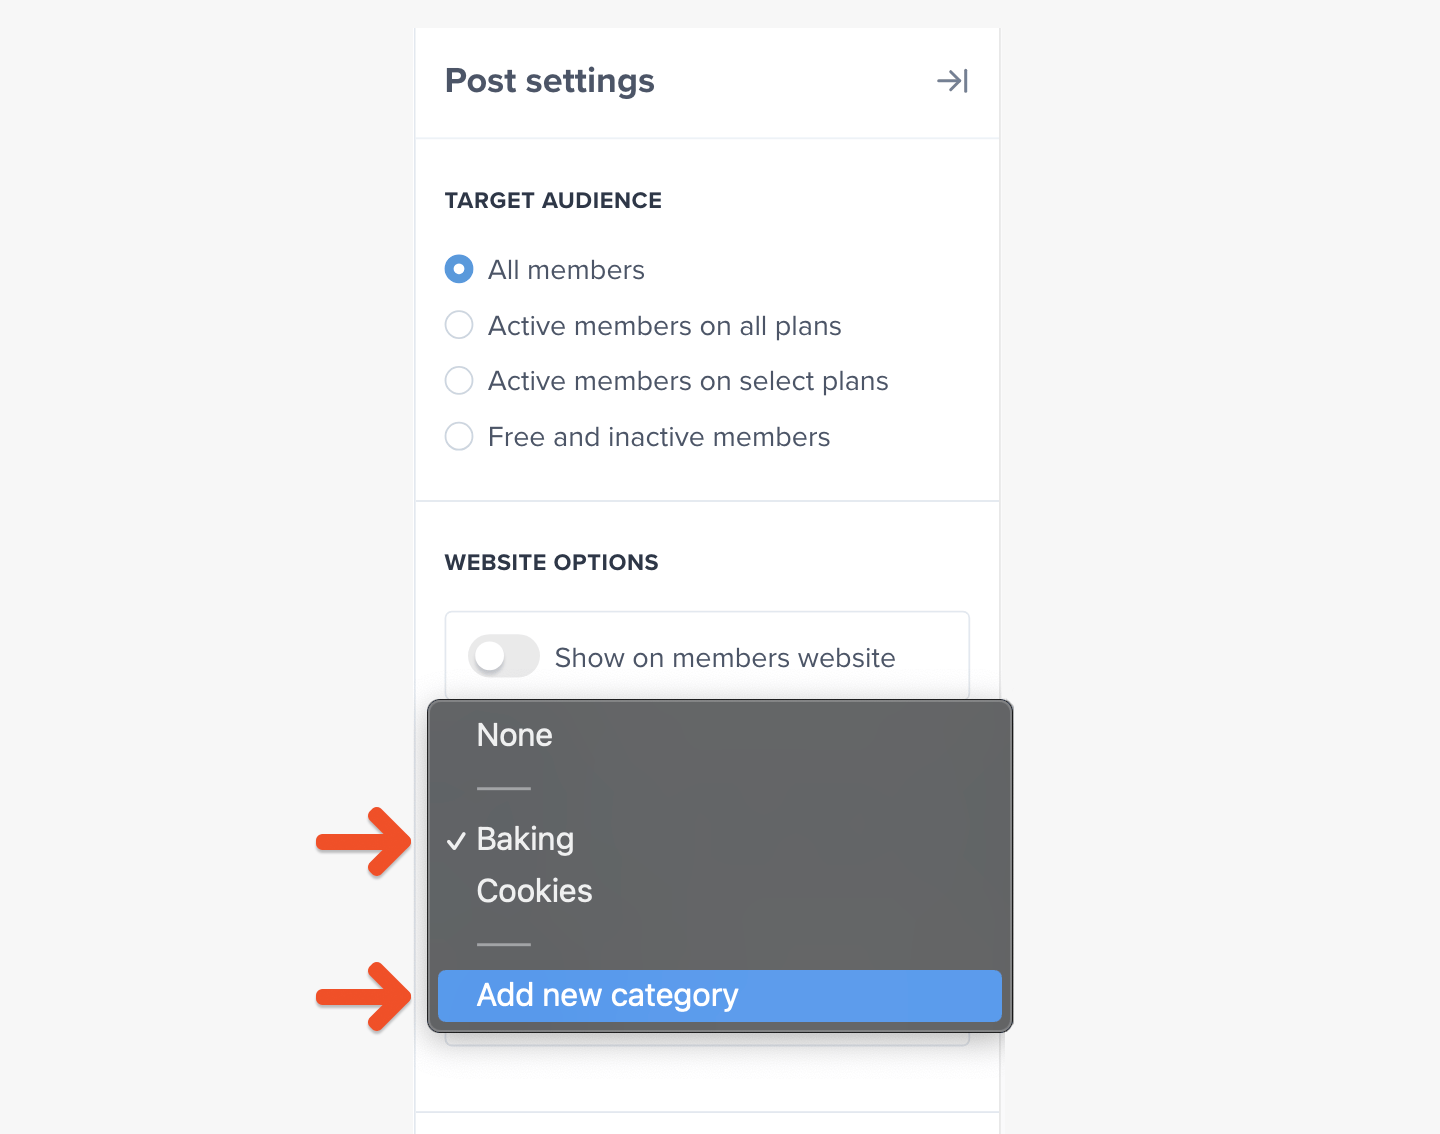
Create or select a post category
Categories allow you to easily organize your posts on your member website. Members will be able to select from a posts dropdown button to view posts from that category.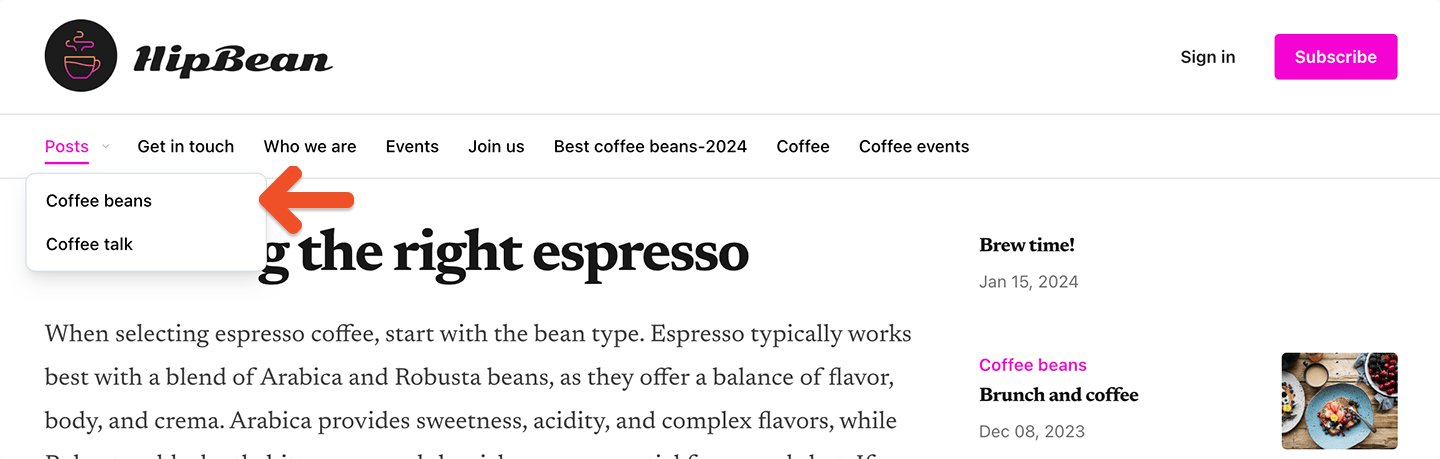

Enable or disable comments and likes
Memberful allows your members to comment on posts you’ve published to the web, and to ‘like’ those posts as well. Learn more about comments and likes.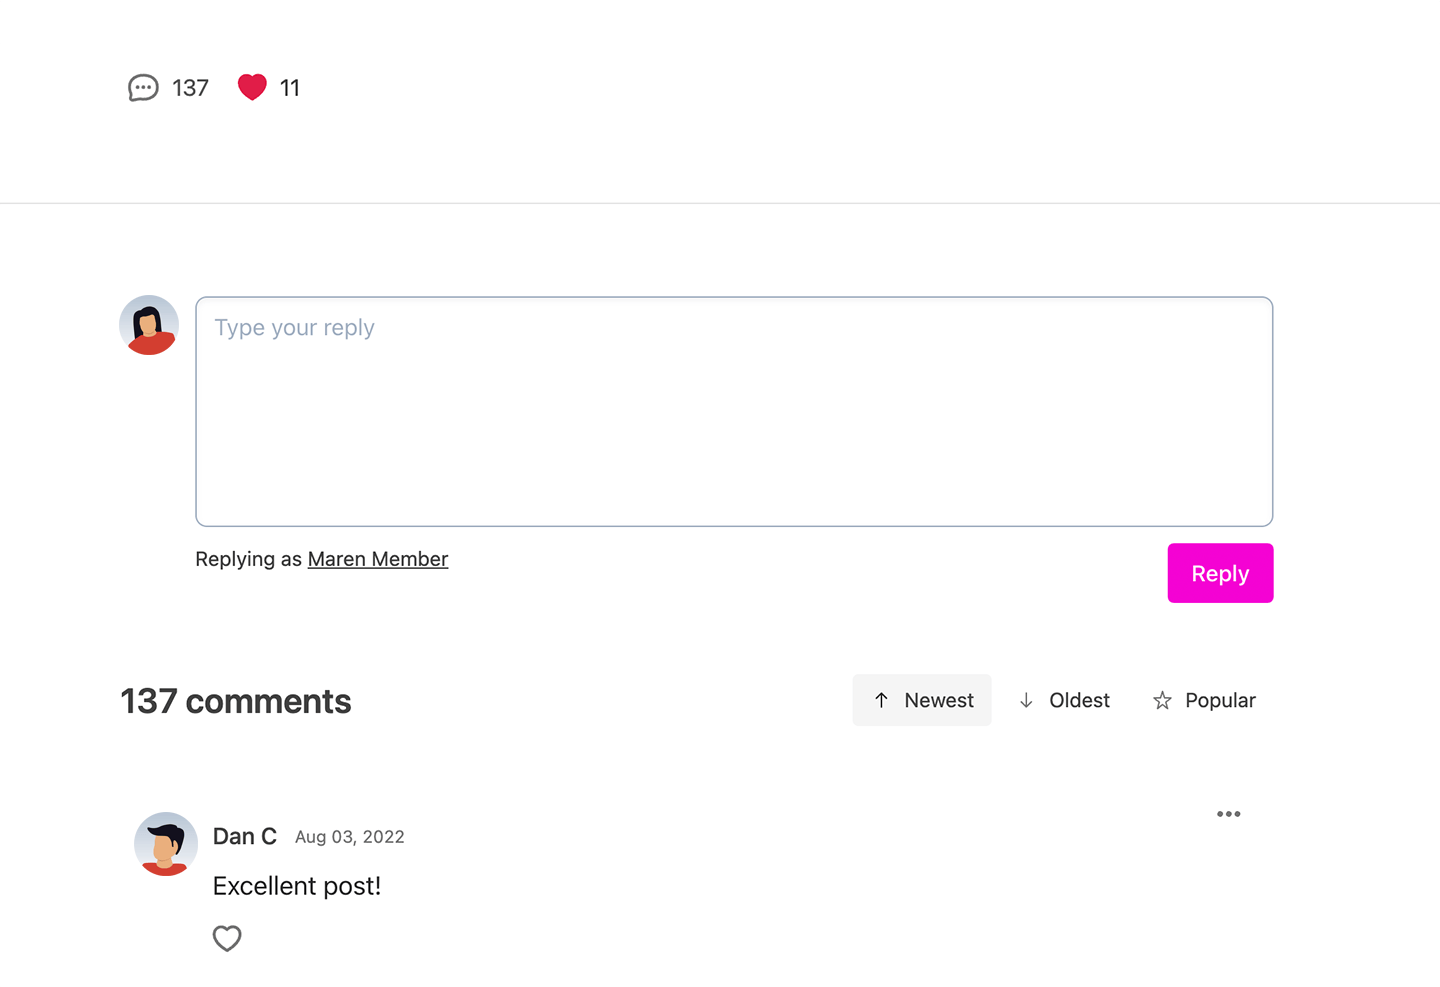
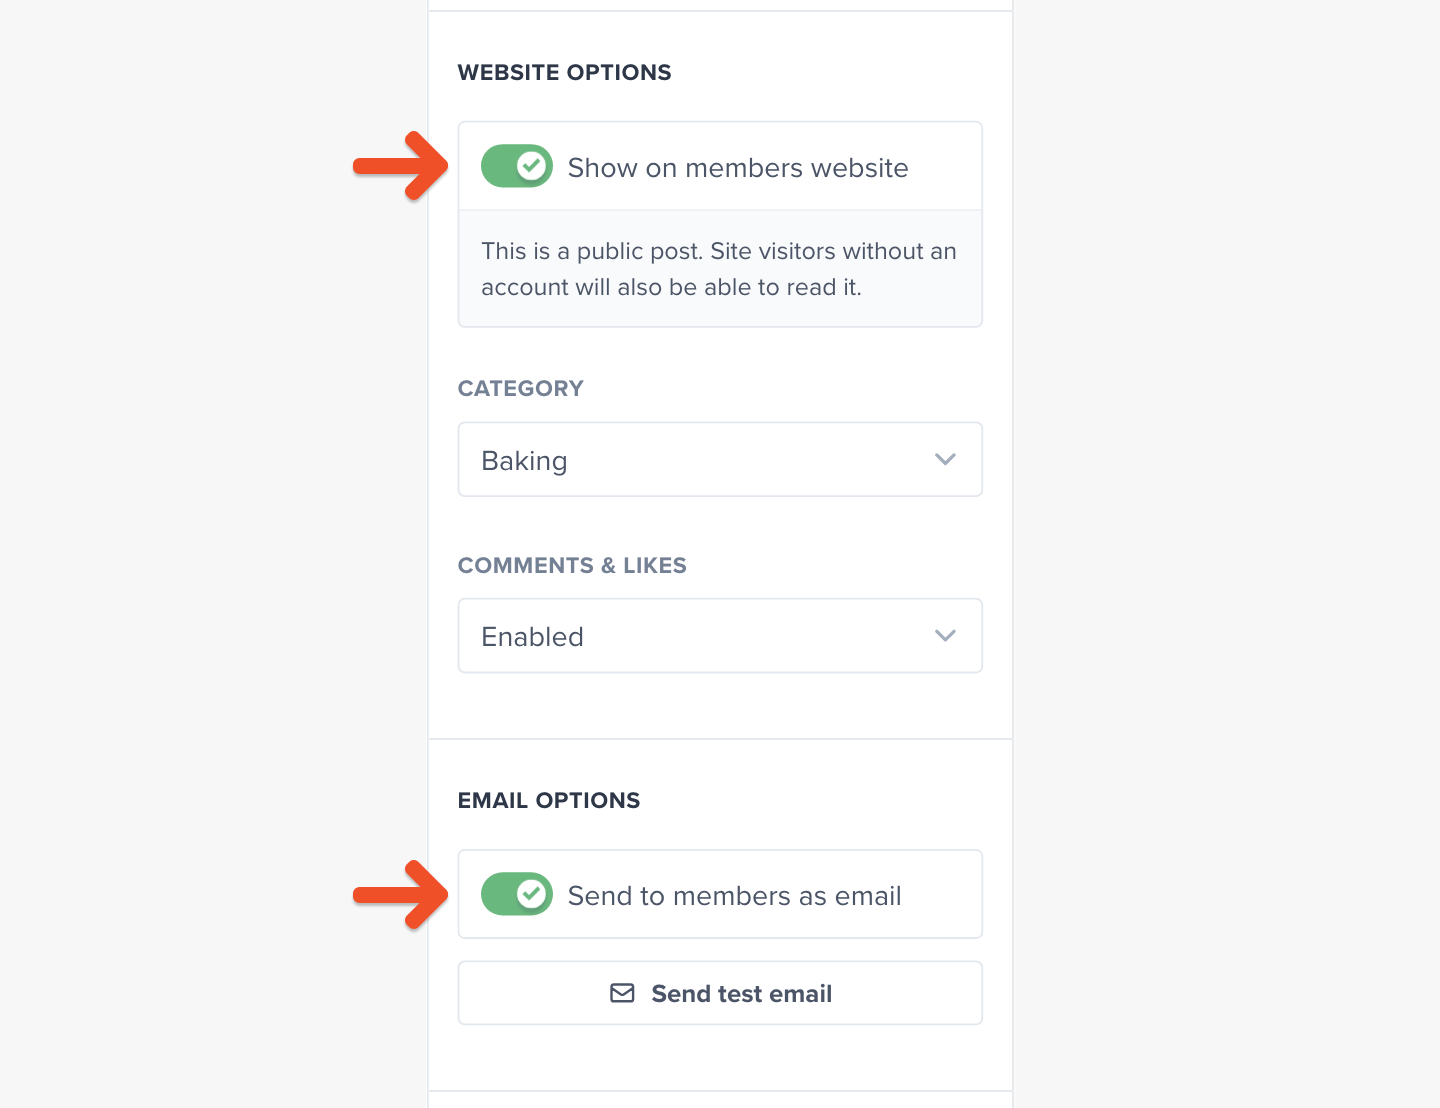
Choose to publish via email or website
With posts, you can:- Send posts via email — allowing you to send out an email newsletter.
- Publish posts to a Memberful-hosted website — allowing you to offer content on a simple website that’s automatically created and hosted for you by Memberful.
When you choose to target only free and inactive members, your post can be sent by email, but it can’t be published to your member website.
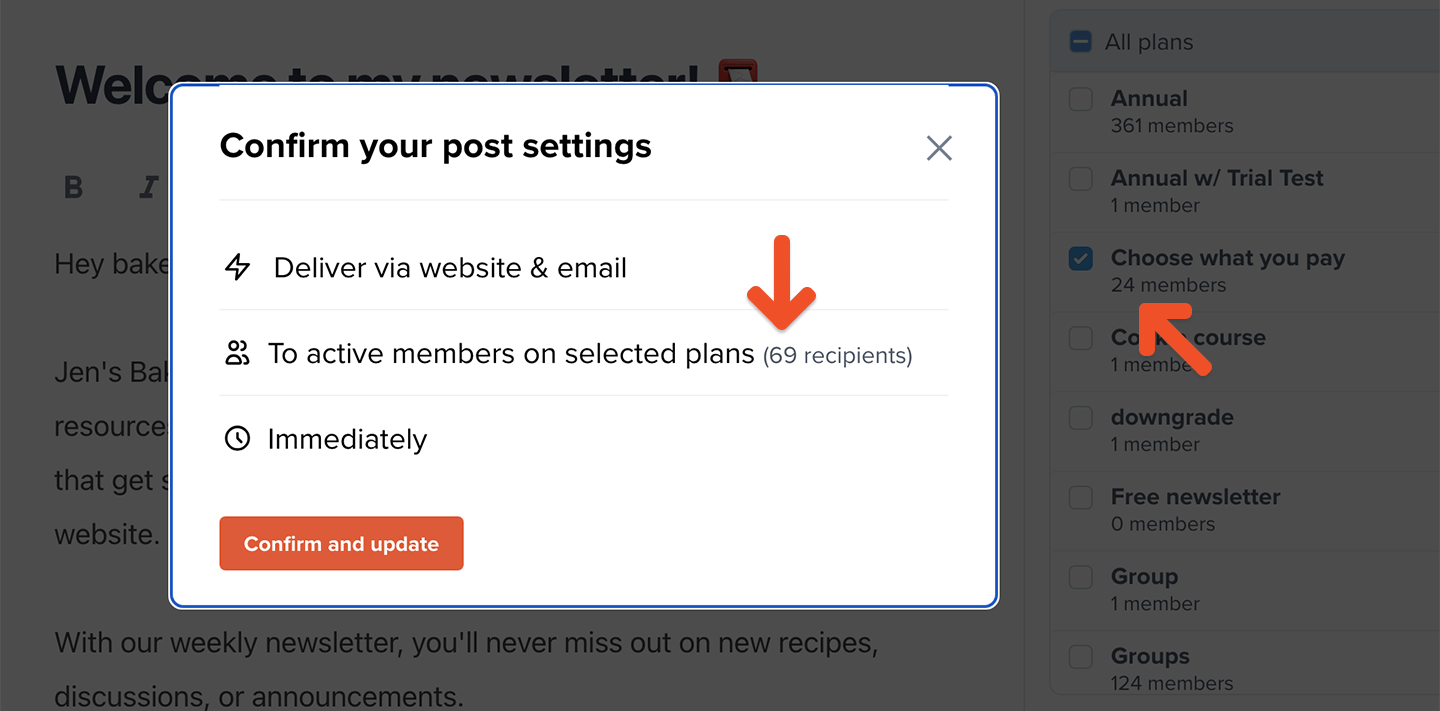
Schedule or publish a post
You can schedule your post to be published immediately or sent sometime in the future.You can send up to ten emails per day. Posts cannot be sent via email or scheduled while in test mode. Connect to Stripe to enable this setting. If you need to send more than ten emails per day, contact us to discuss your use case and how we might support it.


All-access pass holders and group members are included in the count of how many members will receive a message. This means that the number of recipients may differ from the total number of subscribers in the targeted plans.
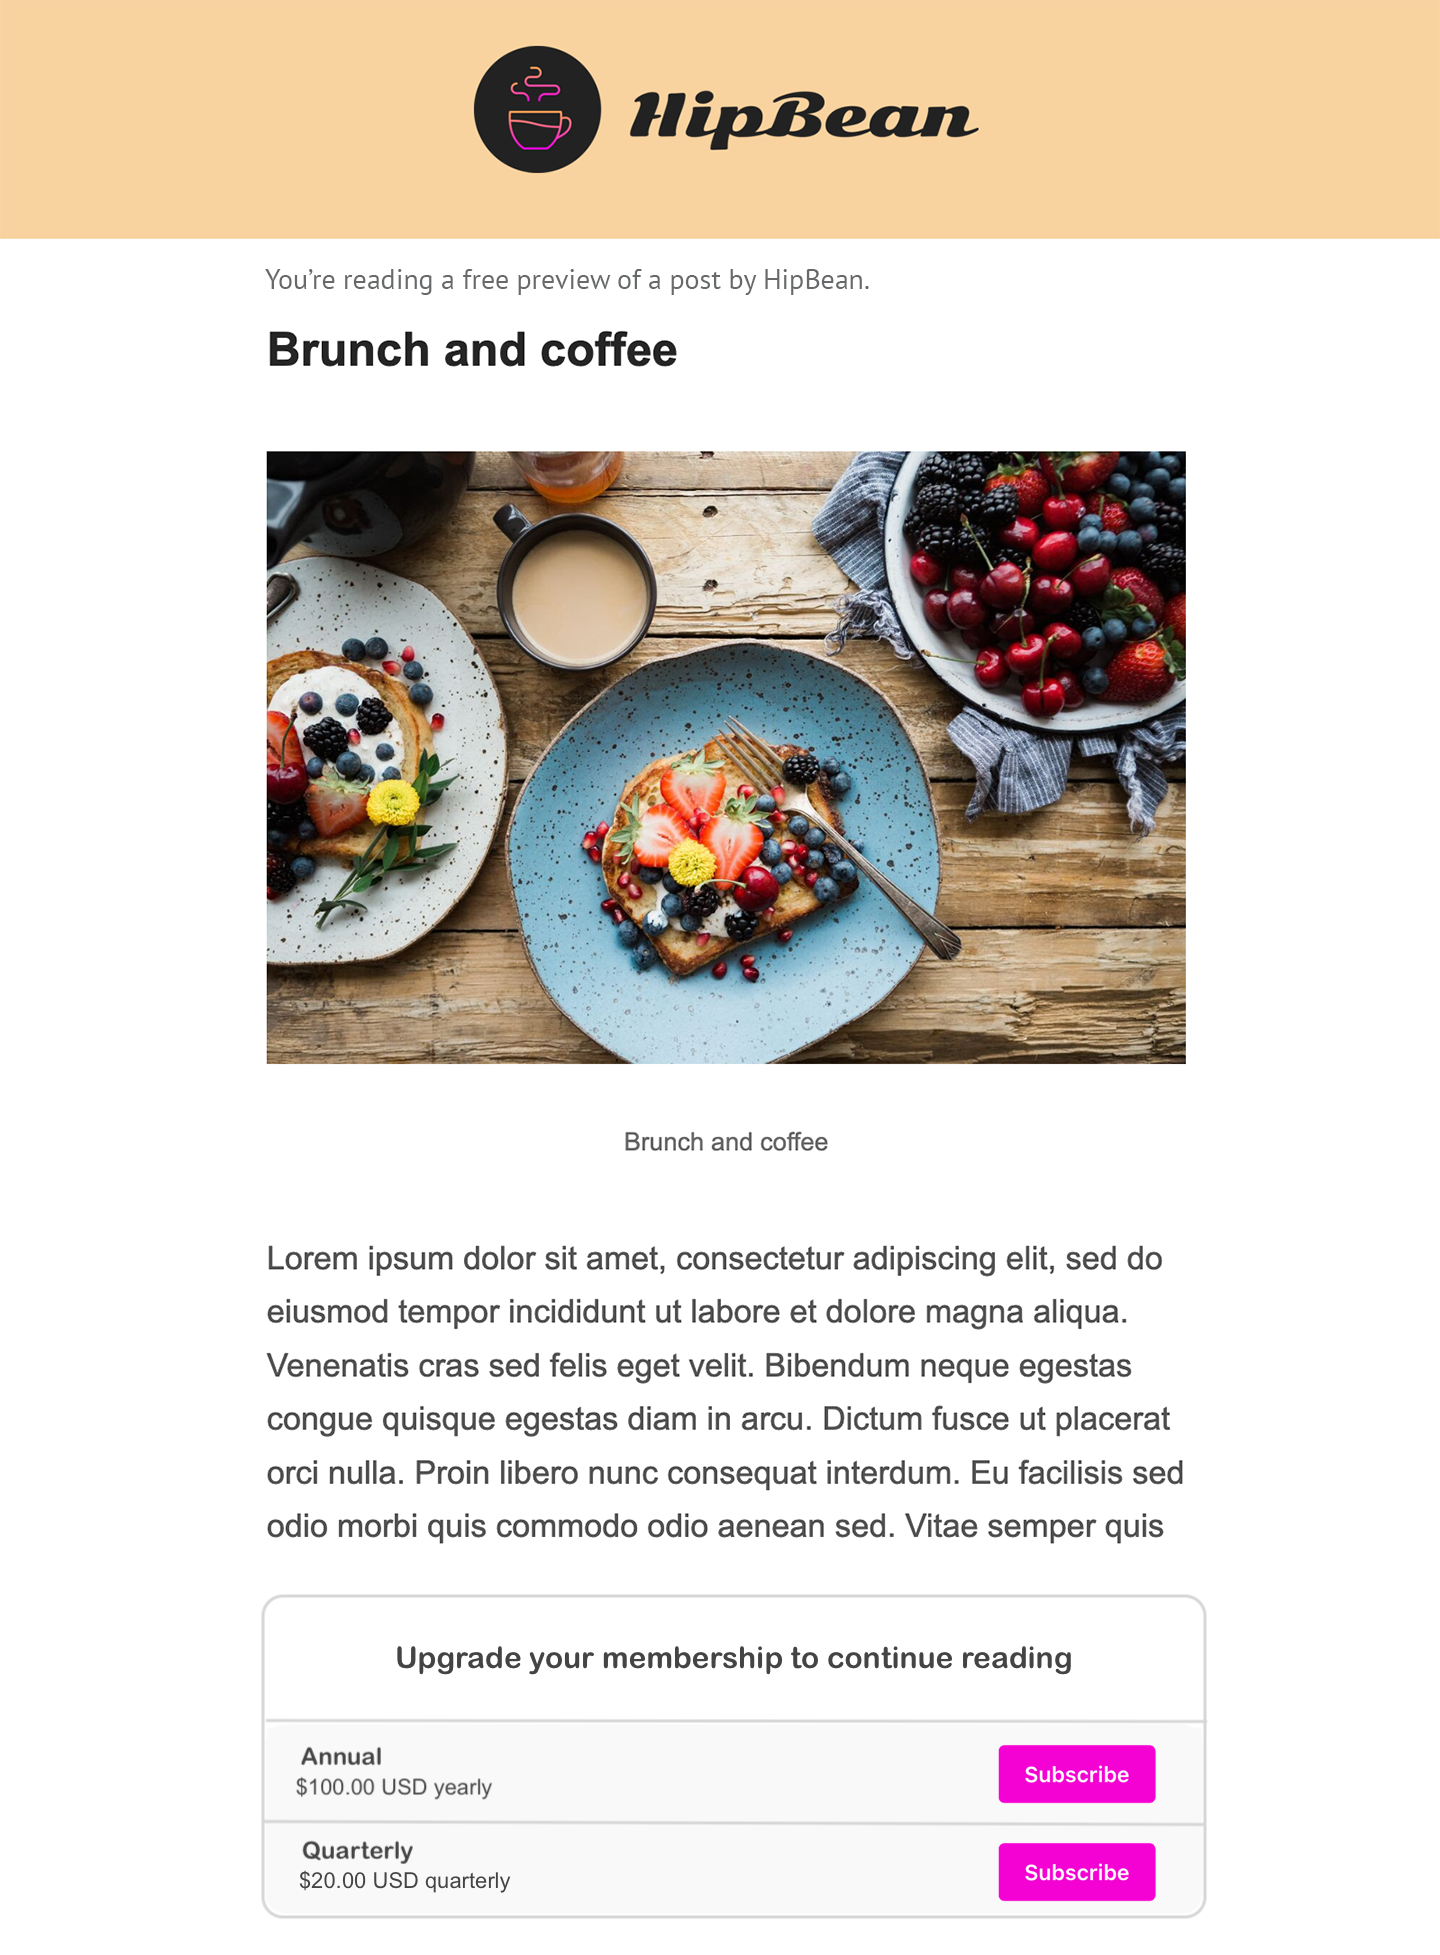
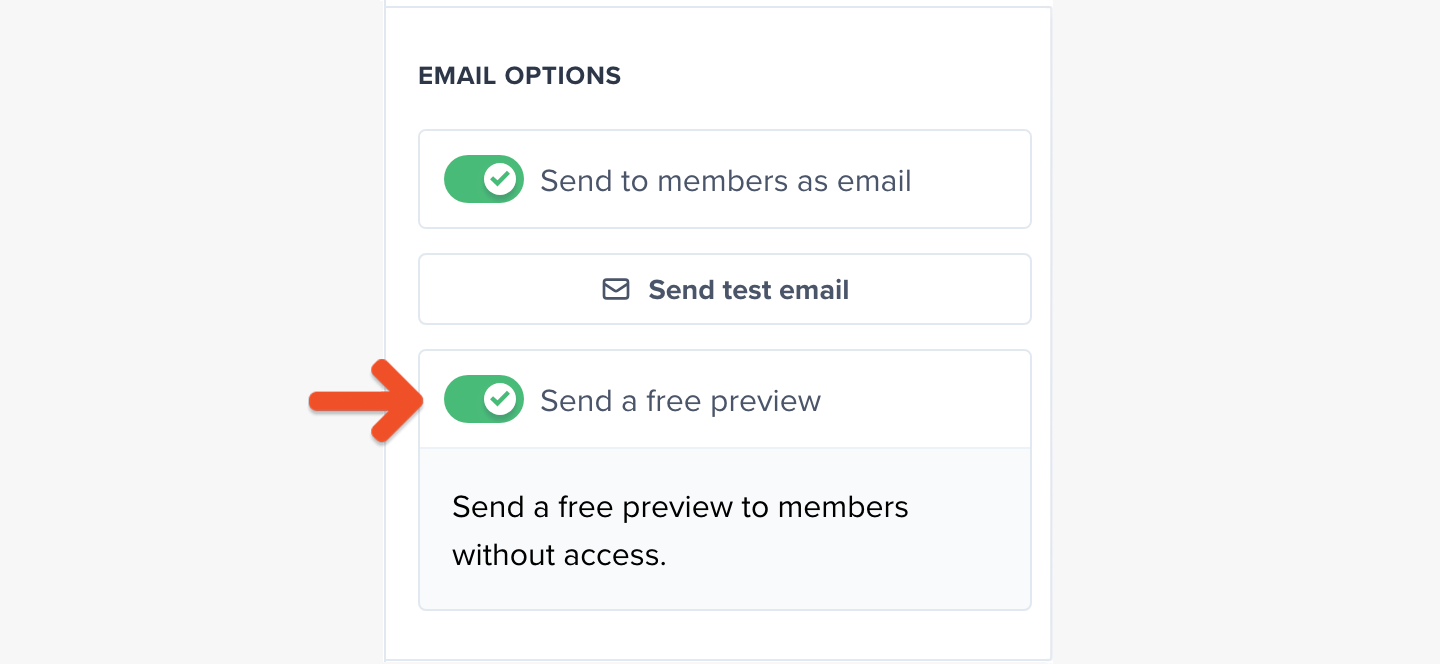
(Optional) Send a preview of your members-only newsletter
You can share a preview of your newsletter to encourage current members who haven’t yet subscribed to that related plan. They’ll see a snippet of your newsletter content and then a call to action to subscribe. Anyone without access to the plan or plans selected in the post settings will receive the preview. We show two paywall types depending on your subscribe page settings. With your custom subscribe page enabled: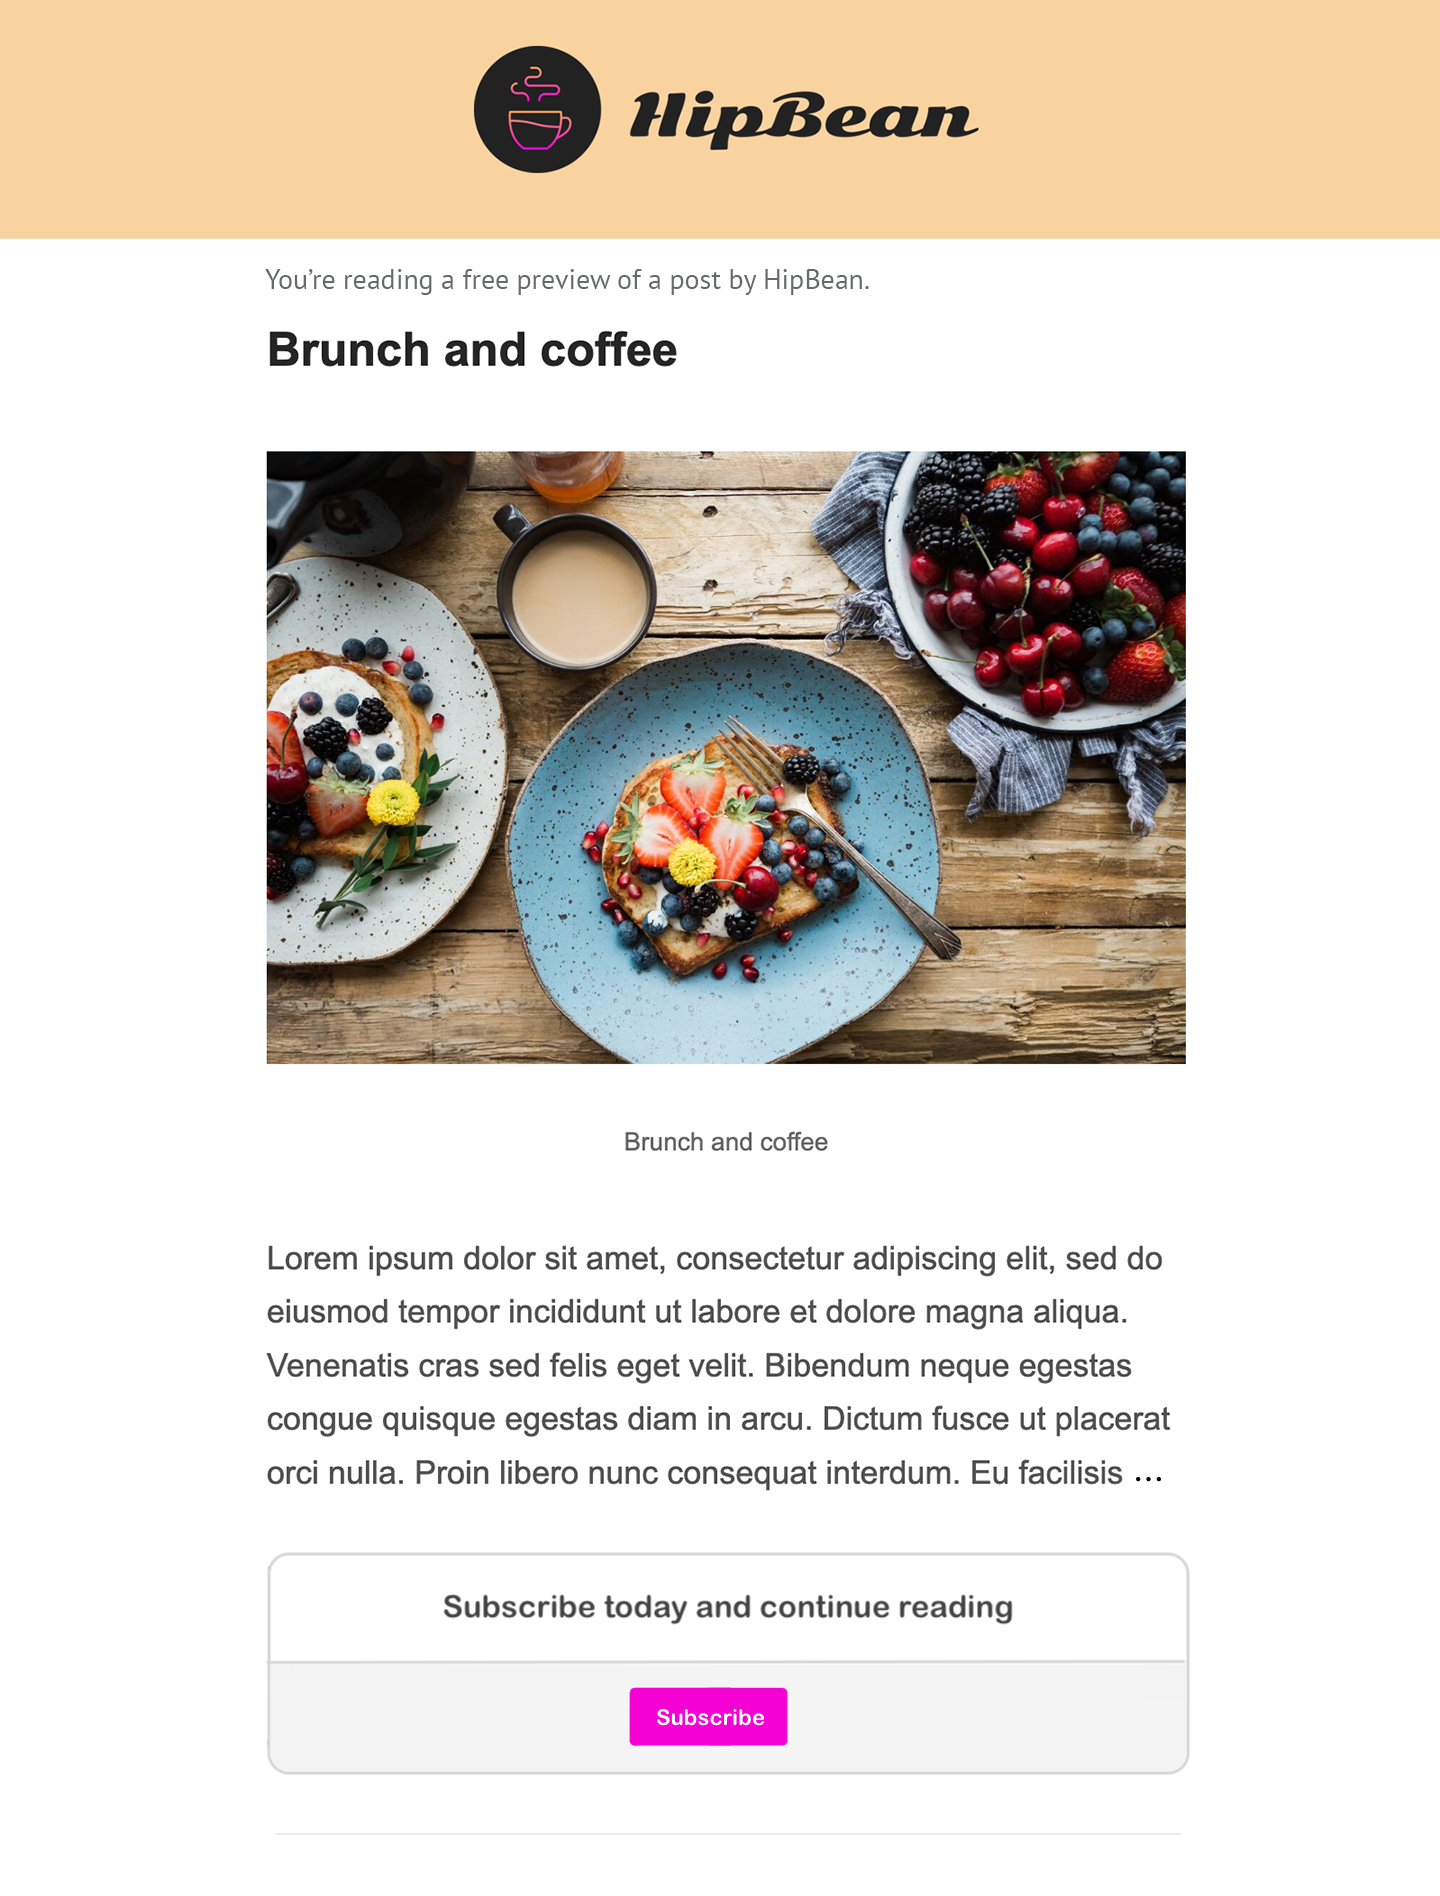
View your published posts
If you’ve chosen to publish posts to your member website, your members can find these posts at:ACCOUNT-URL with your actual account URL subdomain, which can be found via Website → General settings.
Make sure you’ve enabled the member website, too.
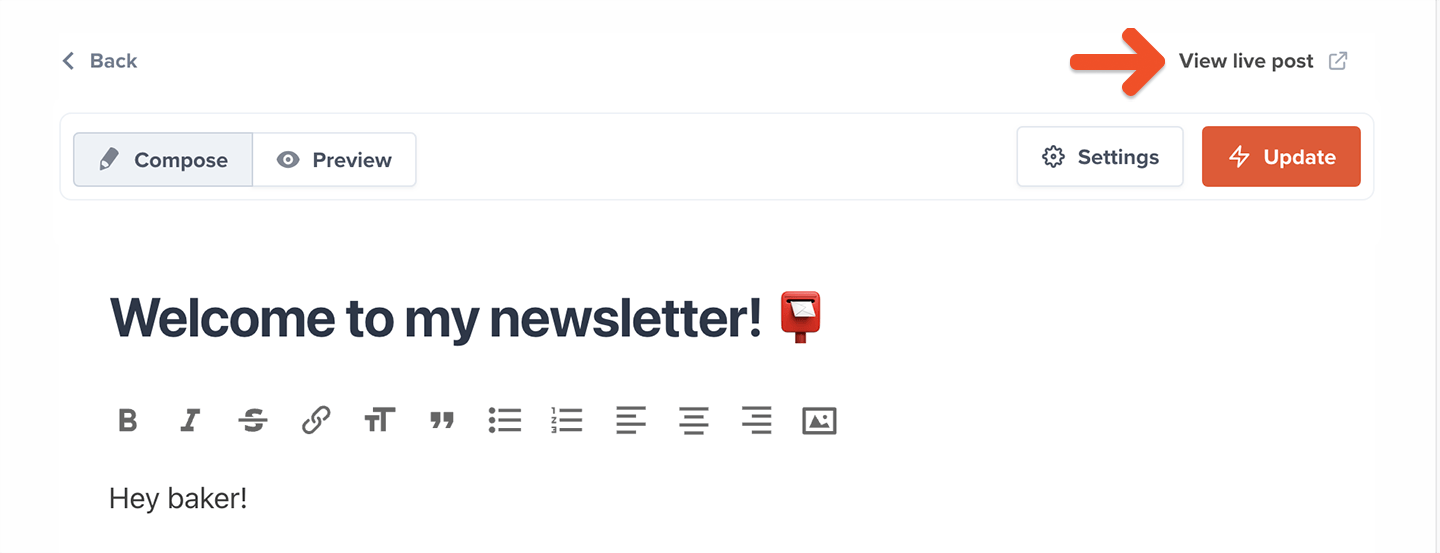
Click View live post to view the post on the member website as an admin.
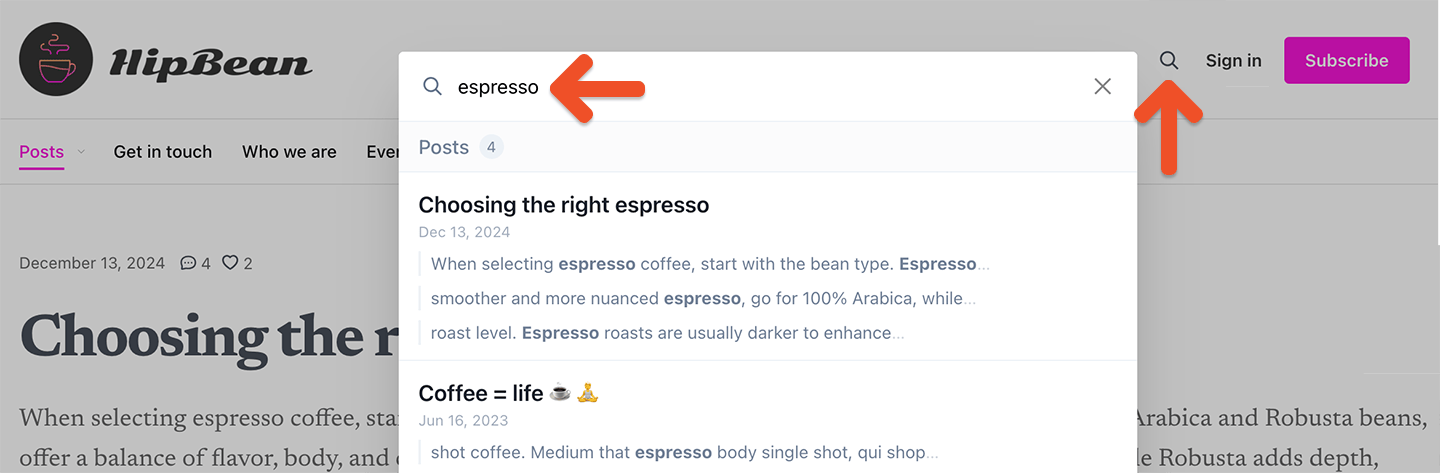
Search posts
Click the Search icon in the top right corner of the member website to search for posts by title or content. When members use the search function, they will only see posts that are available to them based on their plan.