Caffeinated Insights
View example subscription page
The Echo Chamber
View example subscription page
Olive & Thyme
View example subscription page
Create your plans
We need to have something to sell, so before we work on the subscription page, we’ll create a membership plan. To create your plan(s), log in to your Memberful dashboard, go to Revenue → All plans, and click New plan.
Allow free registration (Optional)
Our free registration feature enables your members to sign up without any cost or obligation for a paid subscription. To enable this feature, go to Website → Free registration, and toggle on Allow free registration. Learn more about allowing free registration.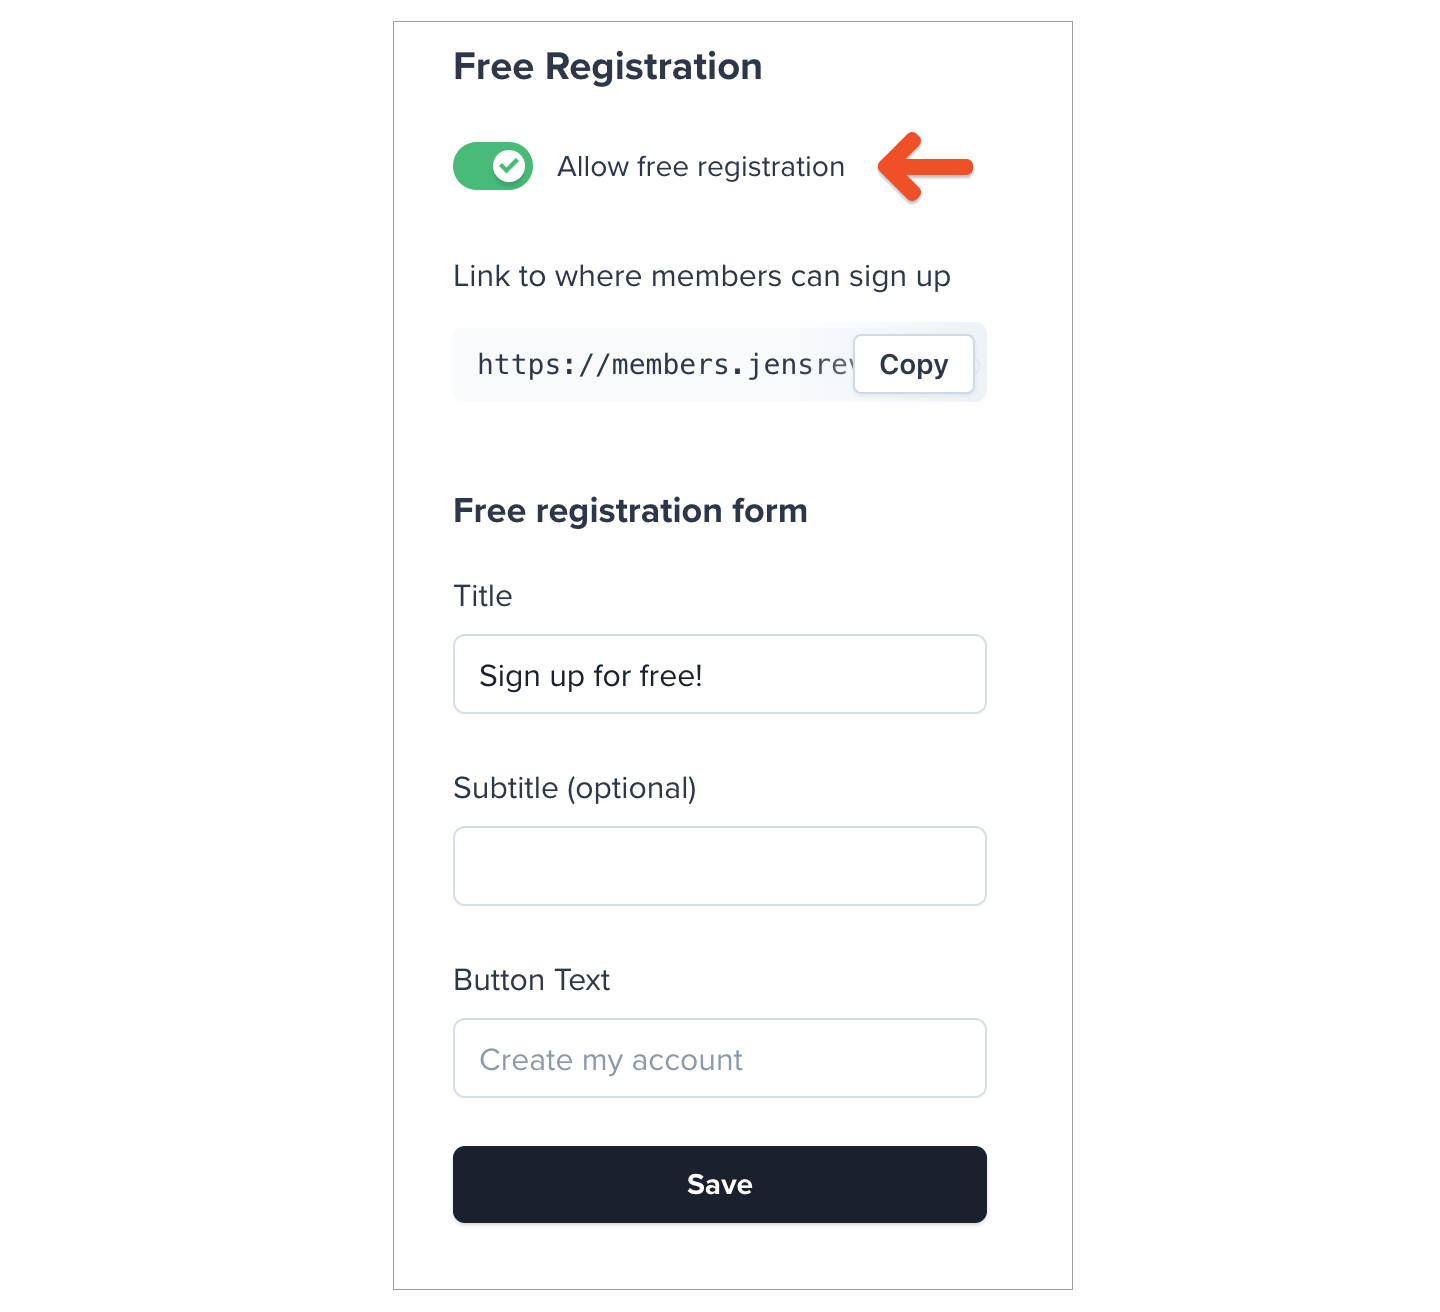
Customize your branding
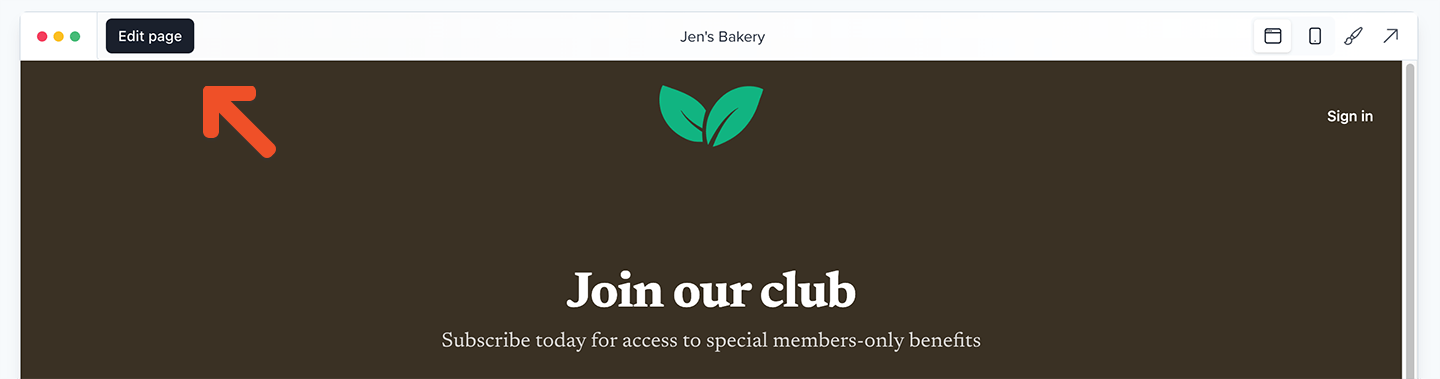
Your custom branding (including page background color, button color, and logo image) will be applied to your subscription page. Learn more about customizing your branding.Add items and customize the page
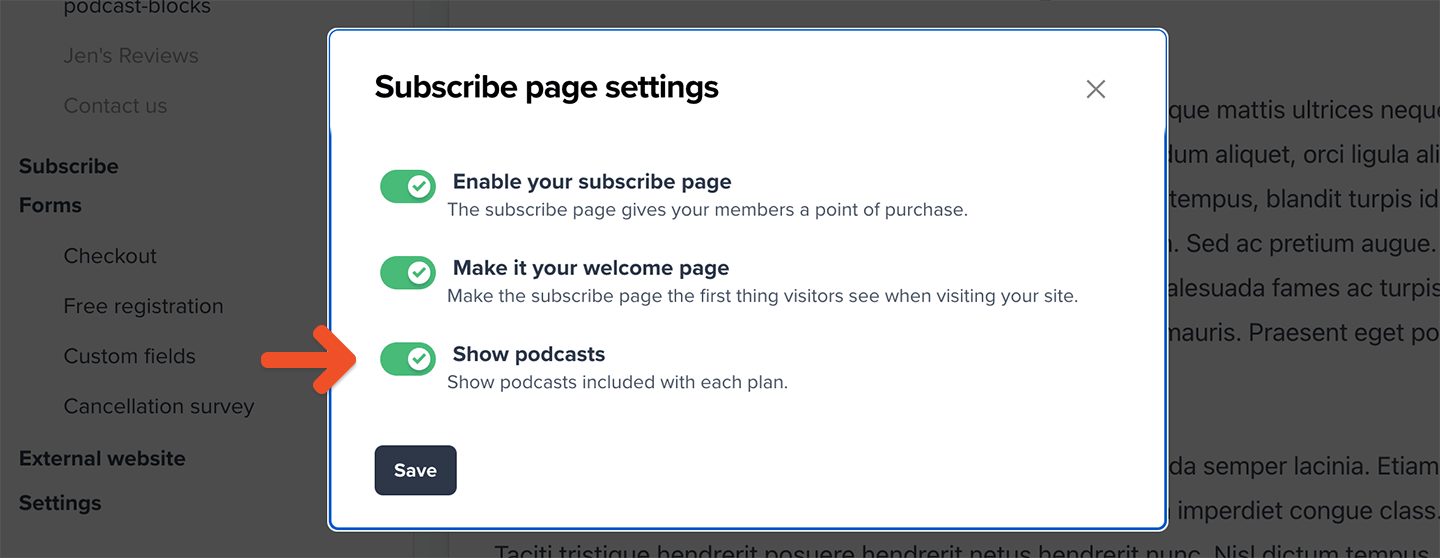
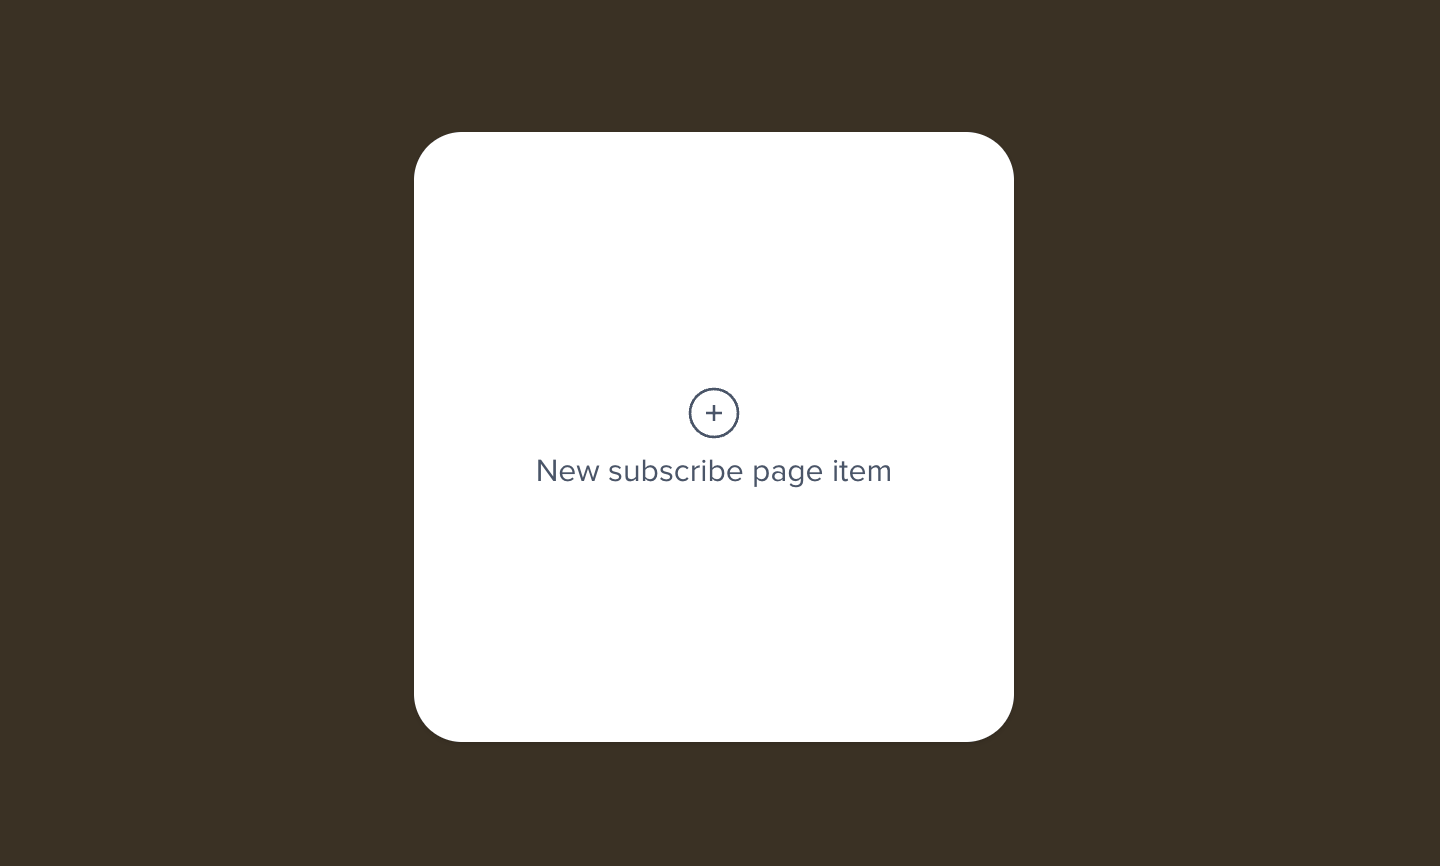
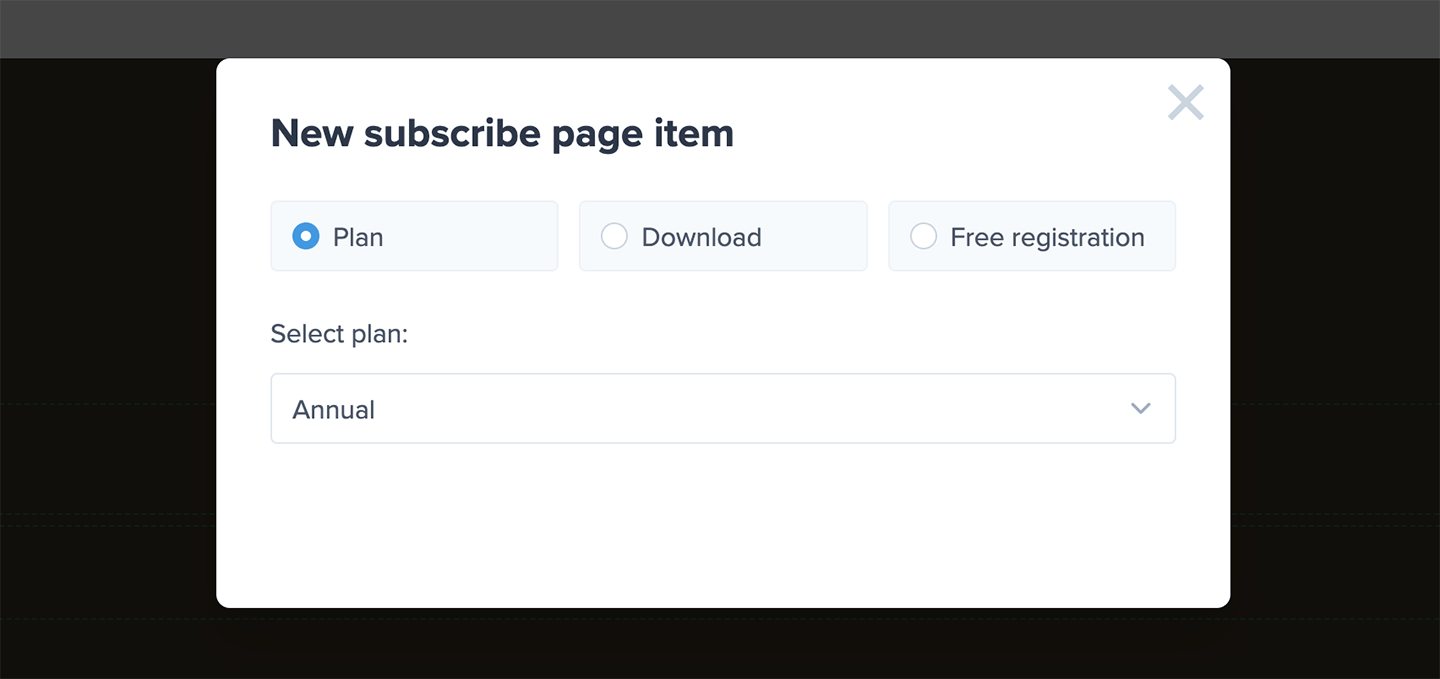
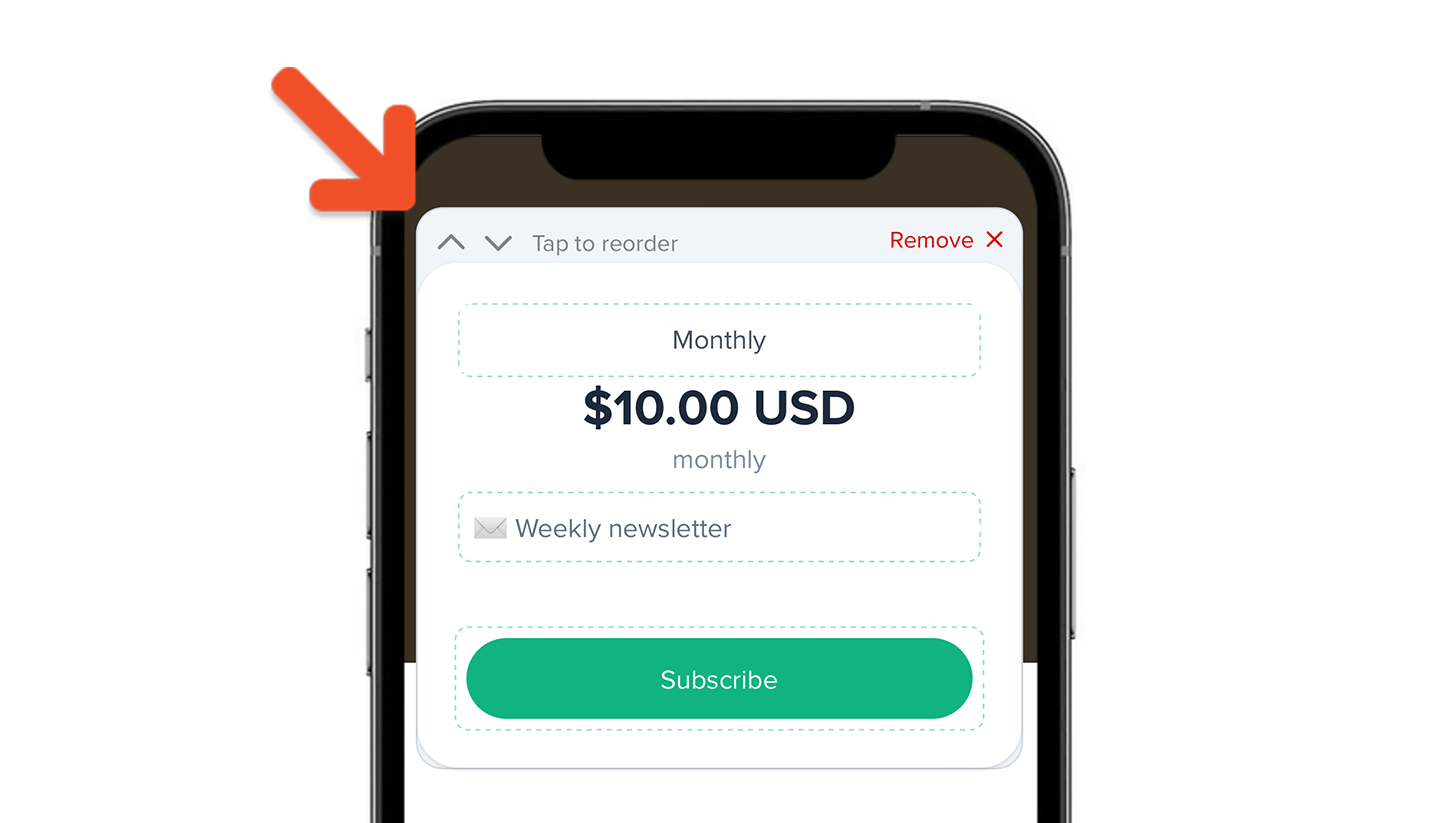
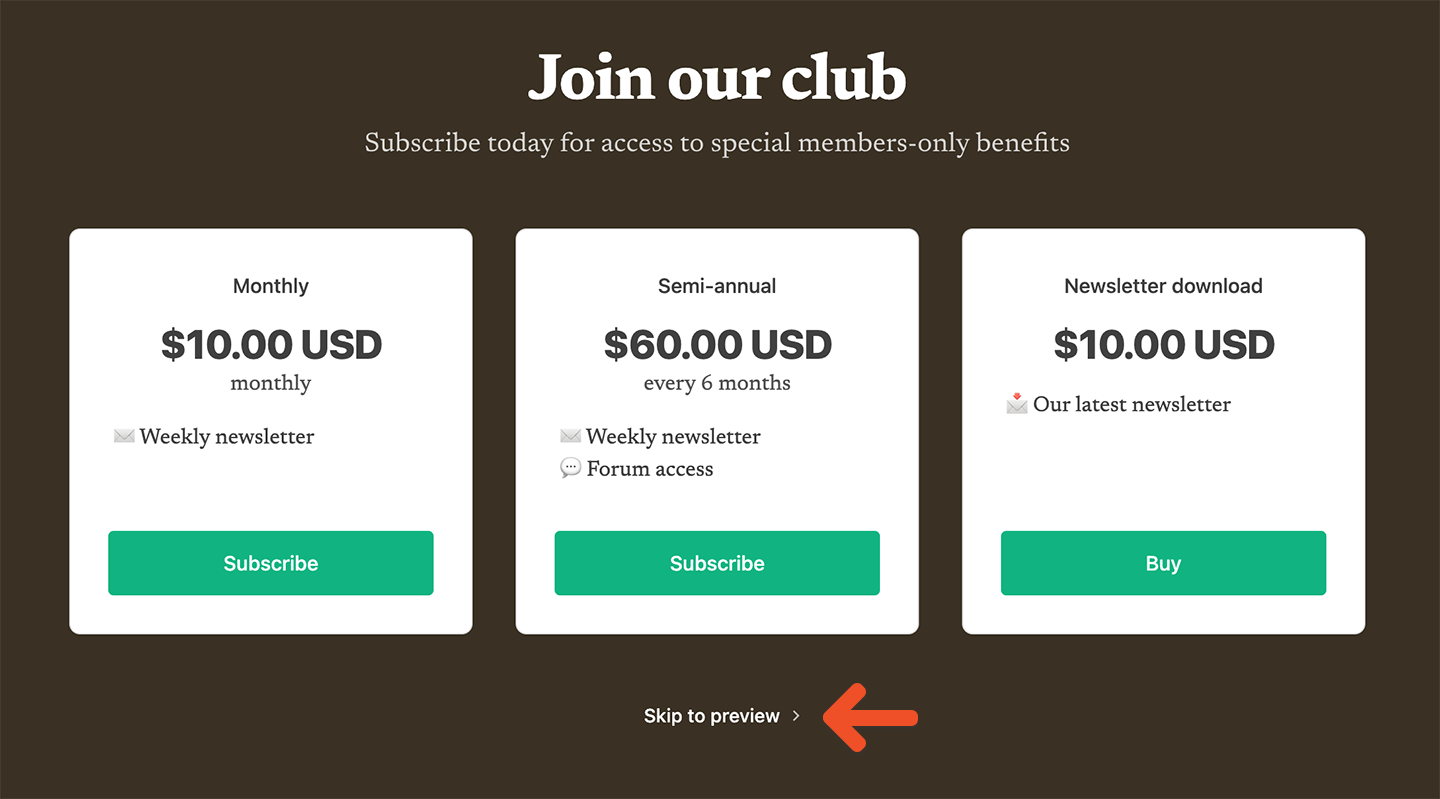
Once you’ve created your plans, go to the Website tab, and hover over Subscribe to reveal and click the gear icon. Toggle on Enable your subscribe page in the modal, and then click Save.

Enable or disable your subscription page
You can toggle your subscription page on or off by going to the Website tab, and hovering over Subscribe to reveal and click the gear icon. Toggle on or off Enable your subscribe page in the modal, and then click Save. Toggling the switch on or off will determine whether this page can be accessed at the URLACCOUNT-URL.memberful.com/join.
Toggling the switch off will mean that nobody can view your subscription page. This lets you make any changes you’d like before making it publicly available again.
Set as your welcome page
If you’d like to use your subscription page as the first page that new visitors see when they access your website, you can set it as your welcome page. To do this, go to the Website tab, and hover over Subscribe to reveal and click the gear icon. Toggle on Make it your welcome page in the modal, and then click Save.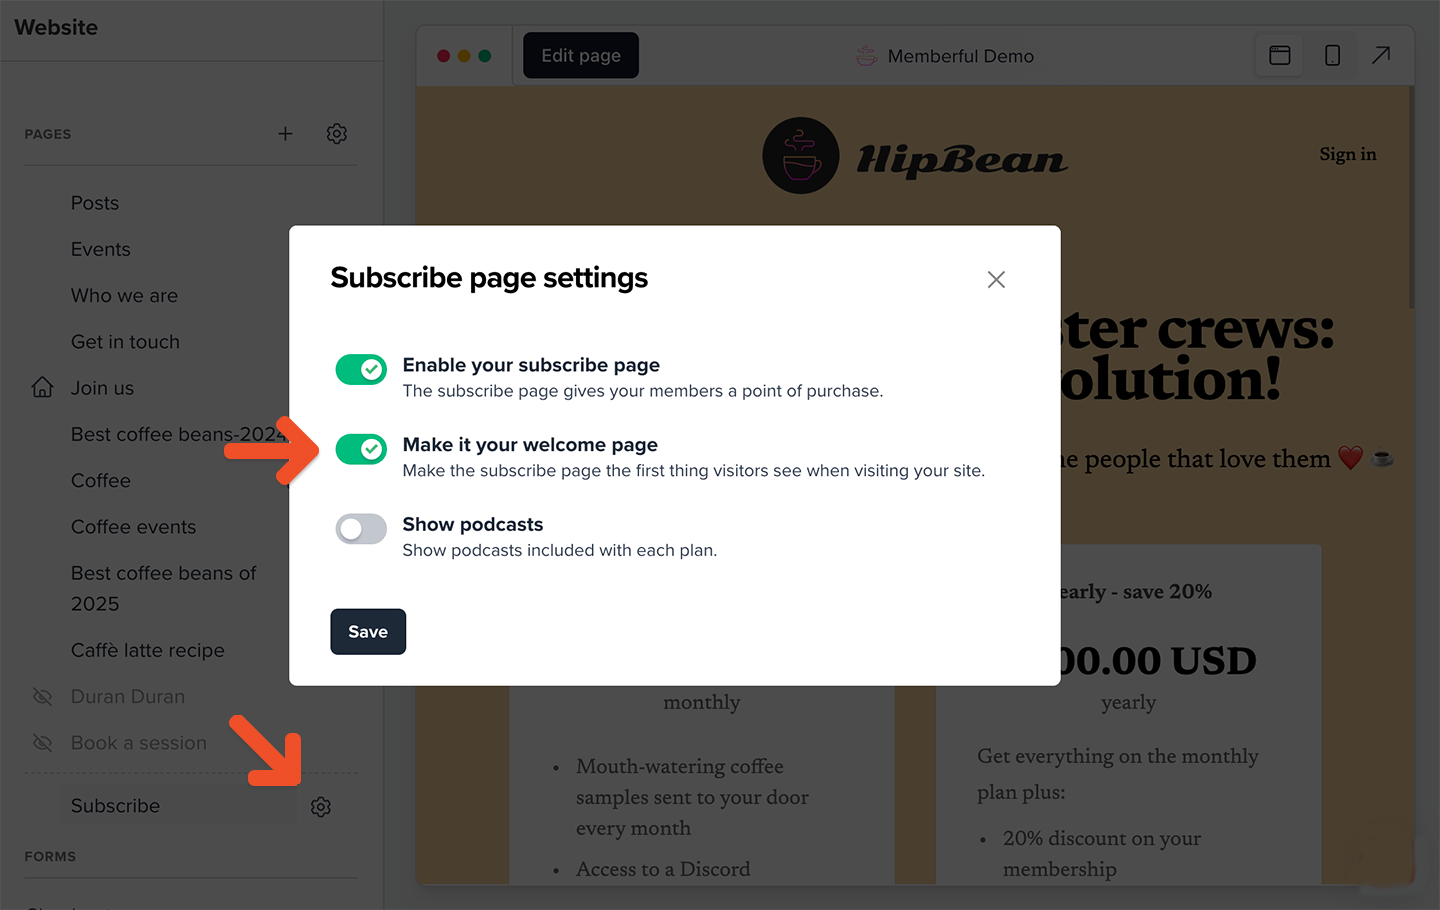
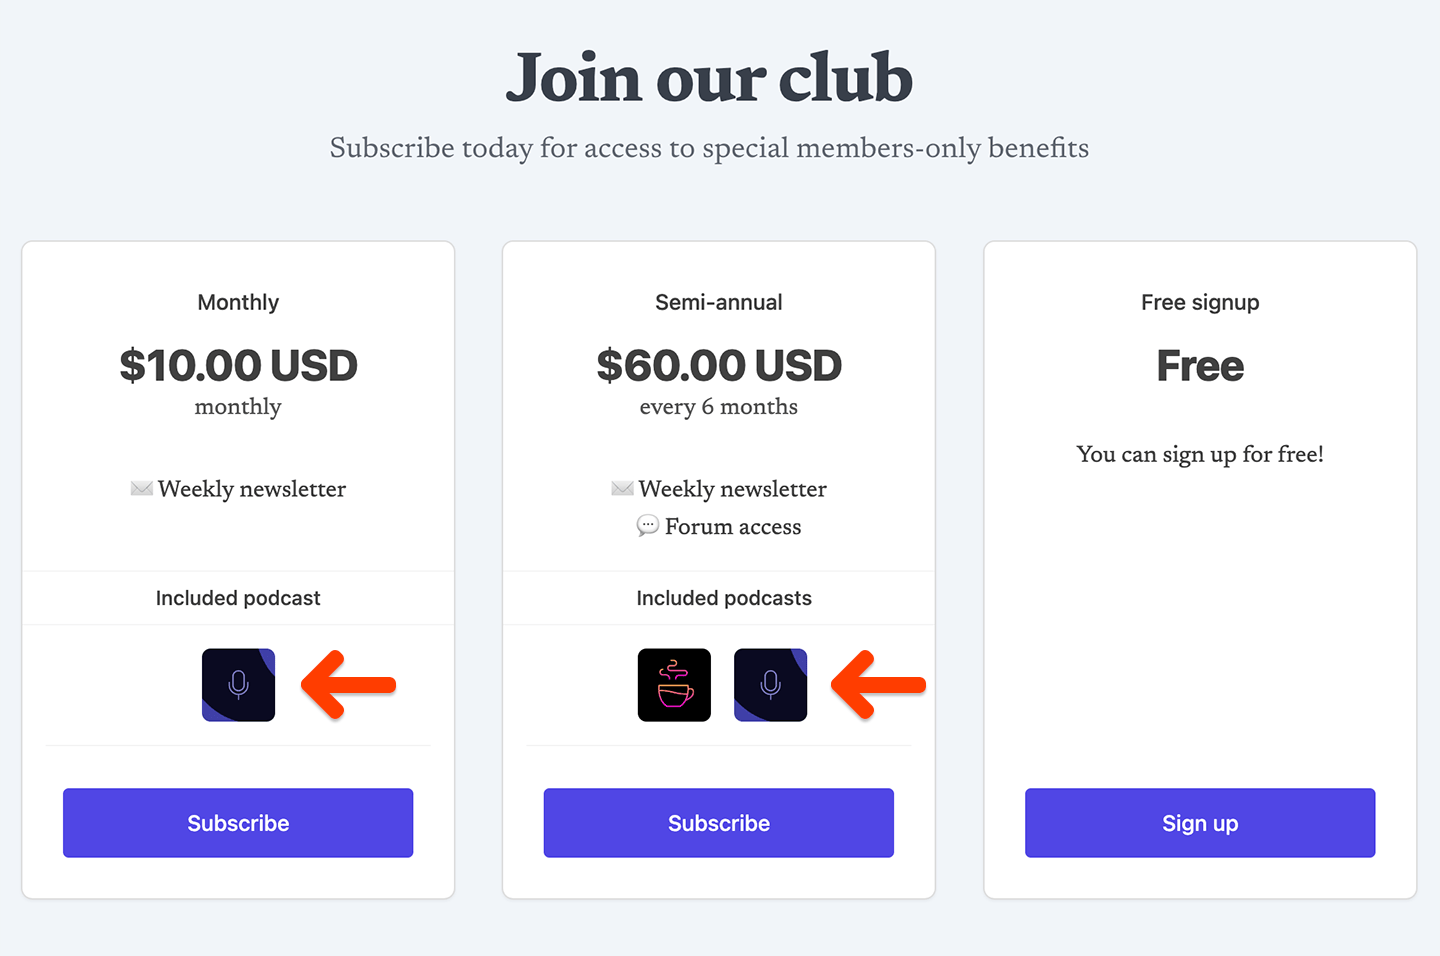
Show or hide podcasts on the Subscribe page
Your Subscribe page can display thumbnails of the podcasts that each plan includes. These thumbnails will be loaded automatically from your podcast RSS feed.